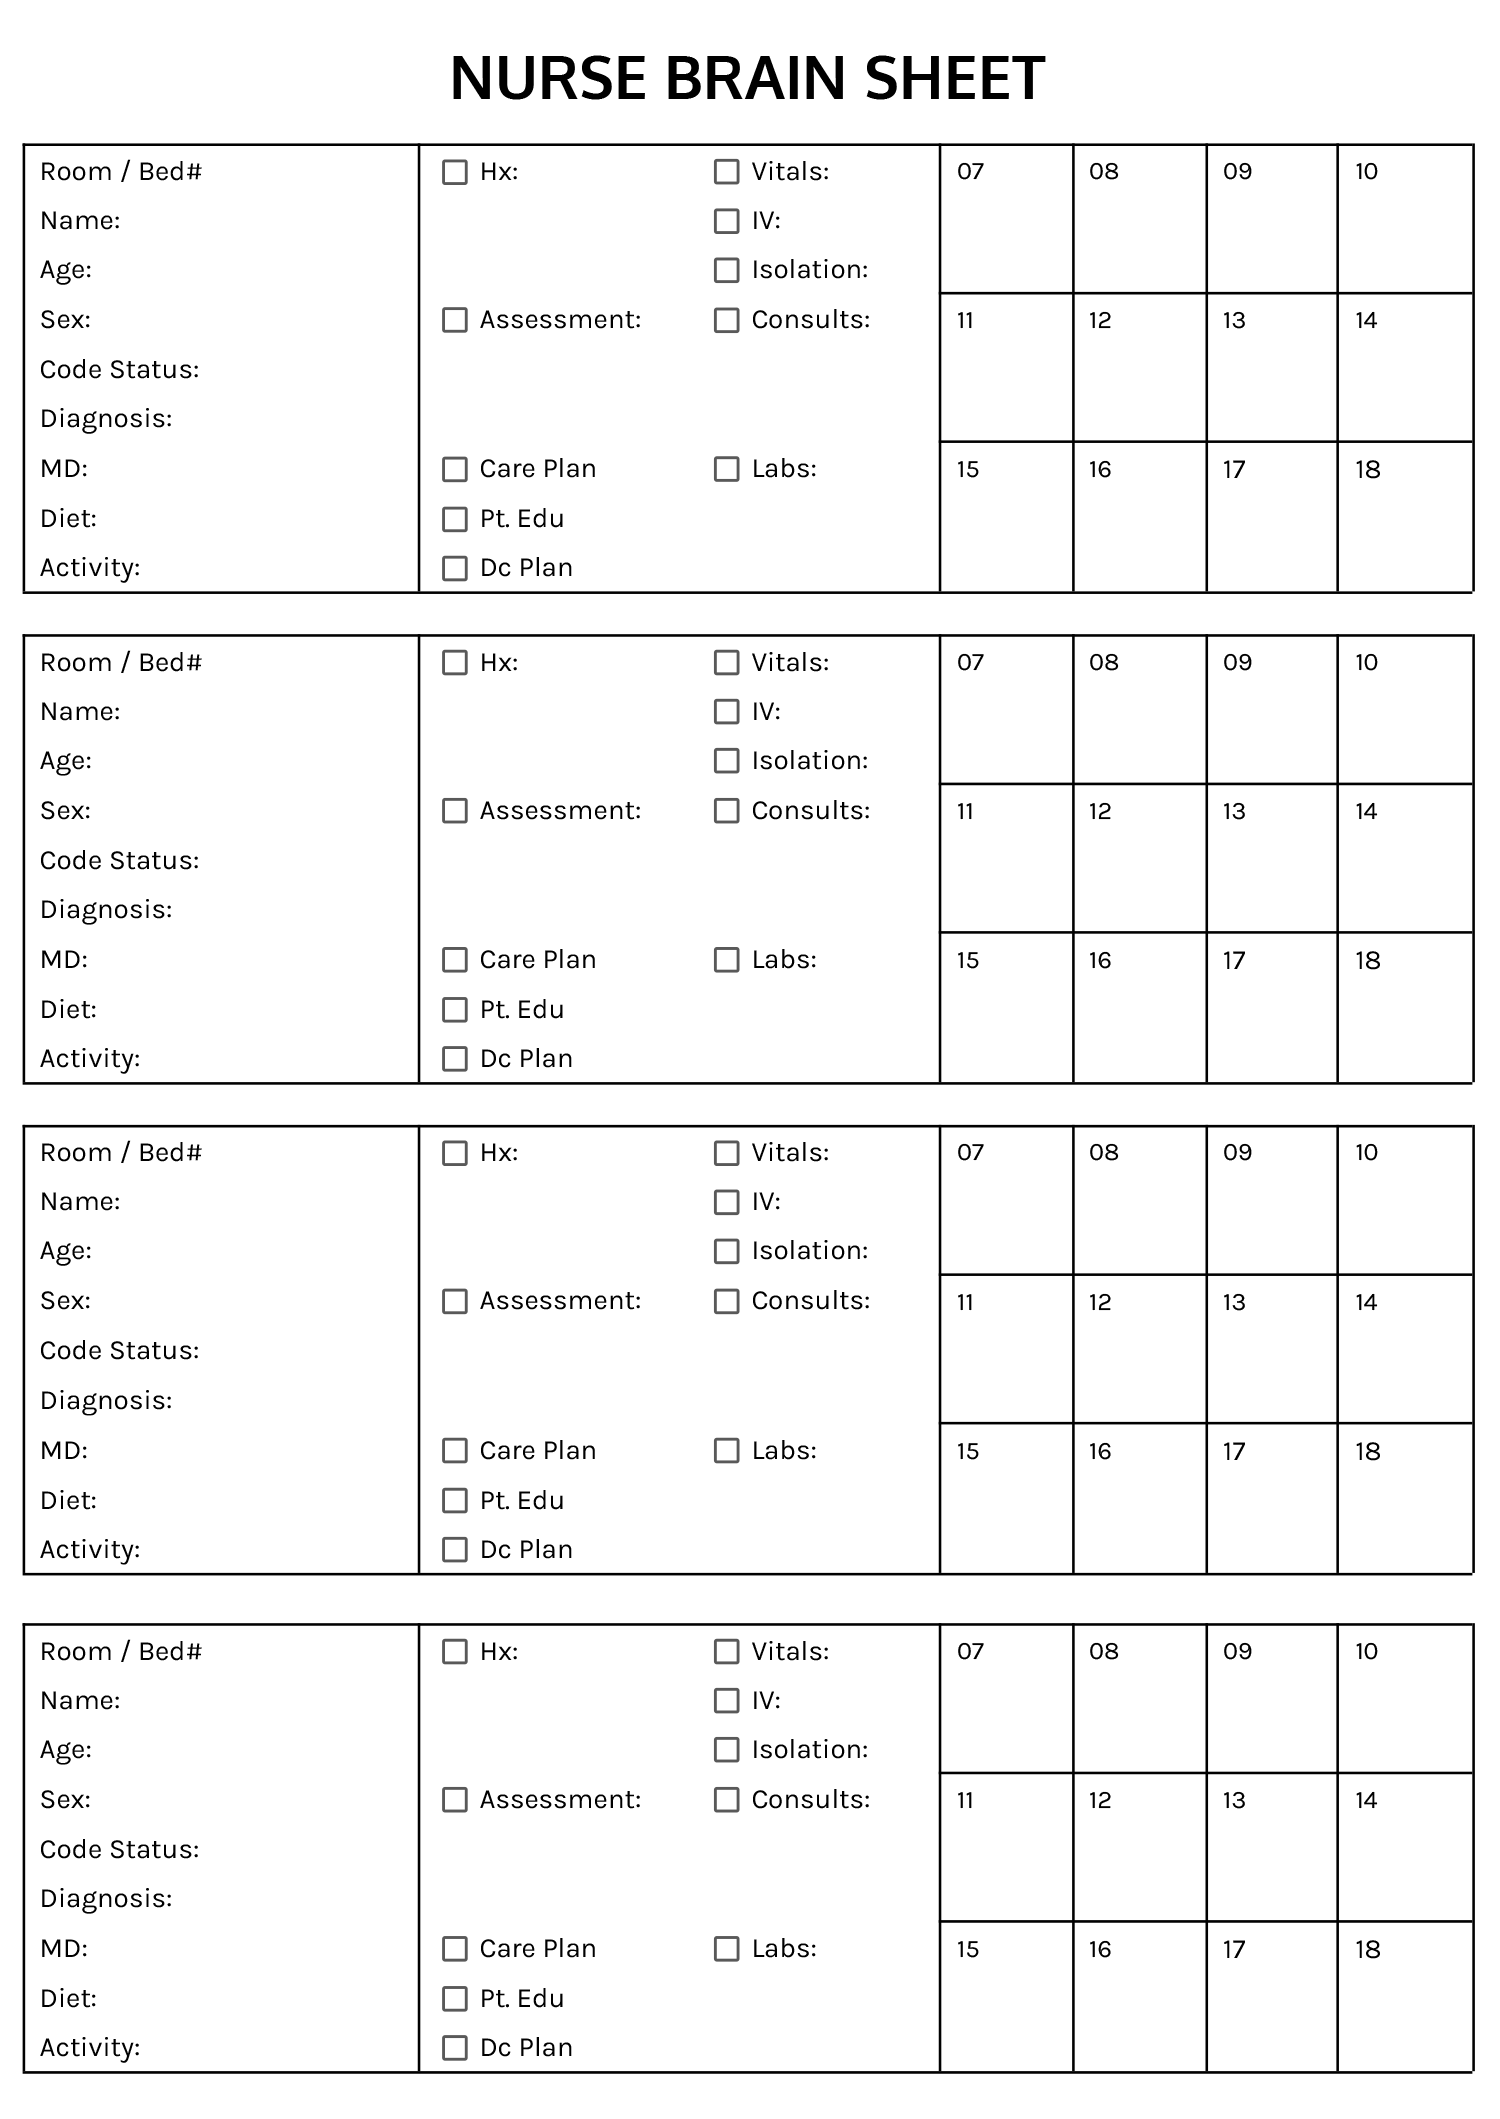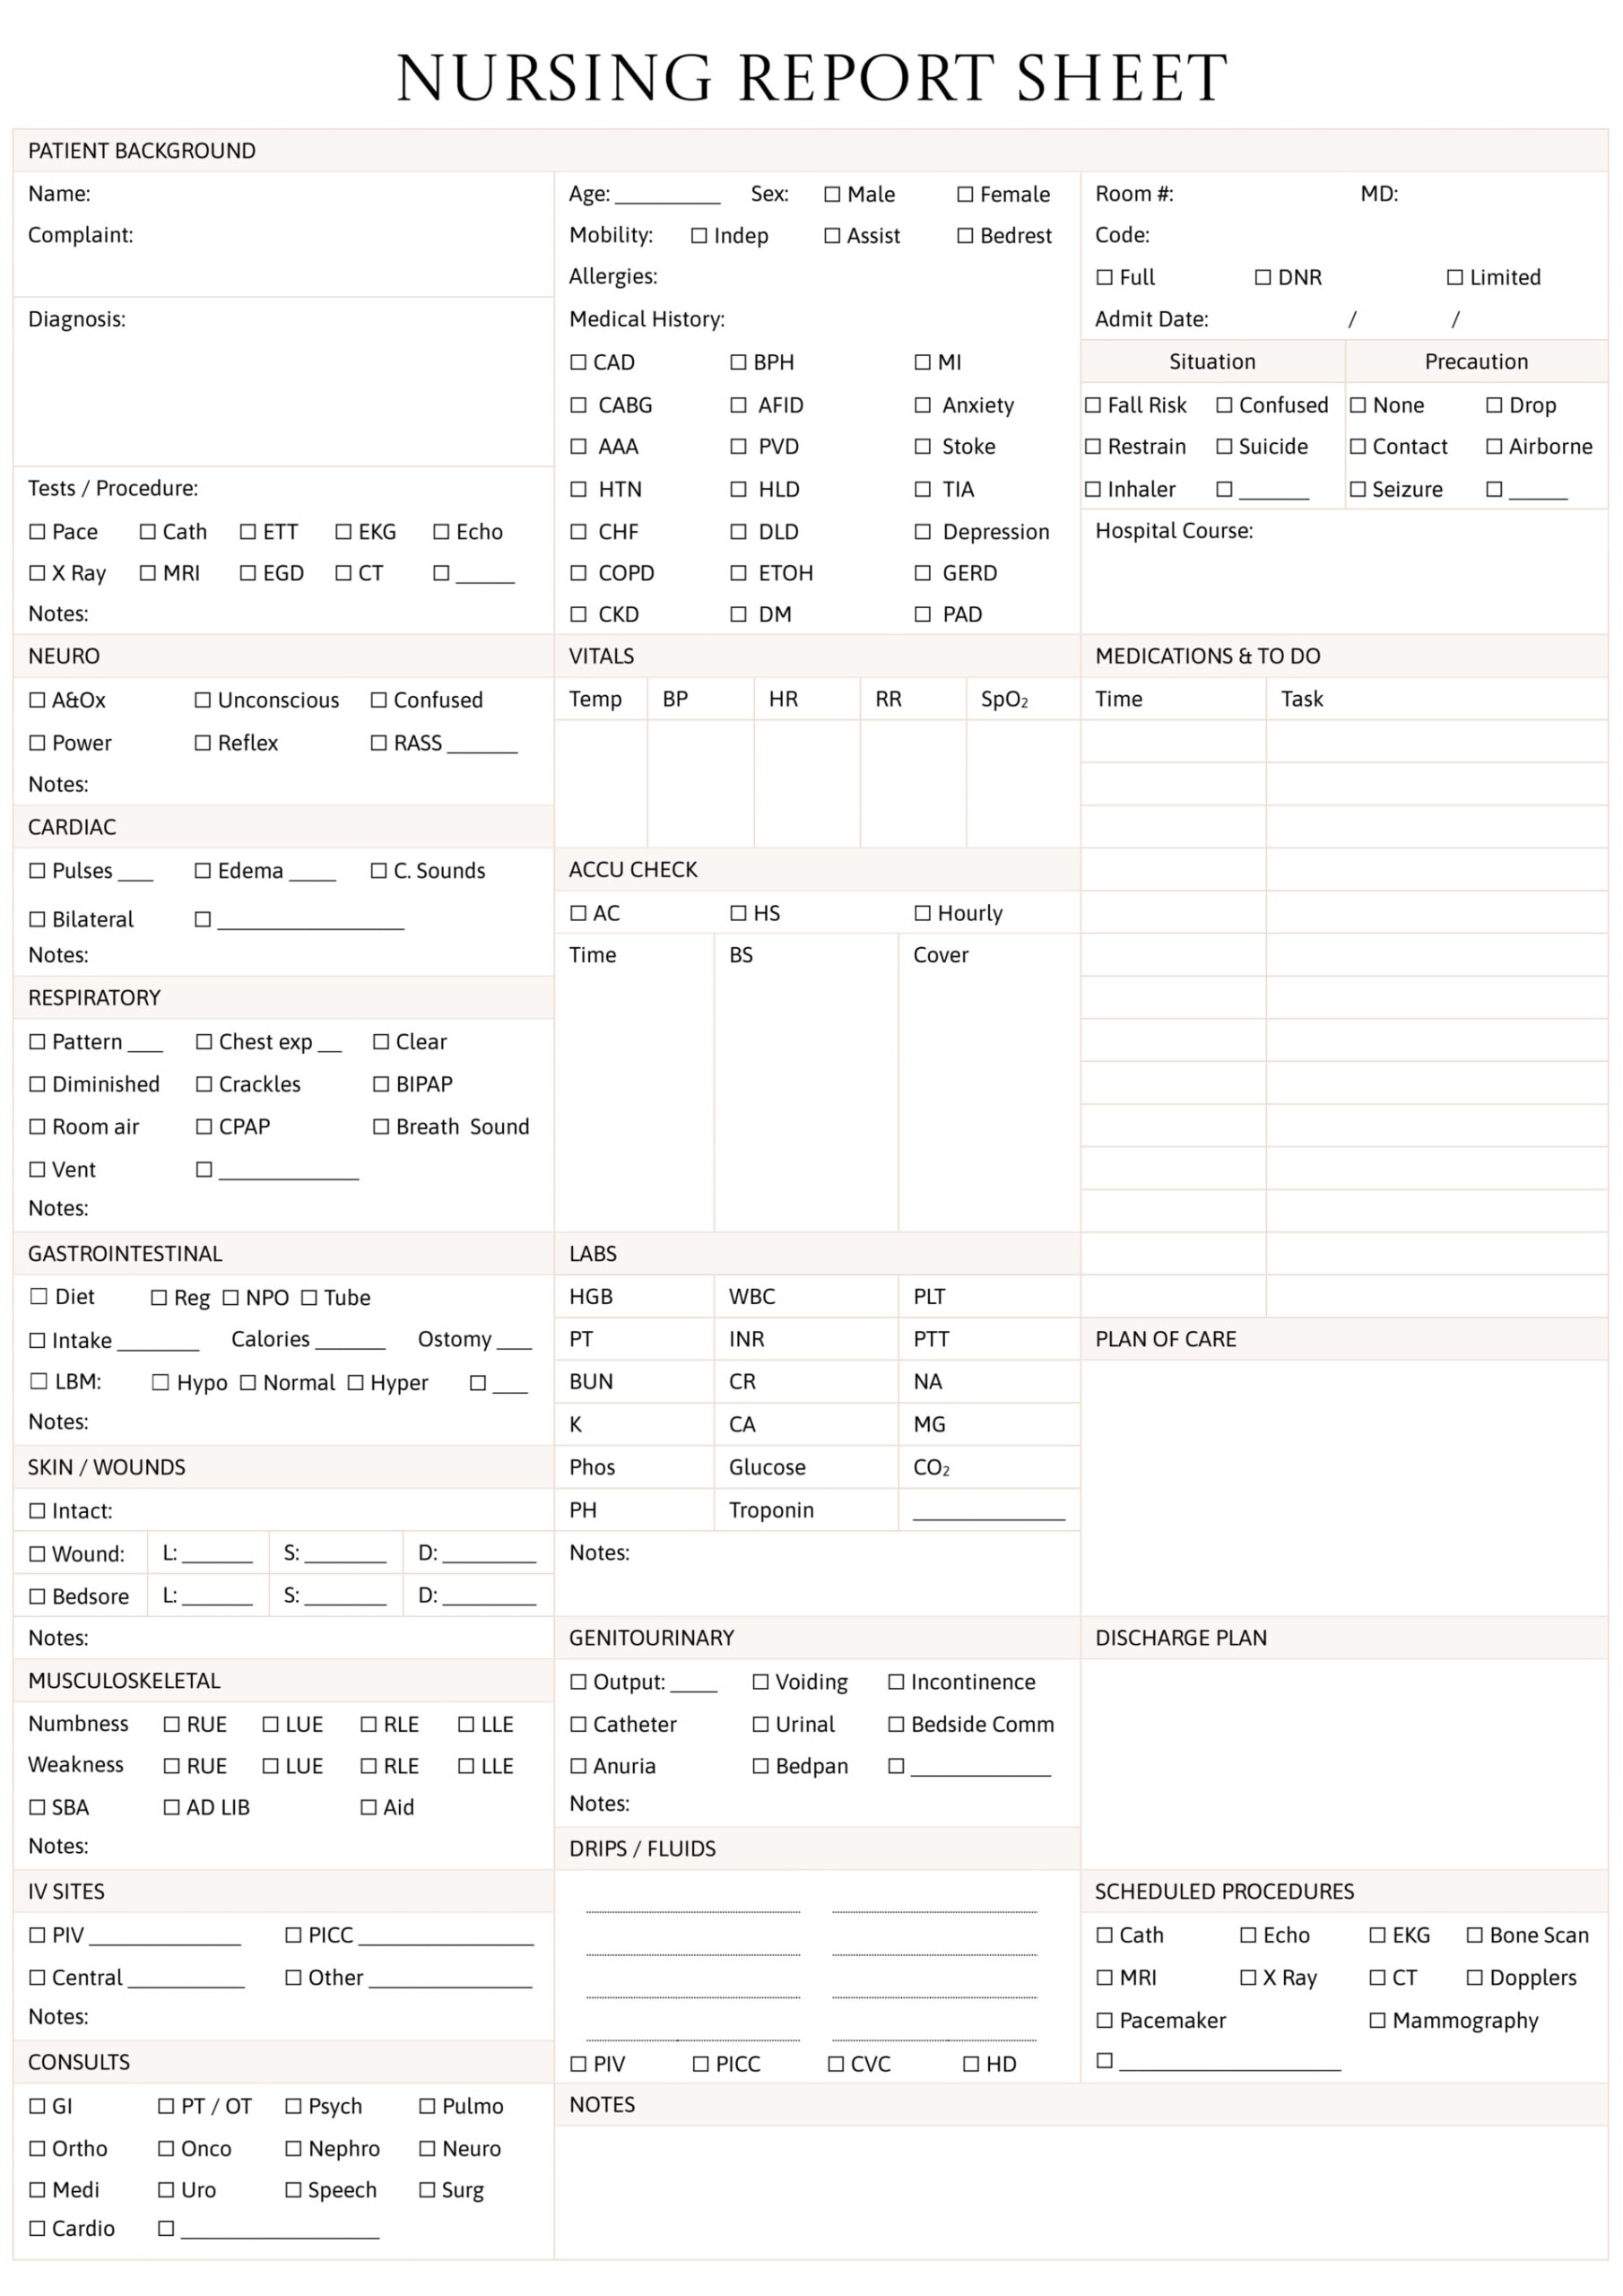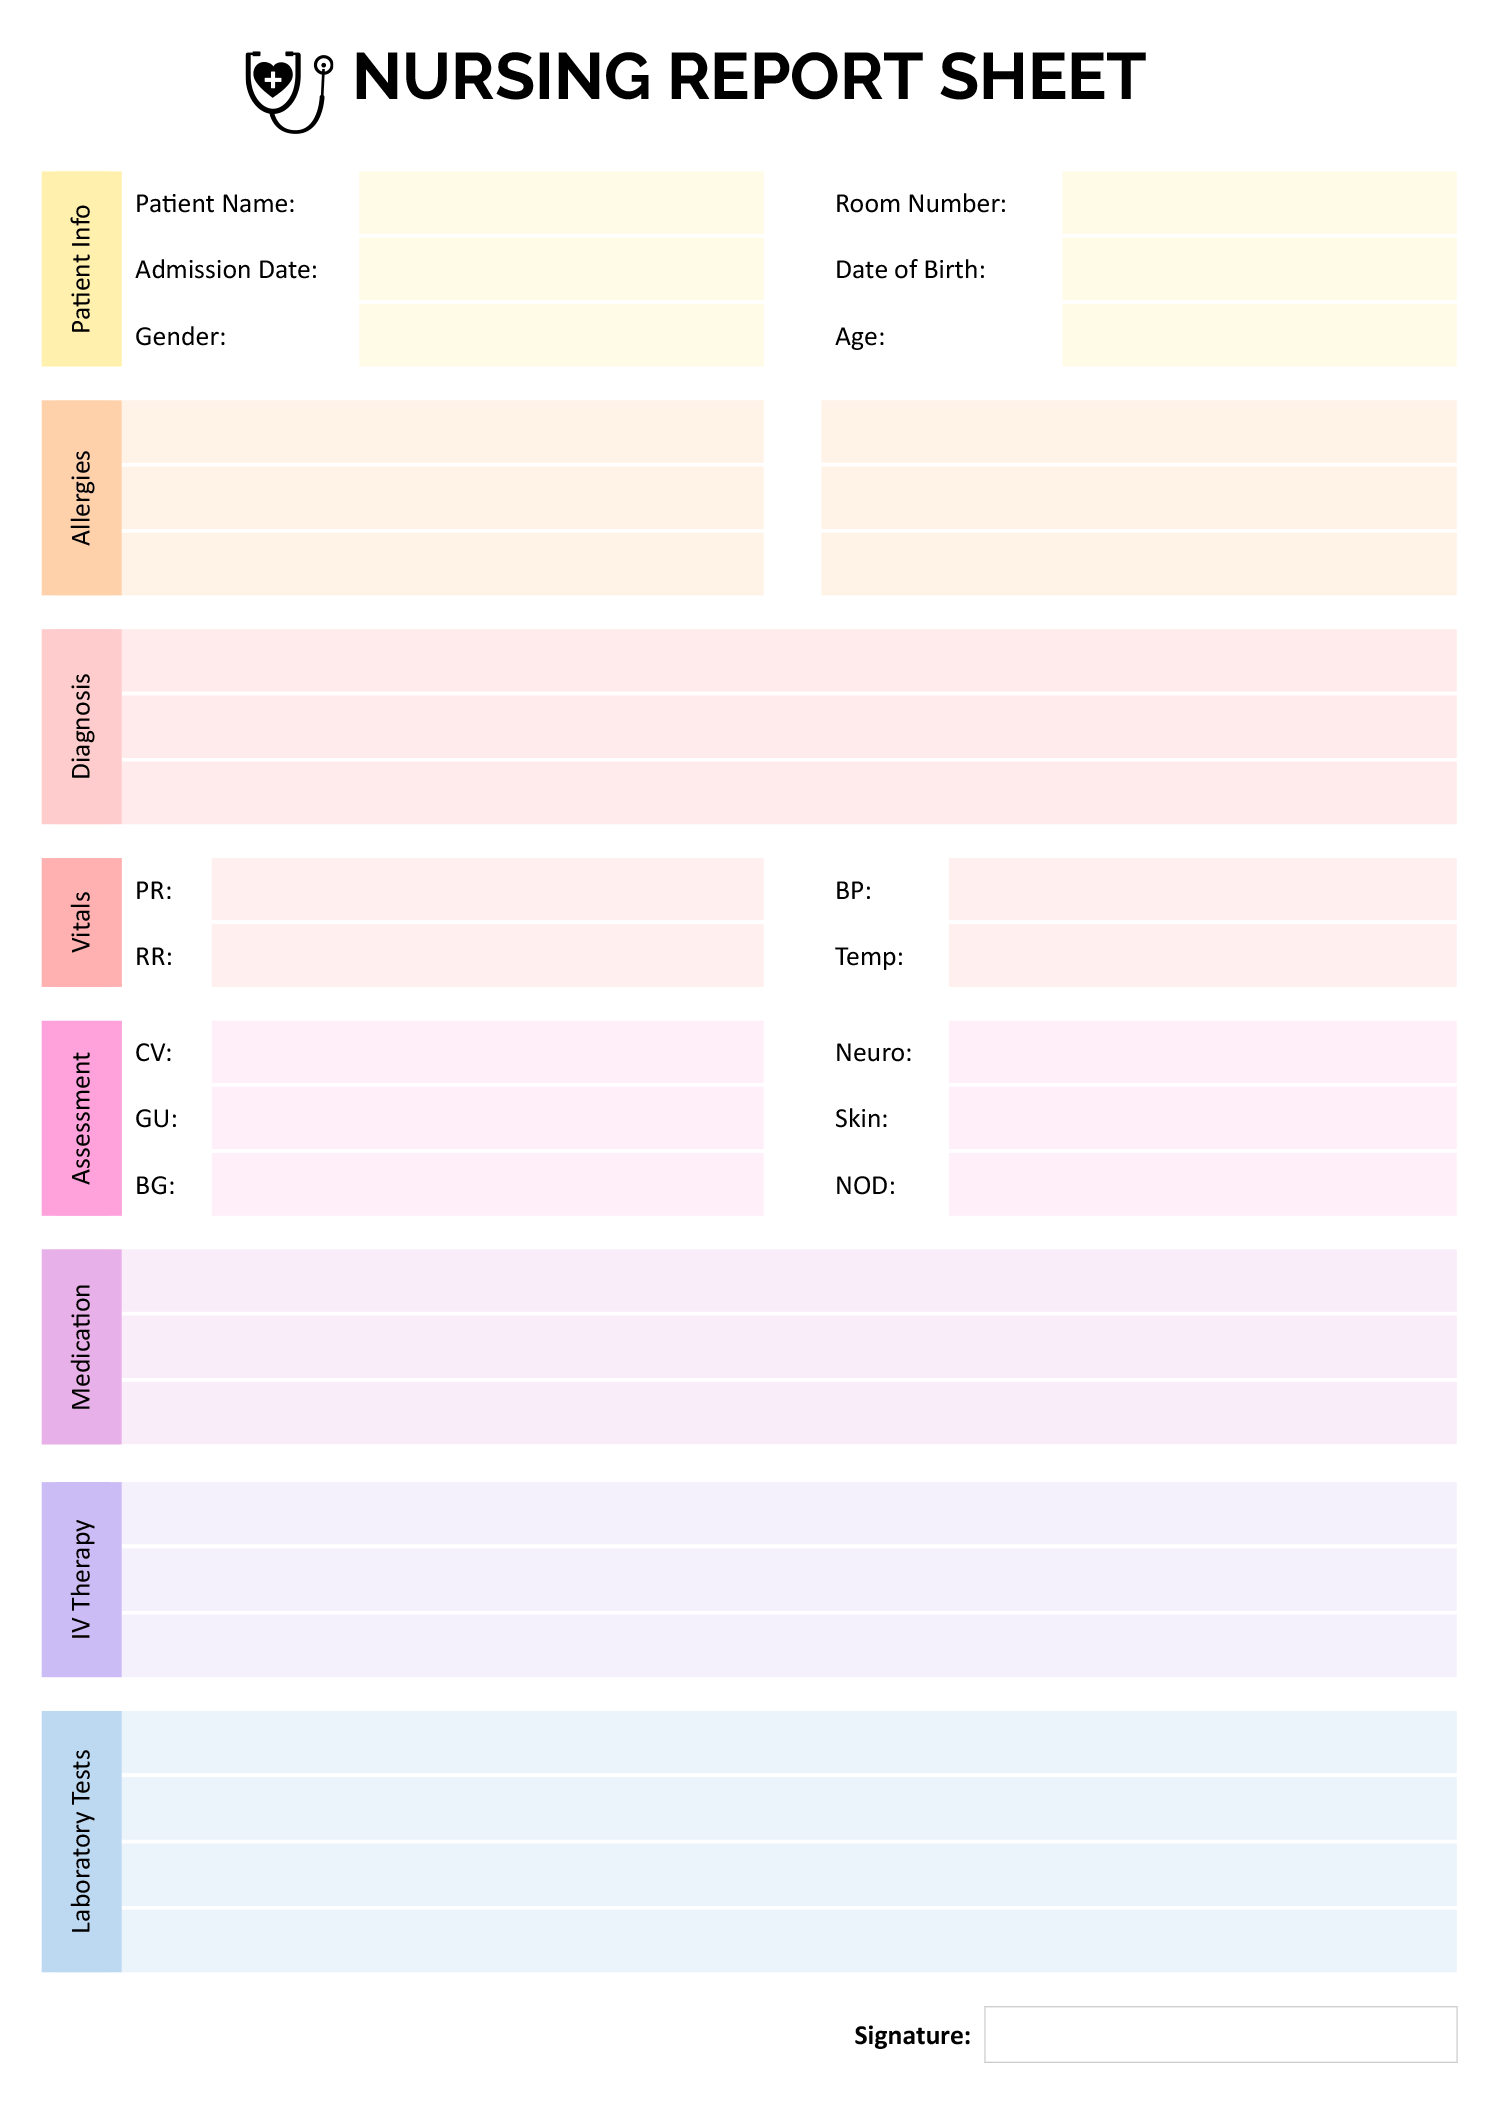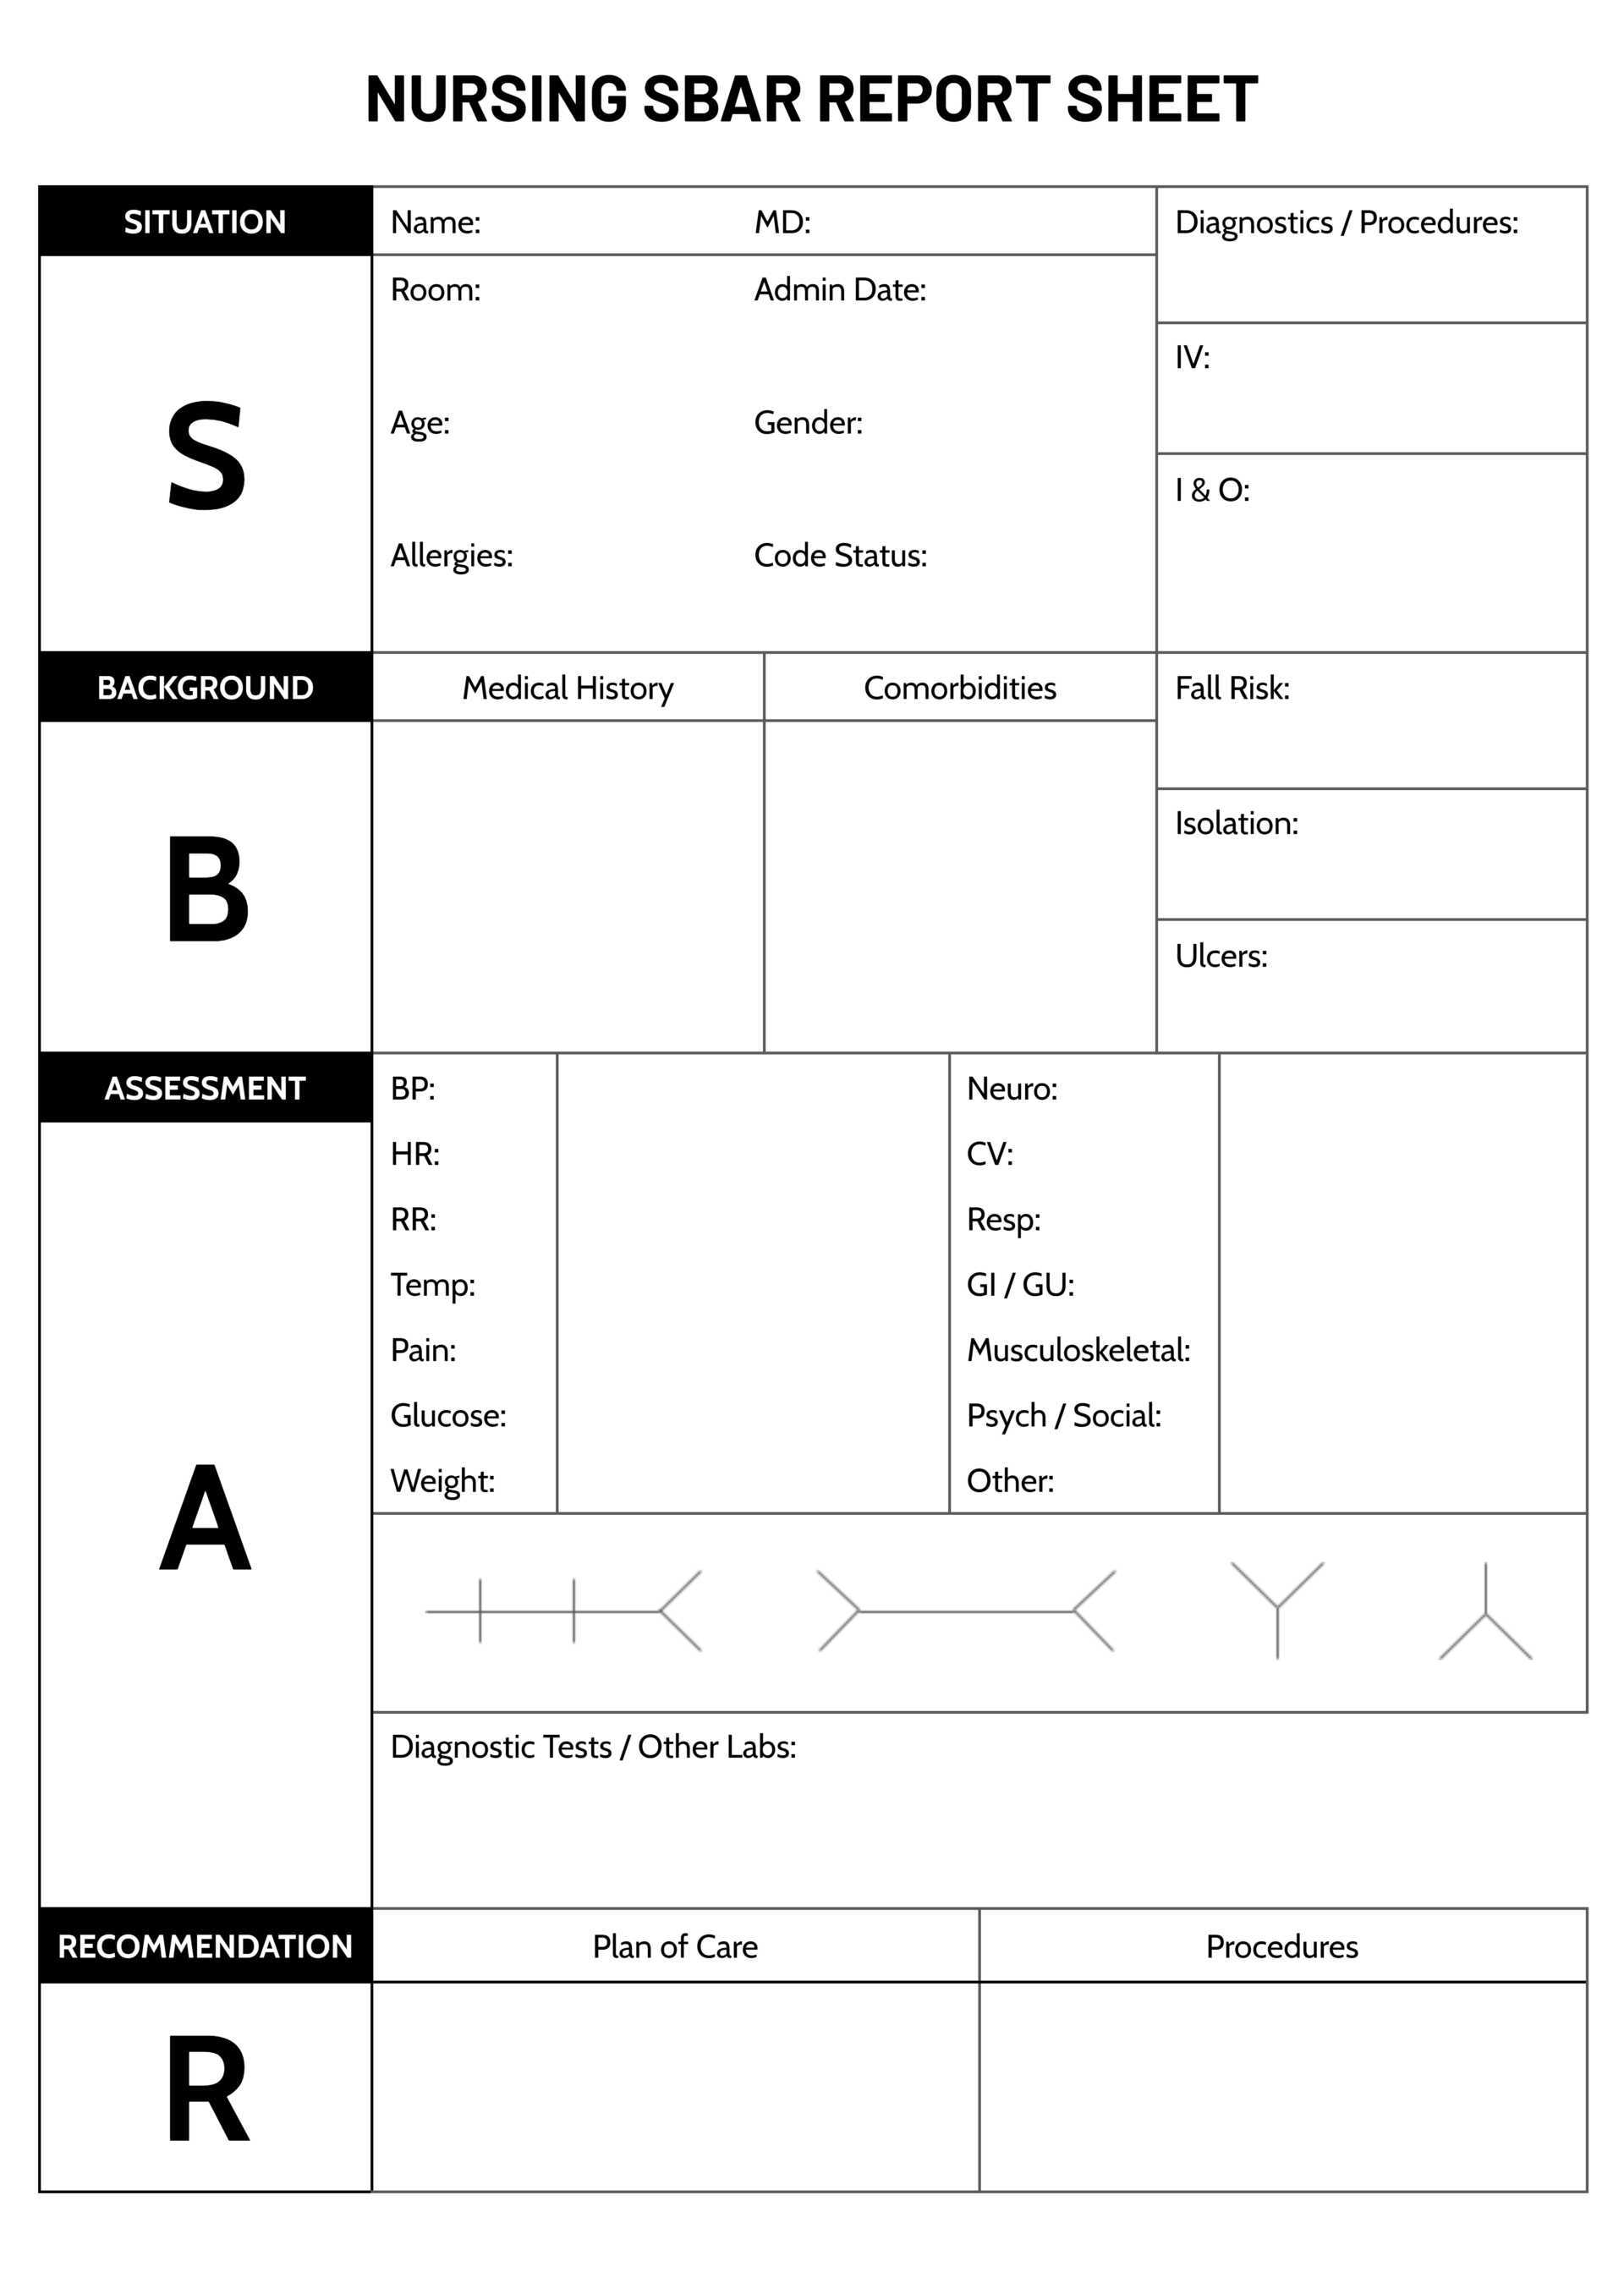



During shift handoffs, medication rounds, and bedside assessments, having a reliable place to organize patient information can make the difference between a smooth workflow and a stressful one. This Nursing Patient Report Sheet is designed to give nurses, nursing students, and clinical staff a ready-made layout for recording and reviewing essential patient data at the point of care. Rather than scribbling notes on loose paper or toggling between screens in an electronic health record, you can use this single-page document to compile demographics, complaint details, medical background, current medications, allergy alerts, and any additional observations you need to carry through your shift.
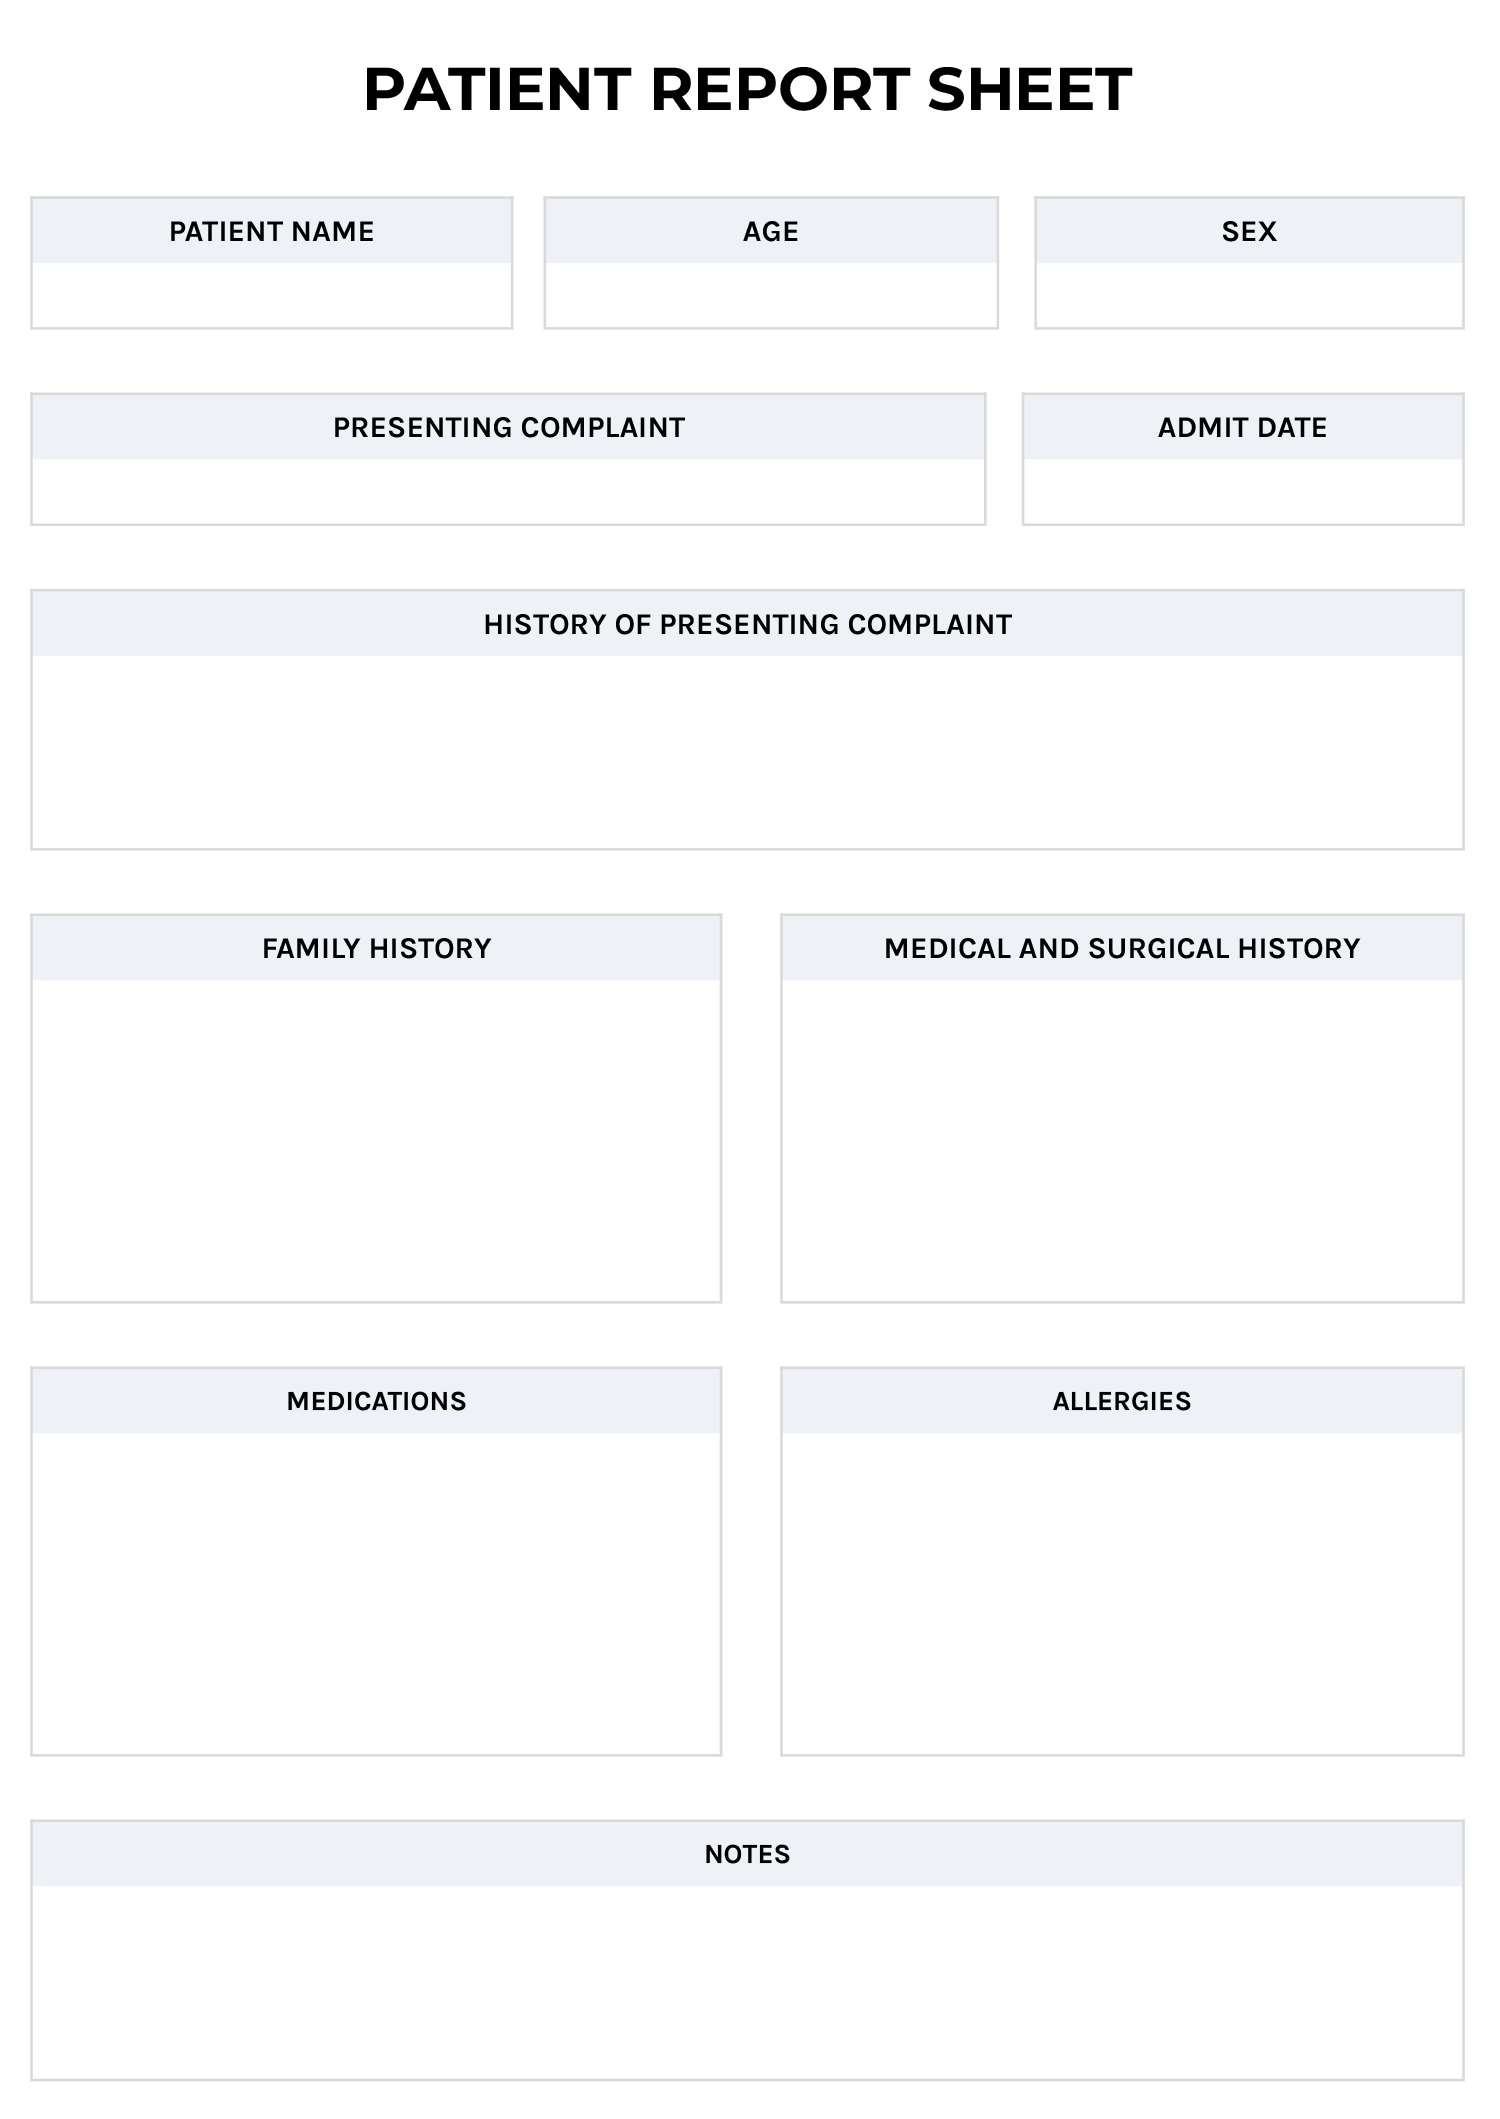
The template is designed with a top-down layout that places identifying information at the top, the reason for admission and its history in the middle, and the patient’s broader medical background, medications, and allergies toward the bottom. Each section is contained in its own labeled area with enough blank space to write in by hand or type directly in the digital file. Because it is formatted for Word, Google Docs, and PDF, you can choose to fill it out on a computer, tablet, or print it and use it on a clipboard during rounds.
Here’s a closer look at each section of the template and how to get the most out of it.
How to Use This Nursing Patient Report Sheet
The layout is intentionally straightforward so you can move through it quickly during a fast-paced shift. Below is a walkthrough of every section, along with suggestions for filling each one in a way that keeps your notes accurate and useful throughout the day.
Patient Name, Age, and Sex
The top row of the sheet is designed for the three identifiers you reference most often when communicating about a patient: their full name, age, and sex. Write the patient’s legal name as it appears on their hospital wristband or admission record to avoid any mix-ups, especially on units where you are caring for multiple patients at once. Recording age rather than date of birth is a deliberate choice here because age is what you will reference during clinical decision-making, dosage calculations, and team discussions. For the sex field, note the biological sex listed in the patient’s chart, as this is typically what informs lab reference ranges and medication protocols.
Presenting Complaint and Admit Date
This section includes two side-by-side fields for the presenting complaint and the date of admission. The presenting complaint should capture the primary reason the patient sought care, written in concise clinical language. For example, “acute chest pain radiating to left arm” or “three-day history of worsening dyspnea” gives anyone reading your sheet an immediate understanding of why the patient is there. The admit date next to it puts that complaint on a timeline, which becomes especially useful when tracking how long a patient has been receiving treatment or when anticipating discharge planning milestones.
If a patient was admitted for one complaint but has since developed a secondary issue that is now driving most of the clinical focus, note both. Write the original presenting complaint first, then add the current primary concern underneath. This gives the next nurse on shift full context without having to dig through the chart.
History of Presenting Complaint
This section is designed for documenting the clinical background behind the admission. Include relevant details such as when symptoms started, what made them better or worse, any emergency department interventions before admission, and how the patient has responded to initial treatment. Think of it as a brief clinical narrative that connects the patient’s symptoms, their onset, any progression, and the care provided so far.
Writing a few focused sentences here is far more useful than listing isolated facts. For instance, instead of writing “pain, nausea, fever,” you might write: “Patient reports intermittent abdominal pain for five days, worsening after meals, accompanied by nausea and low-grade fever. CT in ED showed possible appendicitis; surgical consult pending.” That kind of summary gives the next clinician a narrative they can act on immediately.
Family History
The family history section is reserved for relevant hereditary and chronic conditions in the patient’s immediate family. You do not need to document every condition in the patient’s extended family. Focus on hereditary conditions and chronic diseases that may influence the current admission or ongoing care plan. Conditions like heart disease, diabetes, stroke, cancer, or psychiatric disorders in first-degree relatives are typically the most clinically relevant entries here.
If the patient is unable to provide family history or if the information is unknown, note that as well. Writing “unknown” or “patient unable to provide” is more informative than leaving the field blank, because it tells the next reader that you asked rather than overlooked it.
Medical and Surgical History
This section is placed alongside the family history and is intended for recording the patient’s own past medical and surgical background. List diagnosed chronic conditions such as hypertension, type 2 diabetes, COPD, or depression, followed by any past surgeries with approximate dates if available. This information is critical during medication reconciliation, when assessing risk for complications, and when communicating with physicians about the patient’s baseline health status.
For patients with lengthy medical histories, prioritize the conditions and procedures most relevant to the current admission. You can note “see full chart for complete history” at the bottom of the section if space is limited. The goal is to have the most actionable information visible at a glance, not to replicate the entire medical record.
Medications
The medications section is intended for recording what the patient is currently prescribed or actively receiving during their stay. Include the medication name, dosage, route, and frequency for each entry. If the patient was taking home medications that have been held or adjusted since admission, it is worth noting that distinction, for example: “Metformin 500mg PO BID (held since admission due to NPO status).”
Keeping this section updated throughout your shift is important because medication lists change frequently in an inpatient setting. New orders come in, doses get titrated, and PRN medications get administered. Each time you give a medication or receive a new order, take a moment to update this field so your sheet stays current.
Allergies
The allergies section is positioned right next to the medications field intentionally, so you can cross-reference both at a glance before administering any drug. Document known drug allergies along with the type of reaction the patient experienced, such as “Penicillin (anaphylaxis)” or “Sulfa drugs (rash).” If the patient has no known drug allergies, write “NKDA” so it is clear that the field was addressed.
Food allergies and latex allergies are also worth noting here if they are relevant to the patient’s care. A latex allergy, for instance, affects which gloves and equipment you use, and food allergies matter when dietary orders are placed.
Notes
The notes section at the bottom of the sheet is an open-ended space for anything that does not fit neatly into the categories above. Use it for pending lab results, upcoming procedures, specific patient preferences, fall risk status, isolation precautions, IV access details, or reminders for the next shift. This is also a good place to note any conversations with family members, social work referrals, or discharge-related tasks that are in progress.
Because the notes section is unstructured, it tends to be the area that varies most from nurse to nurse. Some prefer bullet-style jotting; others write short paragraphs. Either approach works as long as the information is legible and time-stamped when relevant.
If you are caring for multiple patients, print or duplicate this sheet for each one and keep them in the order of your rounding schedule. At shift handoff, you can walk through each sheet in sequence, which reduces the chance of missing critical updates during report.
File Formats and Customization
This Nursing Patient Report Sheet is available in Word, Google Docs, and PDF formats. The Word and Google Docs versions are fully editable, so you can type directly into the fields, resize sections if you need more space for certain categories, or add your hospital’s logo at the top for a more personalized look. The PDF version is best suited for printing and handwriting your notes during shifts.
If your unit has specific documentation requirements, such as a field for IV site assessment, pain scale ratings, or intake and output tracking, you can add those sections to the editable versions. Some nurses also find it helpful to add a small row at the top for the room and bed number, attending physician name, and their own name, especially on units with high patient turnover.
FAQs
Cross out the outdated entry with a single line so it remains legible, then write the updated information next to it with the time of the change. If you are using the digital version, highlight or use a different text color for updates so you can distinguish between original and revised information.
Arrange your printed sheets in the order you plan to round on your patients. Some nurses clip them to a folding clipboard with dividers, while others use a small binder with one sheet per page. The goal is to flip to the right patient within seconds when a physician calls or a monitor alarm goes off.
In the Word or Google Docs version, you can insert new rows into the existing table or add a new table below the notes section. For example, if your unit tracks intake and output, pain scores, or wound care details, you can create a labeled row for each and match the formatting of the existing sections to keep the layout consistent.
Because these sheets may contain protected health information (PHI), they should be disposed of in a secure shredding bin or confidential waste container at your facility. Never toss them in a regular trash can or take them home. If you used the digital version, delete the file from any personal device once your shift documentation is complete.