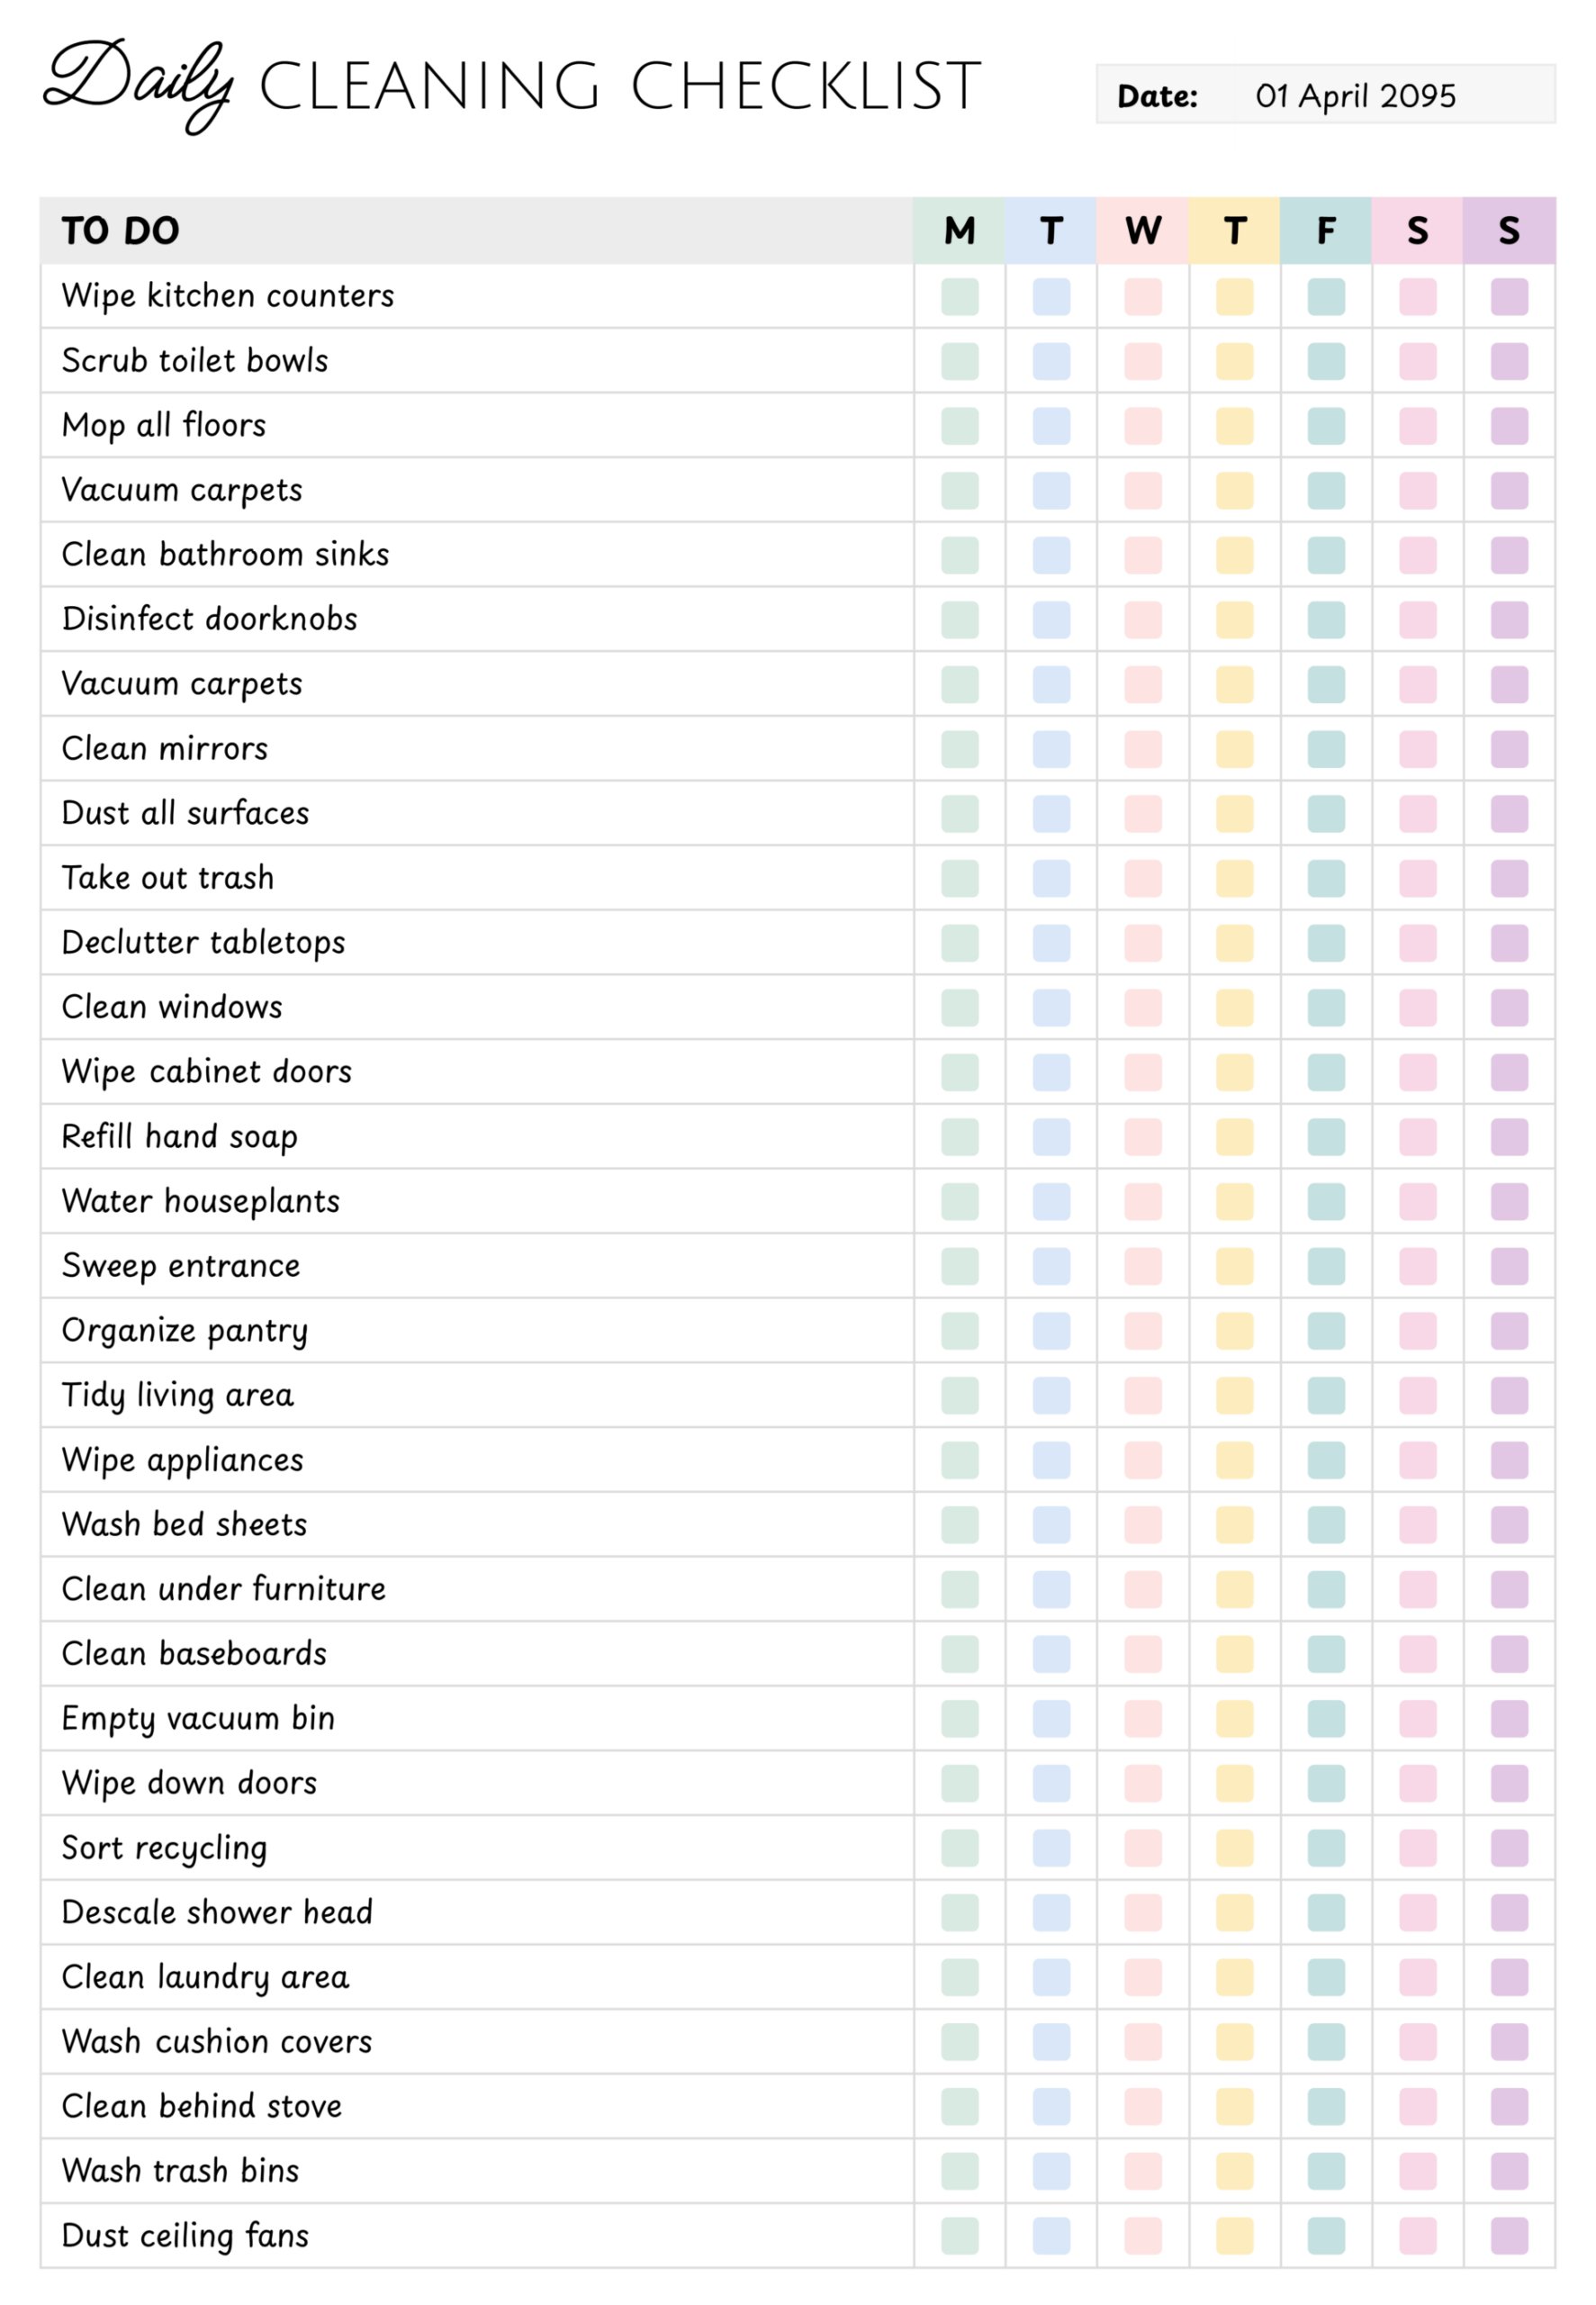
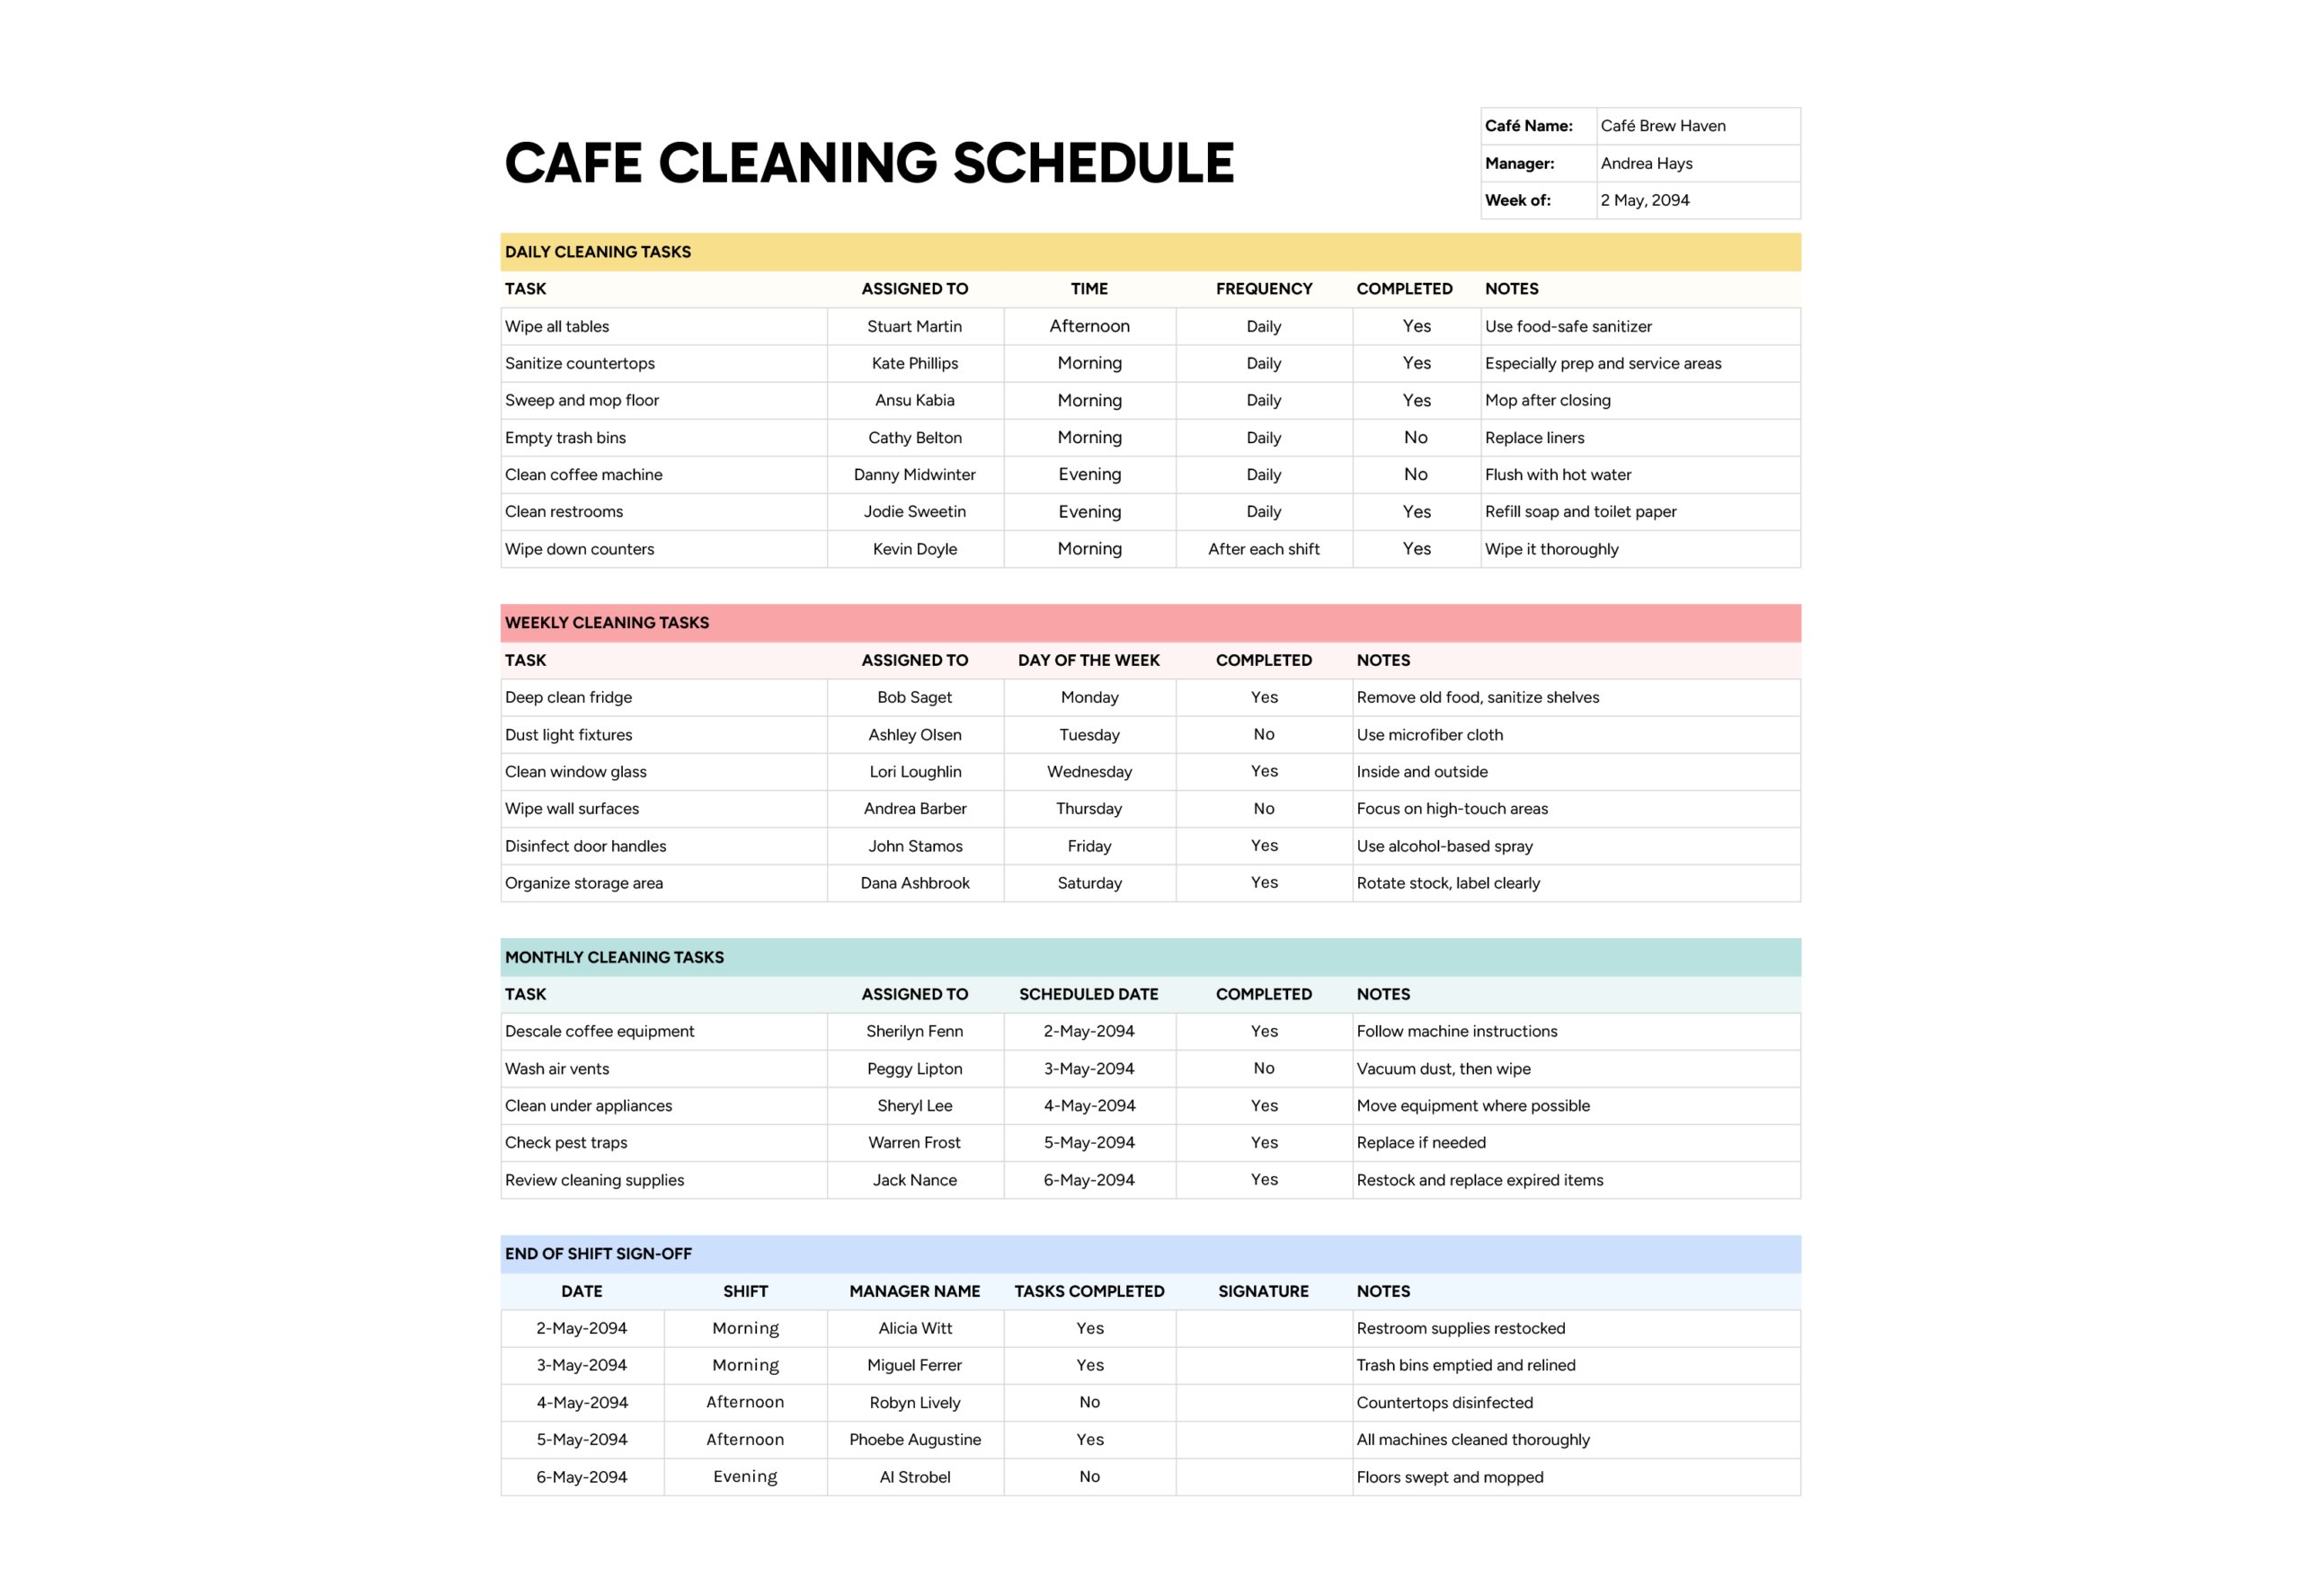
The cleaning schedule template for restaurant kitchen is designed for owners, managers, and head chefs who want written evidence of what gets cleaned each day, week, and month instead of relying on memory or verbal instructions. It keeps a full list of restaurant tasks on a single page and uses checkboxes for every day of the week, so you can see at a glance which jobs are part of the routine and whether they were done on a specific shift. This helps with food safety compliance, staff training, and communication with health inspectors or franchisors who want to see how cleaning is managed.
The template is split into three sections titled “Daily”, “Weekly”, and “Monthly”. Each section has a column for the service or task, seven small columns labelled M to S for days of the week, and a “Notes” column for simple instructions, cleaners to use, or safety points.
How to Use This Cleaning Schedule Template for Restaurant
In the top right, enter your company name in “Company Name” and the current date in “Date”. Many restaurants use the date field for the start of the cleaning period or the first day of a health inspection week. Once completed, each sheet becomes a record you can keep in a logbook or upload to your internal system.
Plan Daily Cleaning Tasks
Use the “Daily” section for jobs that protect food safety and guest areas during normal service. These are tasks that should be completed on any day the restaurant is open, because skipping them even once quickly shows up in hygiene, smells, or appearance.
Start by listing the routine activities your team already does during opening, between rushes, and at close. Typical examples include wiping prep tables and counters, cleaning grills and stovetops after service, emptying and relining trash, sweeping and mopping main kitchen floors, quickly wiping down restrooms, and checking front counter or service areas. Write each of these on its own line in “Service / Task” so they can be tracked separately.
Next, use the day columns (M to S) to mark when these should be done. For most items you will tick every trading day. Some tasks may only apply to certain days, for example if you close on Sunday or only run breakfast on weekends. Leave boxes blank where a task truly is not needed.
In “Notes”, add brief instructions that matter for safety or consistency. Examples include “food-safe cleaner only,” “after last ticket,” “before opening,” or “gloves and eye protection.” These short cues remind new or rushed staff of the key points without requiring them to read a long procedure.
When the shift finishes, the supervisor checks this section and ticks the boxes for that day. Over time this shows whether daily routines are actually happening or only assumed to be happening.
If the daily list feels long, group tasks by timing. For example, you might add “open,” “during service,” or “close” at the start of each task description. During training, walk new staff through the list in that order so they attach tasks to moments in the shift rather than seeing one big block of work at the end.
Set Up Weekly Cleaning Tasks
The “Weekly” section is for cleaning that does not need to happen every day but should not be left for months either. These are jobs that tackle build-up behind the scenes, keep equipment running efficiently, and reduce the risk of surprise findings during inspections.
Think about areas that slowly collect grease, dust, or clutter over a week. Examples might include deep cleaning certain pieces of equipment, polishing stainless-steel surfaces, scrubbing storage floors, cleaning fryer filters, washing floor mats, or reorganising pantry shelves. Add each item to “Service / Task”.
Decide when in the week each job fits your operation best. Quiet days or times between services are usually easier for heavy work like filter cleaning or storage scrubs. Tick the box under the chosen day for each line. If a task should be done twice a week, mark two days.
In “Notes”, give short but clear pointers such as “cool completely before cleaning,” “use heavy duty degreaser,” “empty shelves first,” or “air dry mats before stacking.” These comments help staff complete weekly jobs safely and in the right order, even if the person who usually does them is off that day.
During manager walk-throughs, check the weekly section for the current week. If something was missed on its usual day, move it to the next available day and write that change into “Notes”. This way there is still a record of when it actually happened, rather than a silent gap.
Schedule Monthly Cleaning and Maintenance
Use the “Monthly” section for high-effort jobs and maintenance checks that protect equipment life and long-term hygiene. These tasks are easy to ignore during busy weeks because nothing looks urgent yet, but missing them repeatedly often leads to breakdowns, bad odours, or poor inspection results.
Start with equipment and areas that your local code, franchisor, or manufacturer guidelines mention specifically, such as exhaust hoods and filters, the interior of refrigeration units, floor stripping and waxing, pest control checks, and deep cleaning of dry storage. Add each job to “Service / Task”.
Then decide when during the month you want each item addressed. Rather than trying to do everything at once, spread them out. For example, schedule hood and filter work early in the month, fridges and freezers mid-month, and storage and inventory checks closer to the end when you are planning orders. Tick the day column that matches the planned date. If you already know the exact calendar date, you can also note it in “Notes”.
Use “Notes” to capture key reminders such as “soak overnight,” “remove all food and label shelves,” “log findings in pest file,” or “update stock sheet after count.” That way, even if a different person performs the monthly task, they still follow the agreed approach.
At the end of each month, review this section and check whether all boxes have been ticked. Any line that is still blank should either be carried into the next month with a realistic date or removed if it no longer matches how your kitchen operates.
If your restaurant runs different menus or hours by season, save a separate version of the schedule for each season. For example, a winter schedule may emphasise comfort-food equipment like ovens and fryers, while a summer schedule pays more attention to ice machines, cold storage, and outdoor seating areas. Clearly dating and labelling each version helps you show inspectors and brand reps that cleaning plans change with operations rather than staying static.
FAQs
Keep completed schedules in a binder or digital folder organised by date. When an inspector asks about your cleaning practices, show the current week’s sheet and a few recent examples. Point to the Daily, Weekly, and Monthly sections to explain what is done at each frequency, and be ready to highlight notes that refer to specific regulations, such as food-safe cleaners or pest trap inspections. Having these records visible often makes inspections smoother.
Mark which lines are the contractor’s responsibility and which remain with in-house staff. You might keep daily food-contact surfaces and end-of-service sanitising for kitchen staff, while the contractor handles weekly and monthly after-hours work. Agree in advance which boxes the contractor will tick and how supervisors will review their work, for example during a joint walk-through once a week.
For high-frequency jobs, you can either keep one line in the Daily section and add “every two hours” in “Notes”, or create multiple lines for each key time, such as “sanitise prep stations before lunch” and “sanitise prep stations before dinner.” The second option makes it easier to see which specific time is being missed, but the first keeps the schedule shorter. Choose the approach that matches your staffing and inspection requirements.