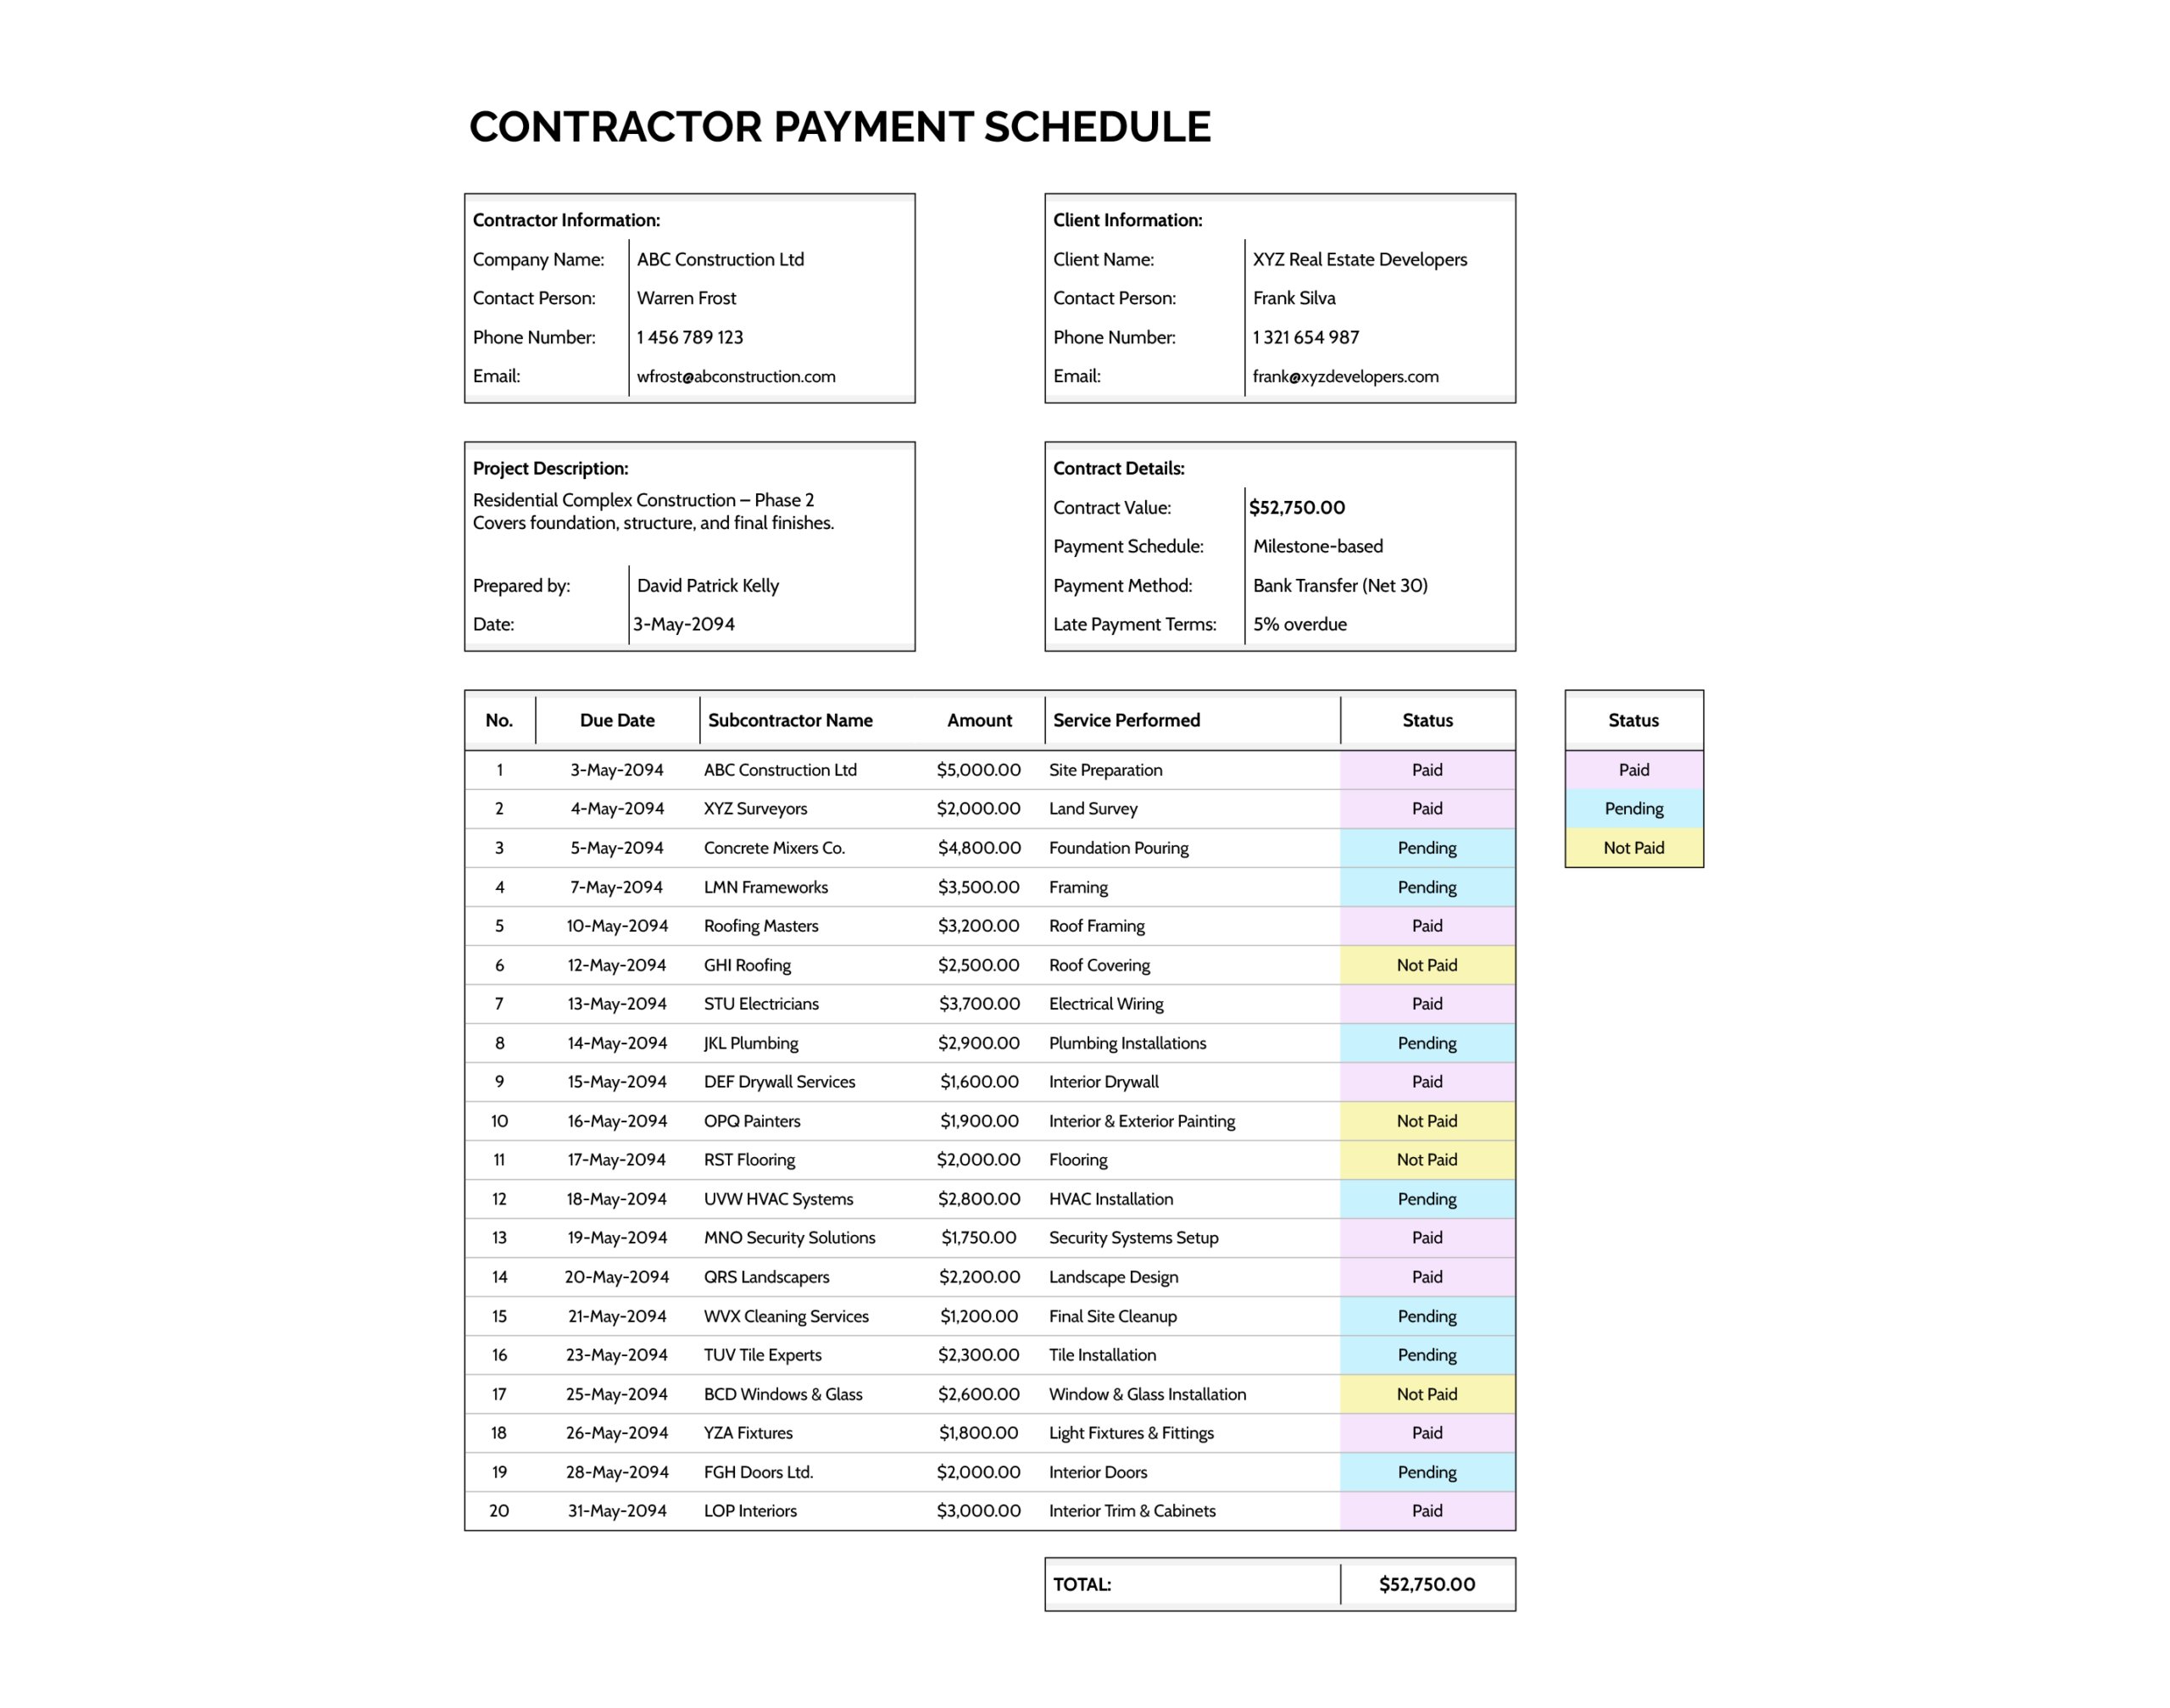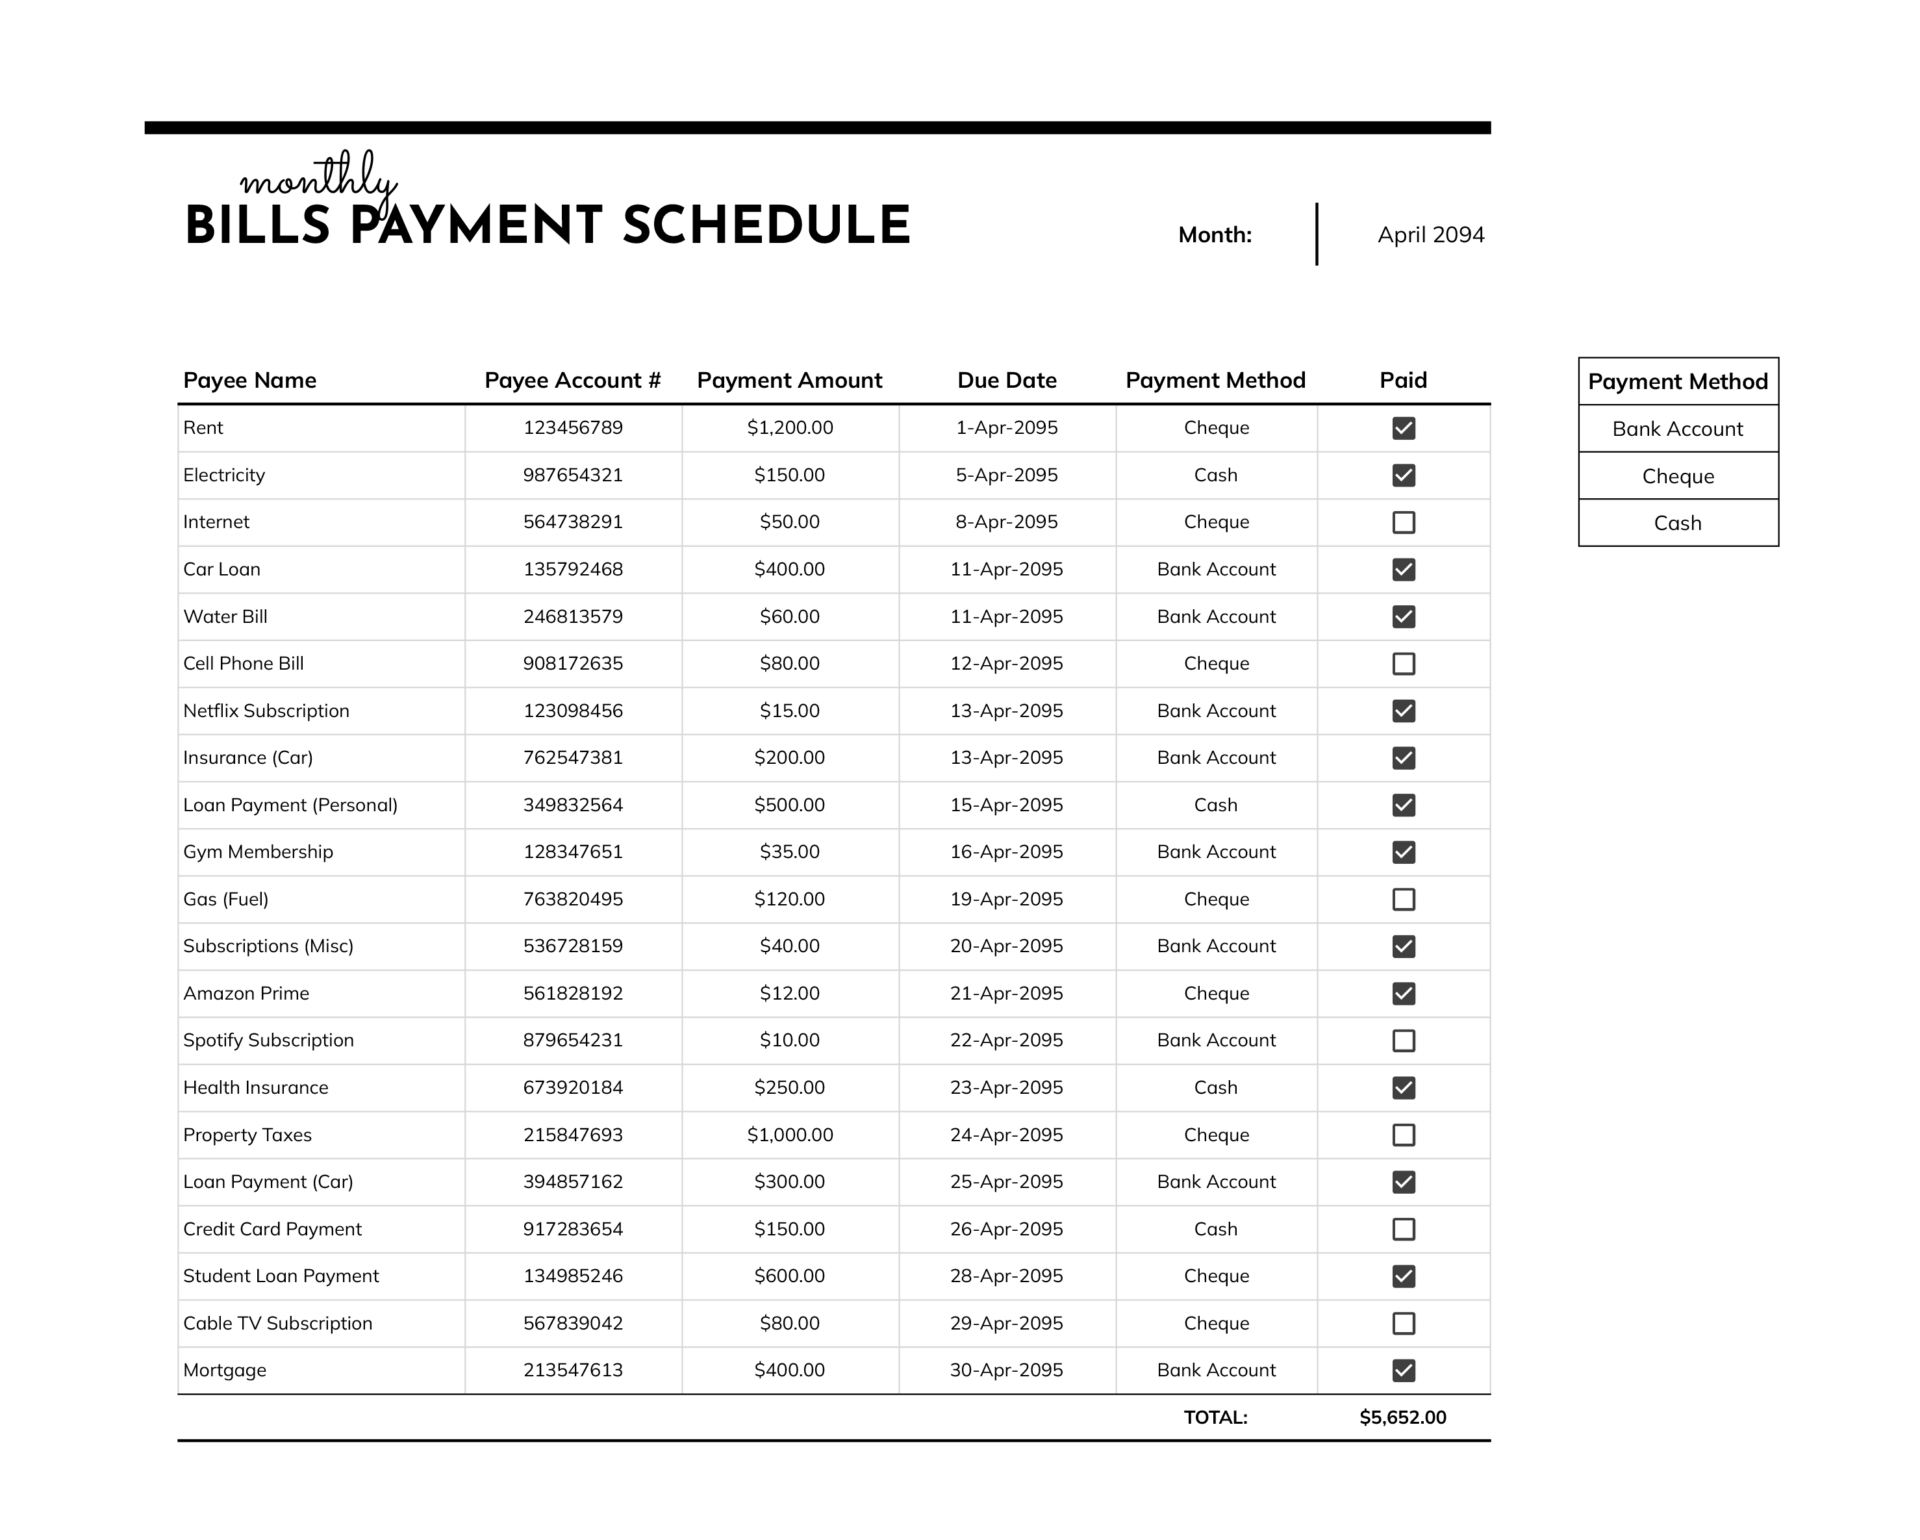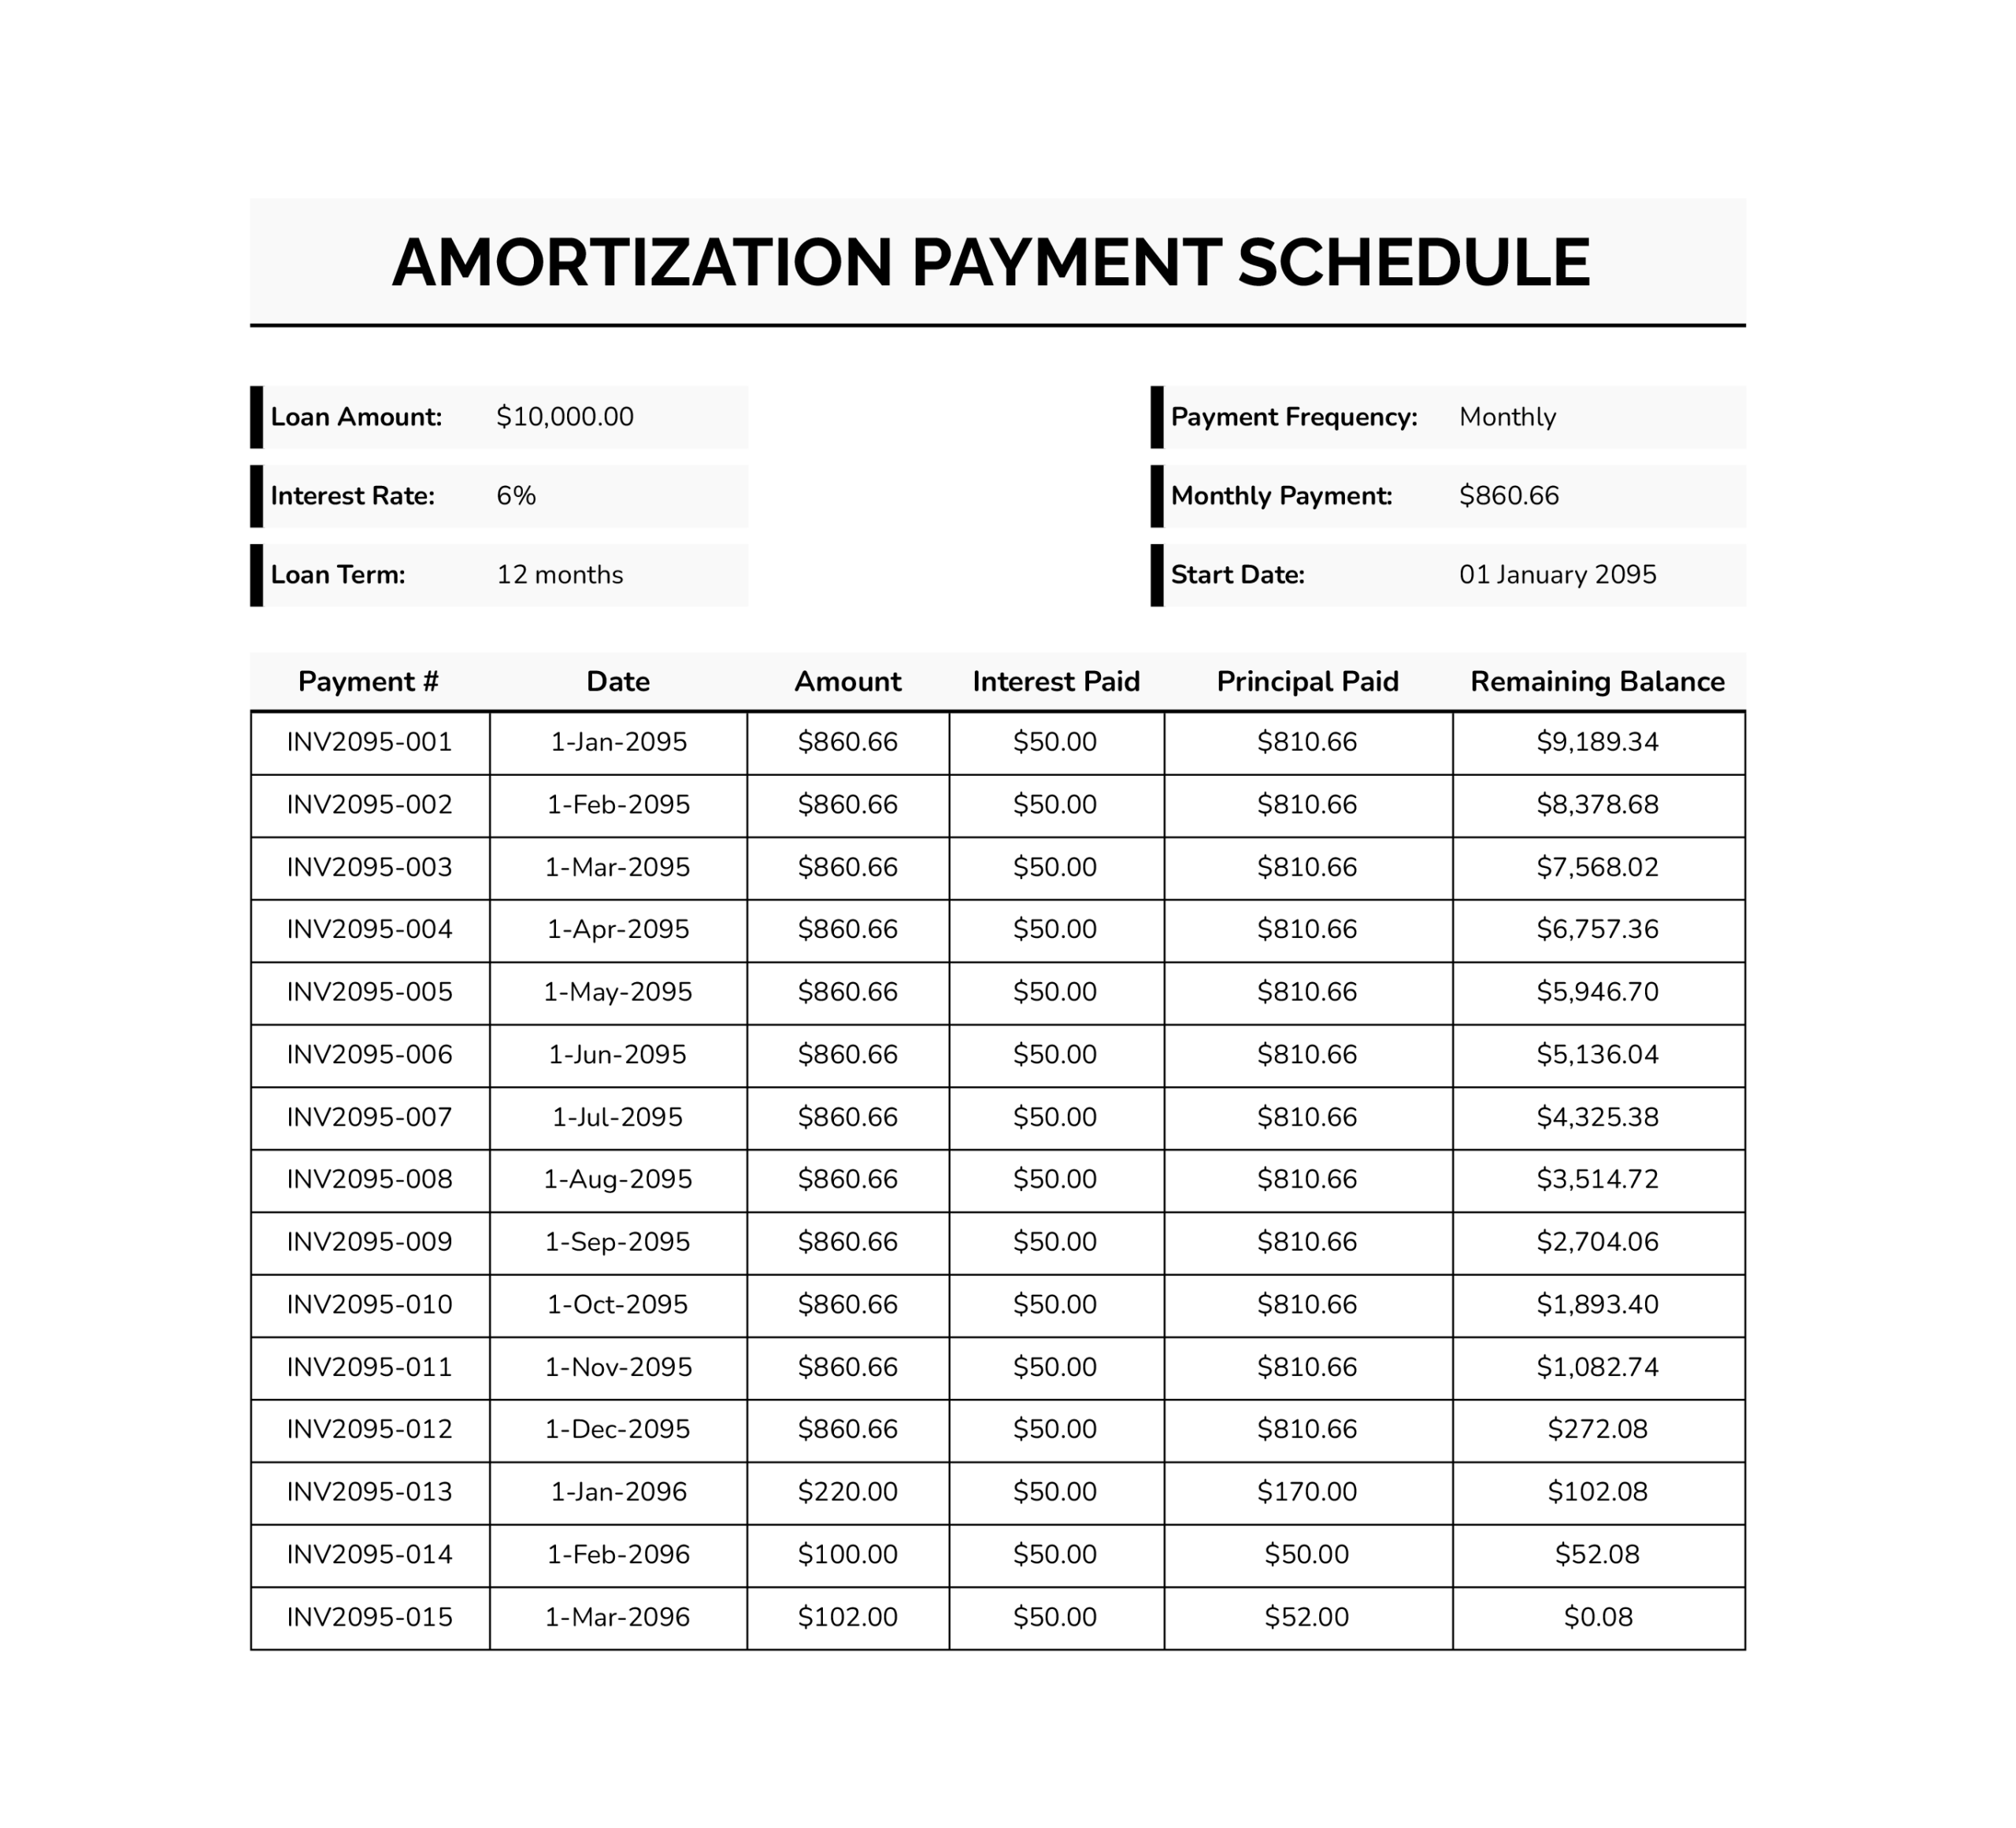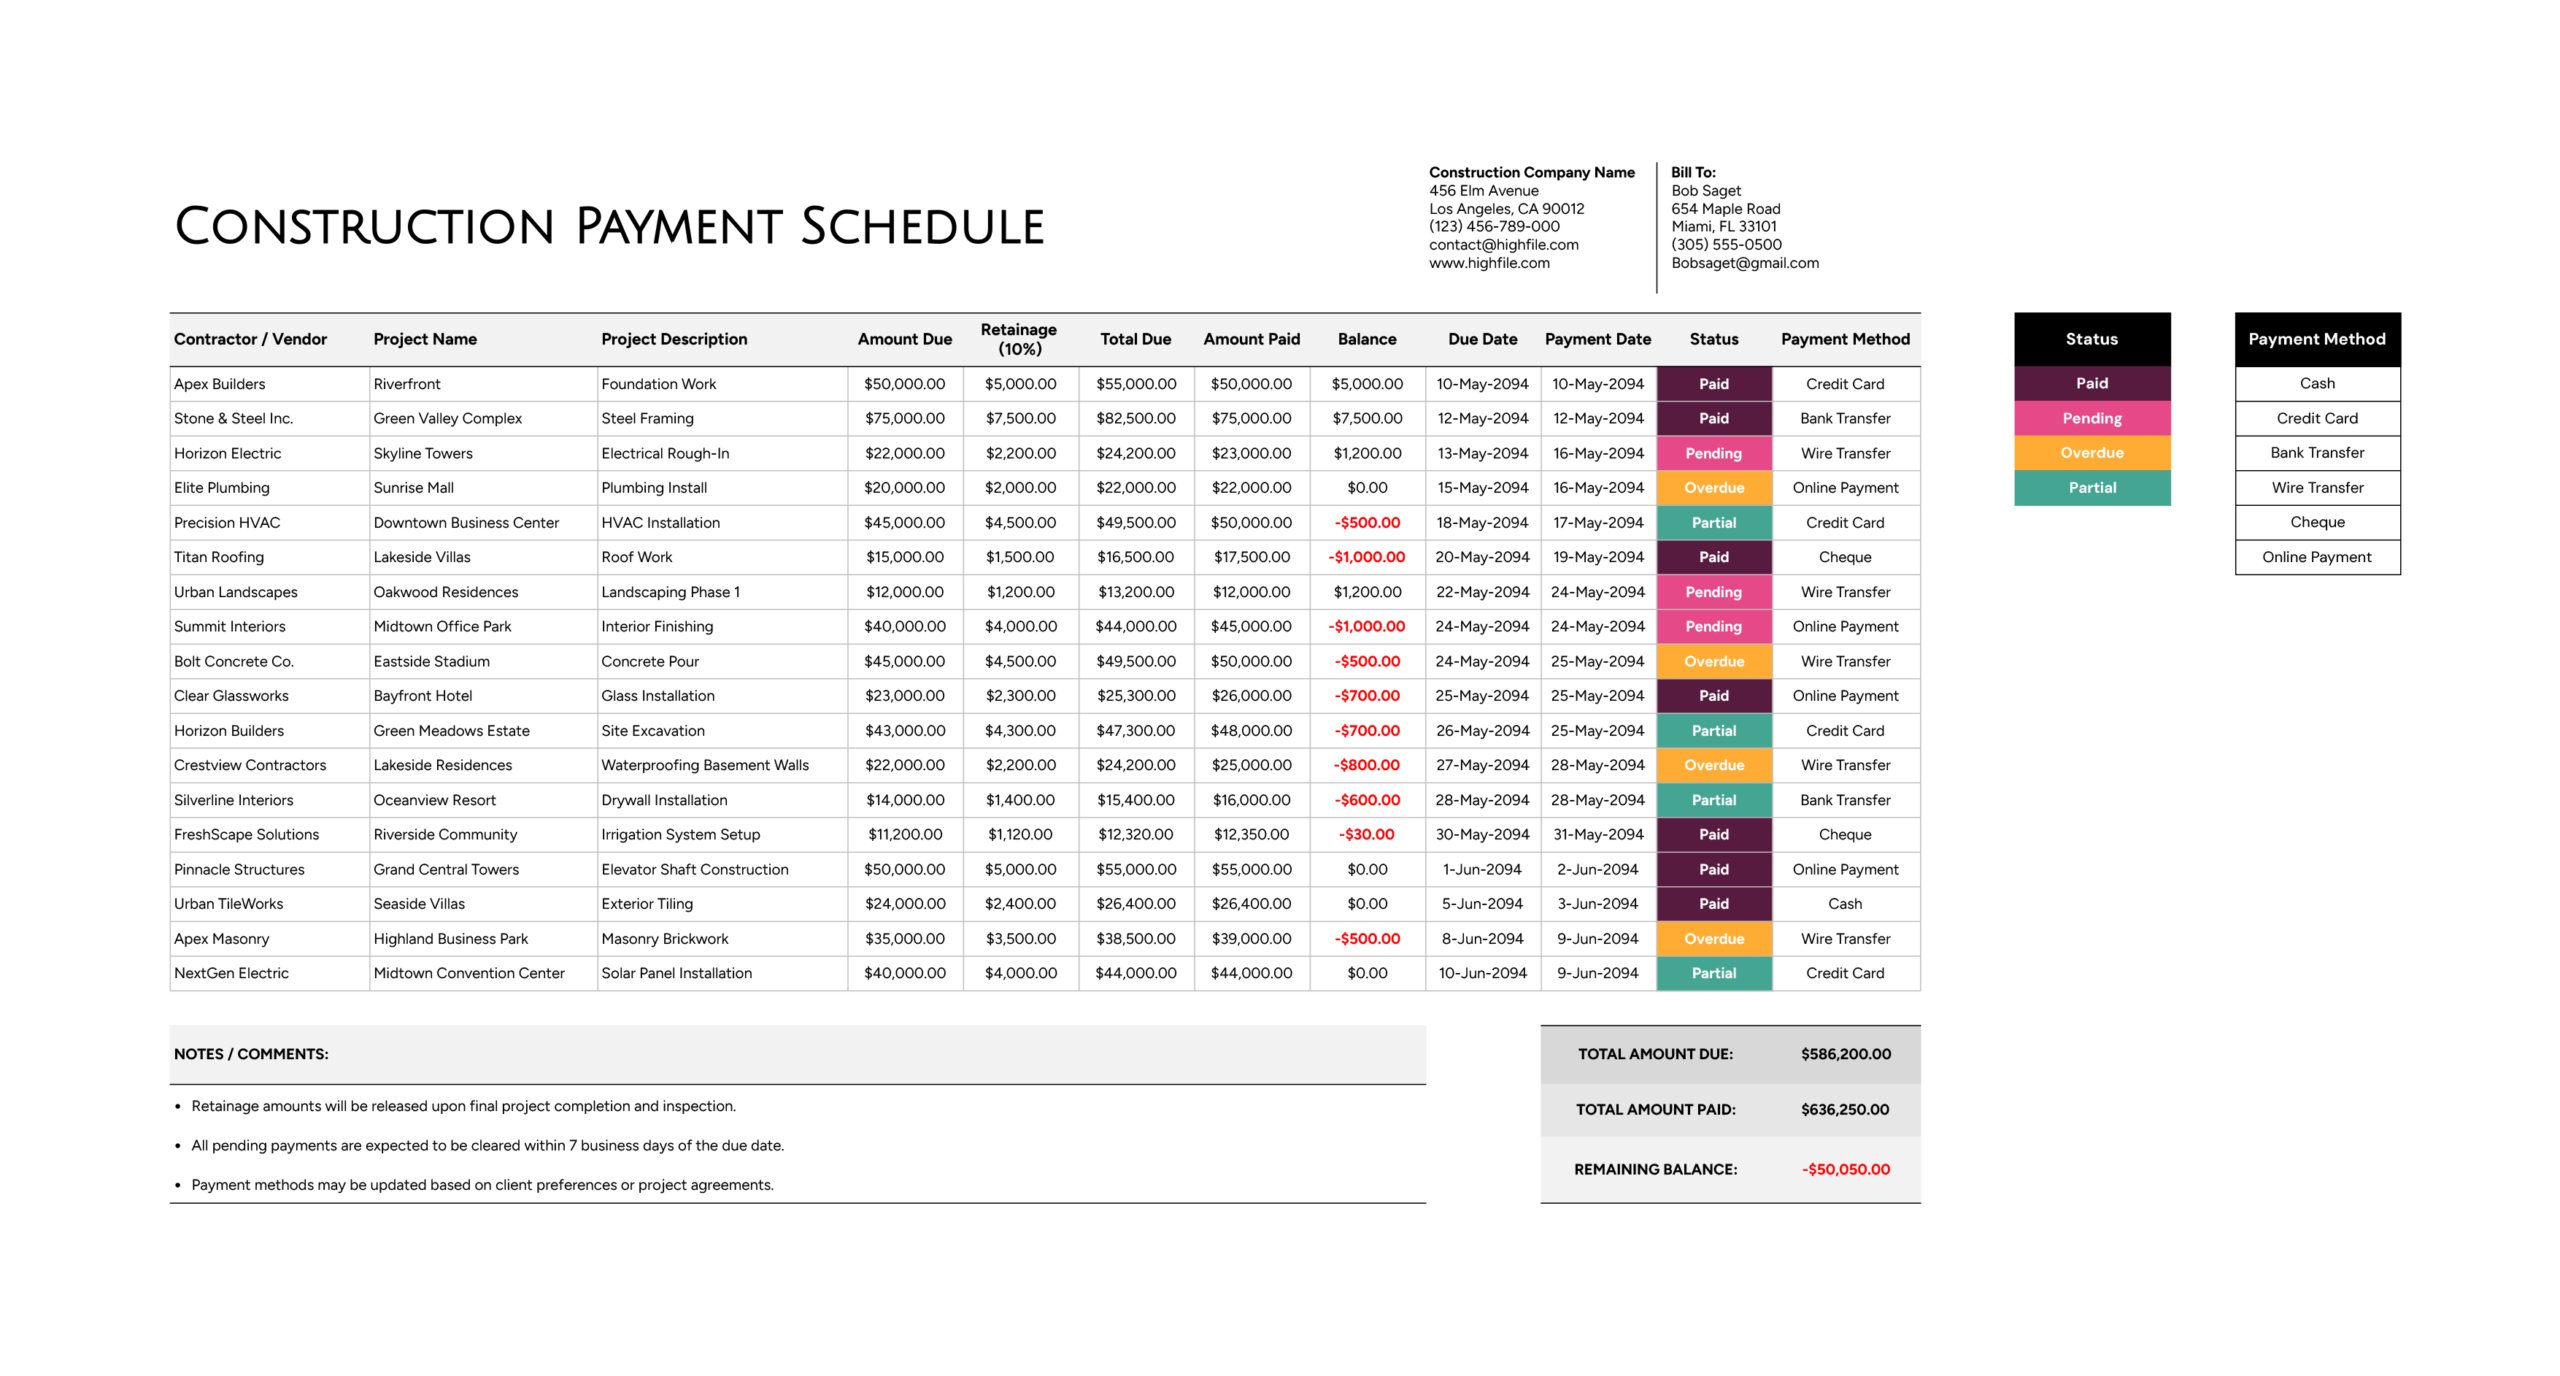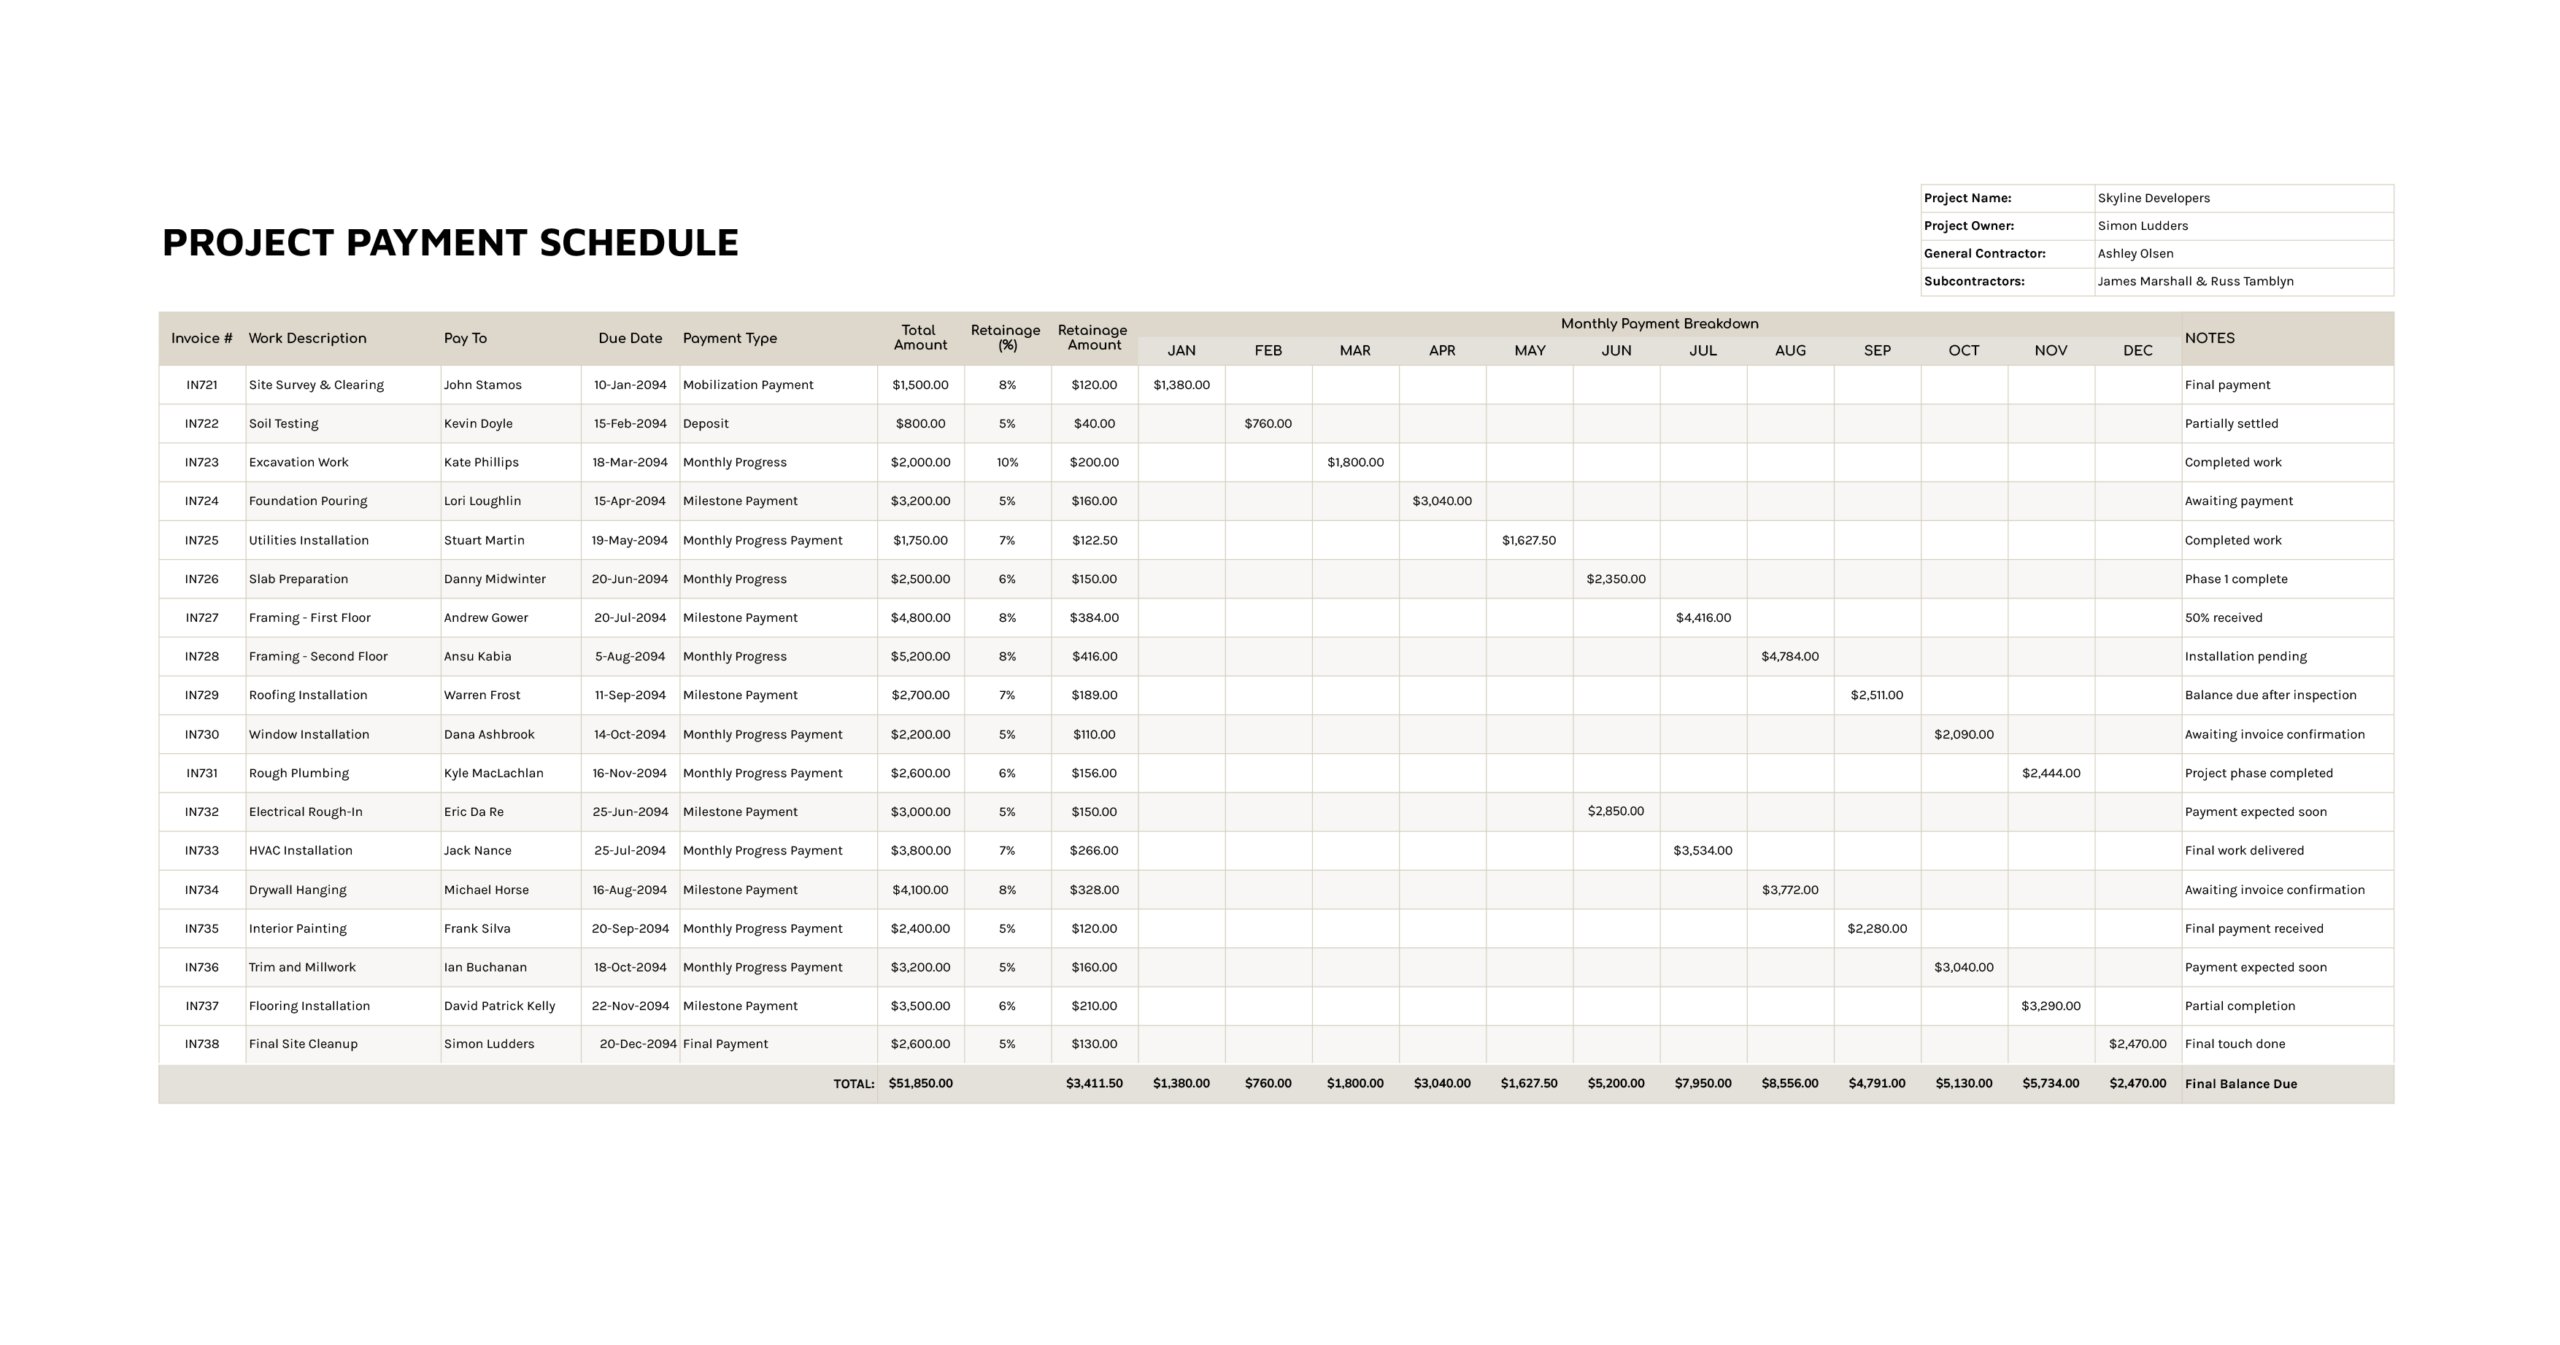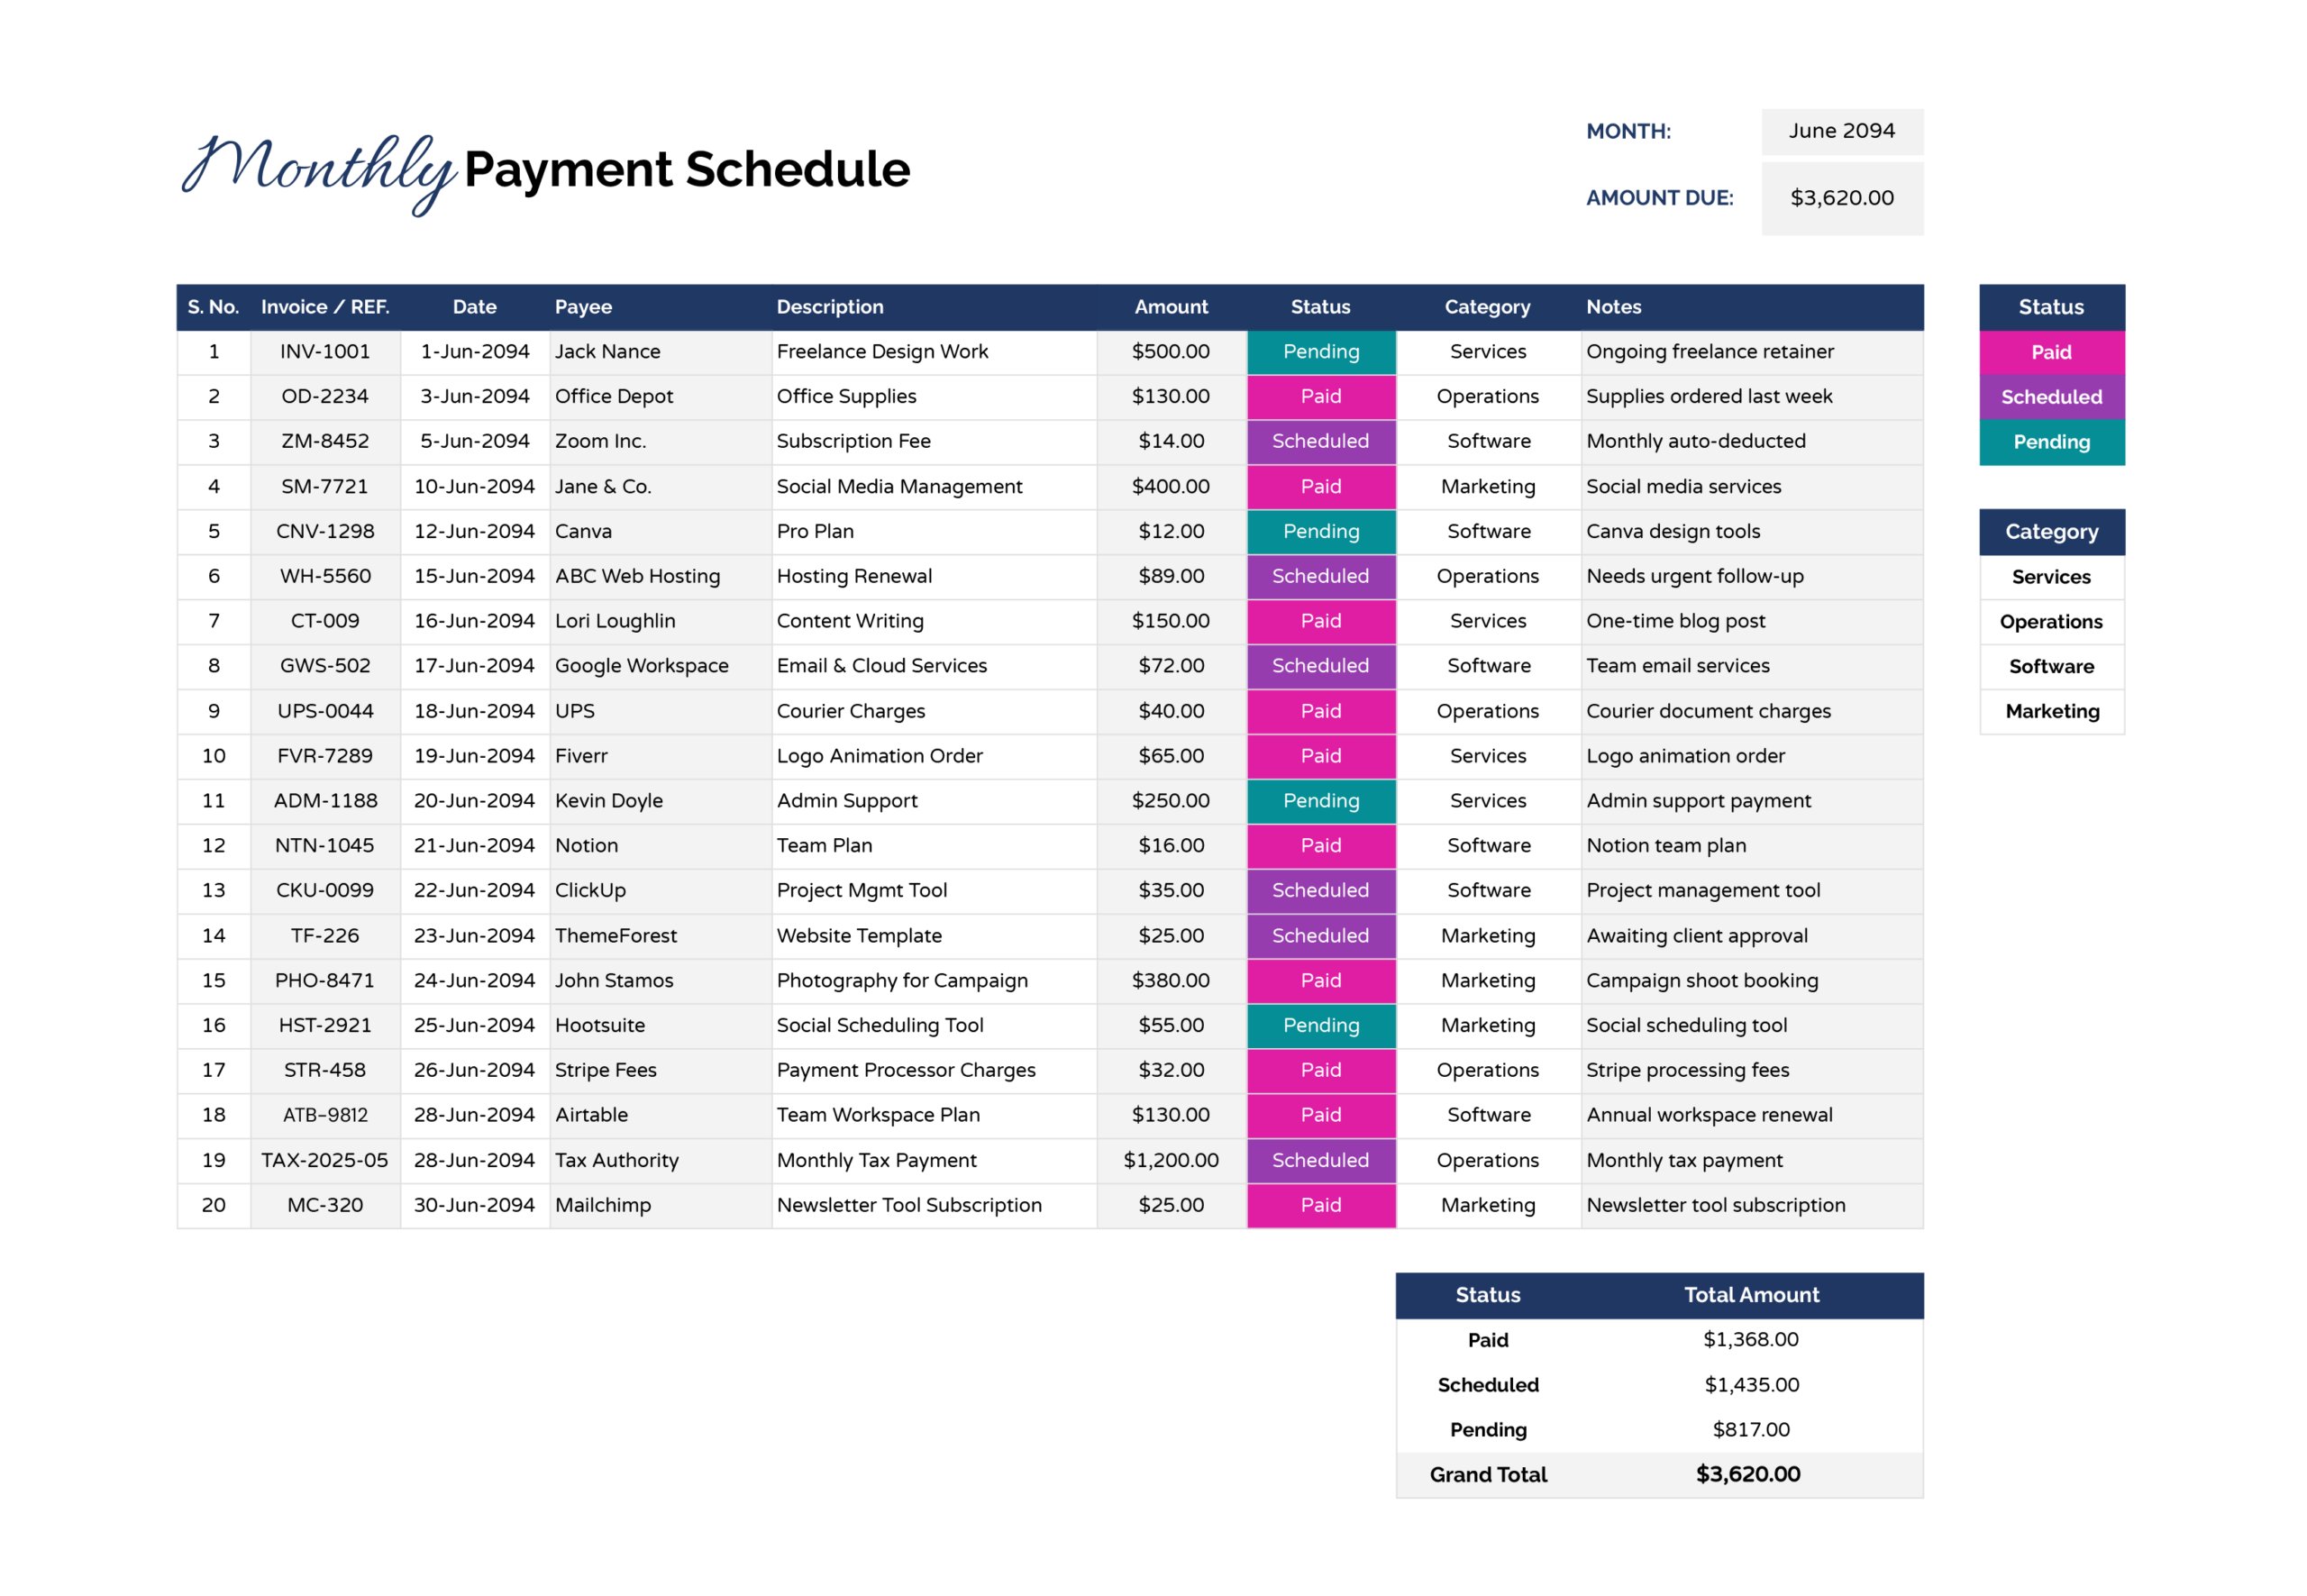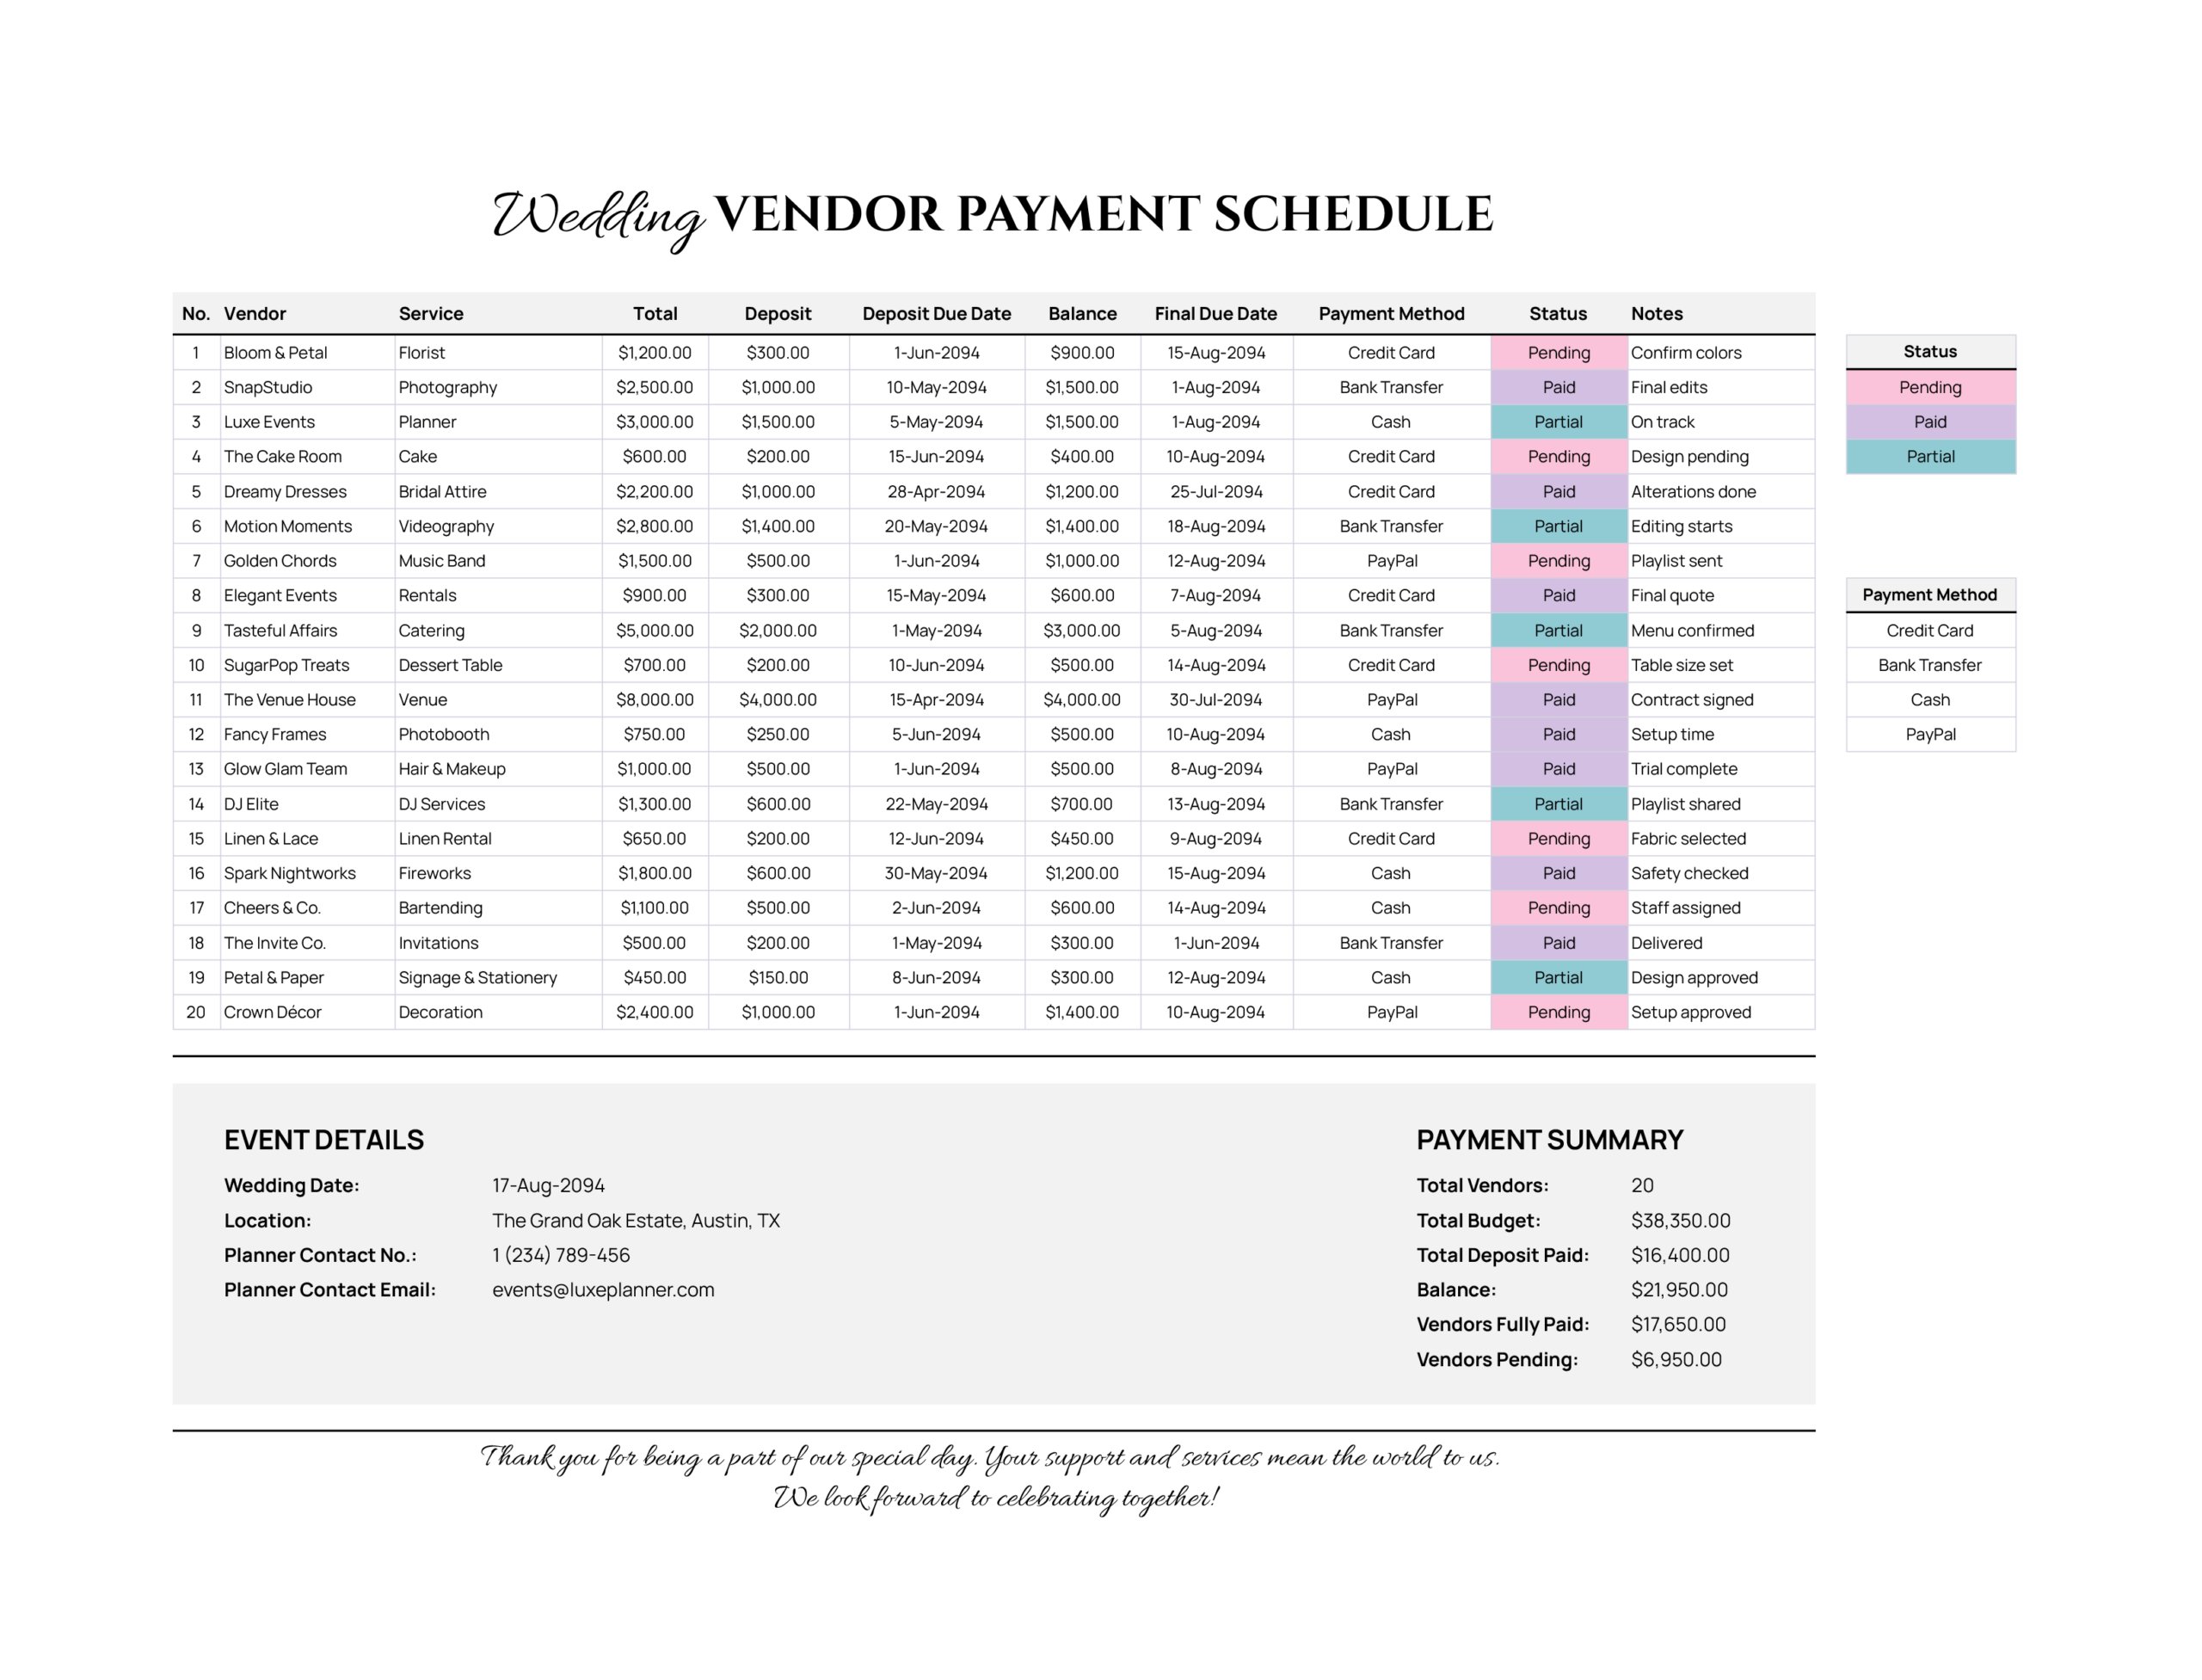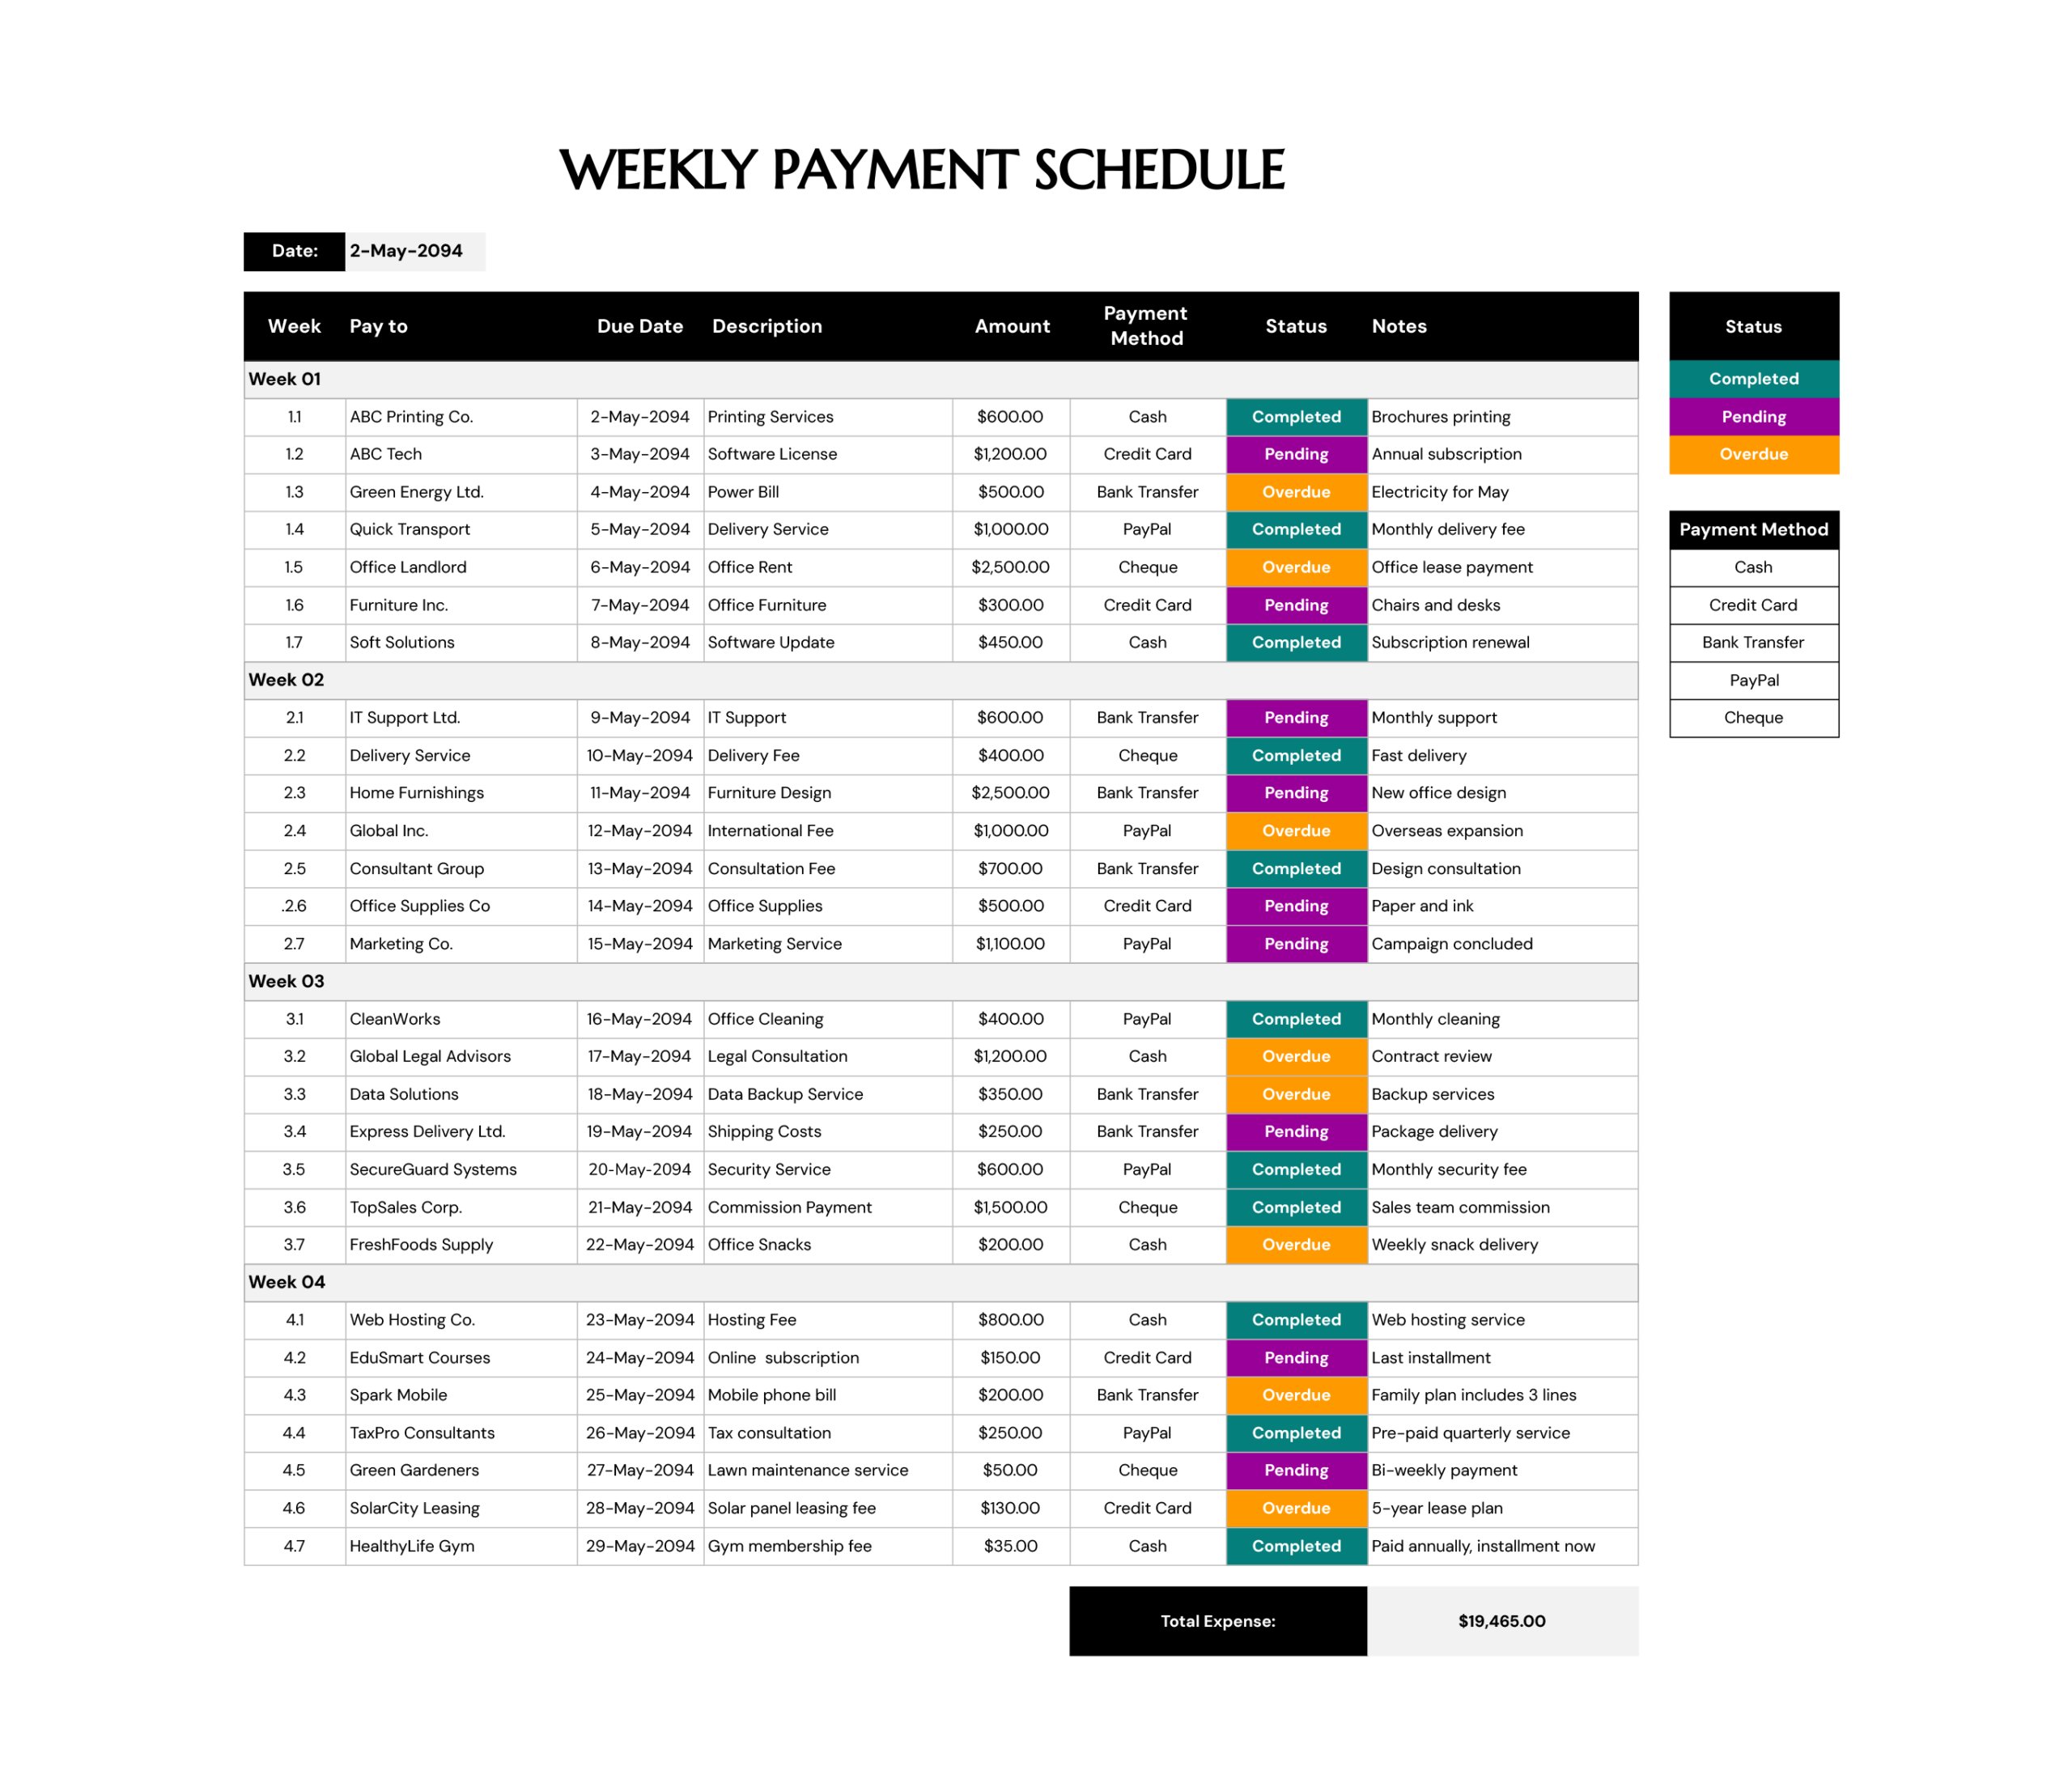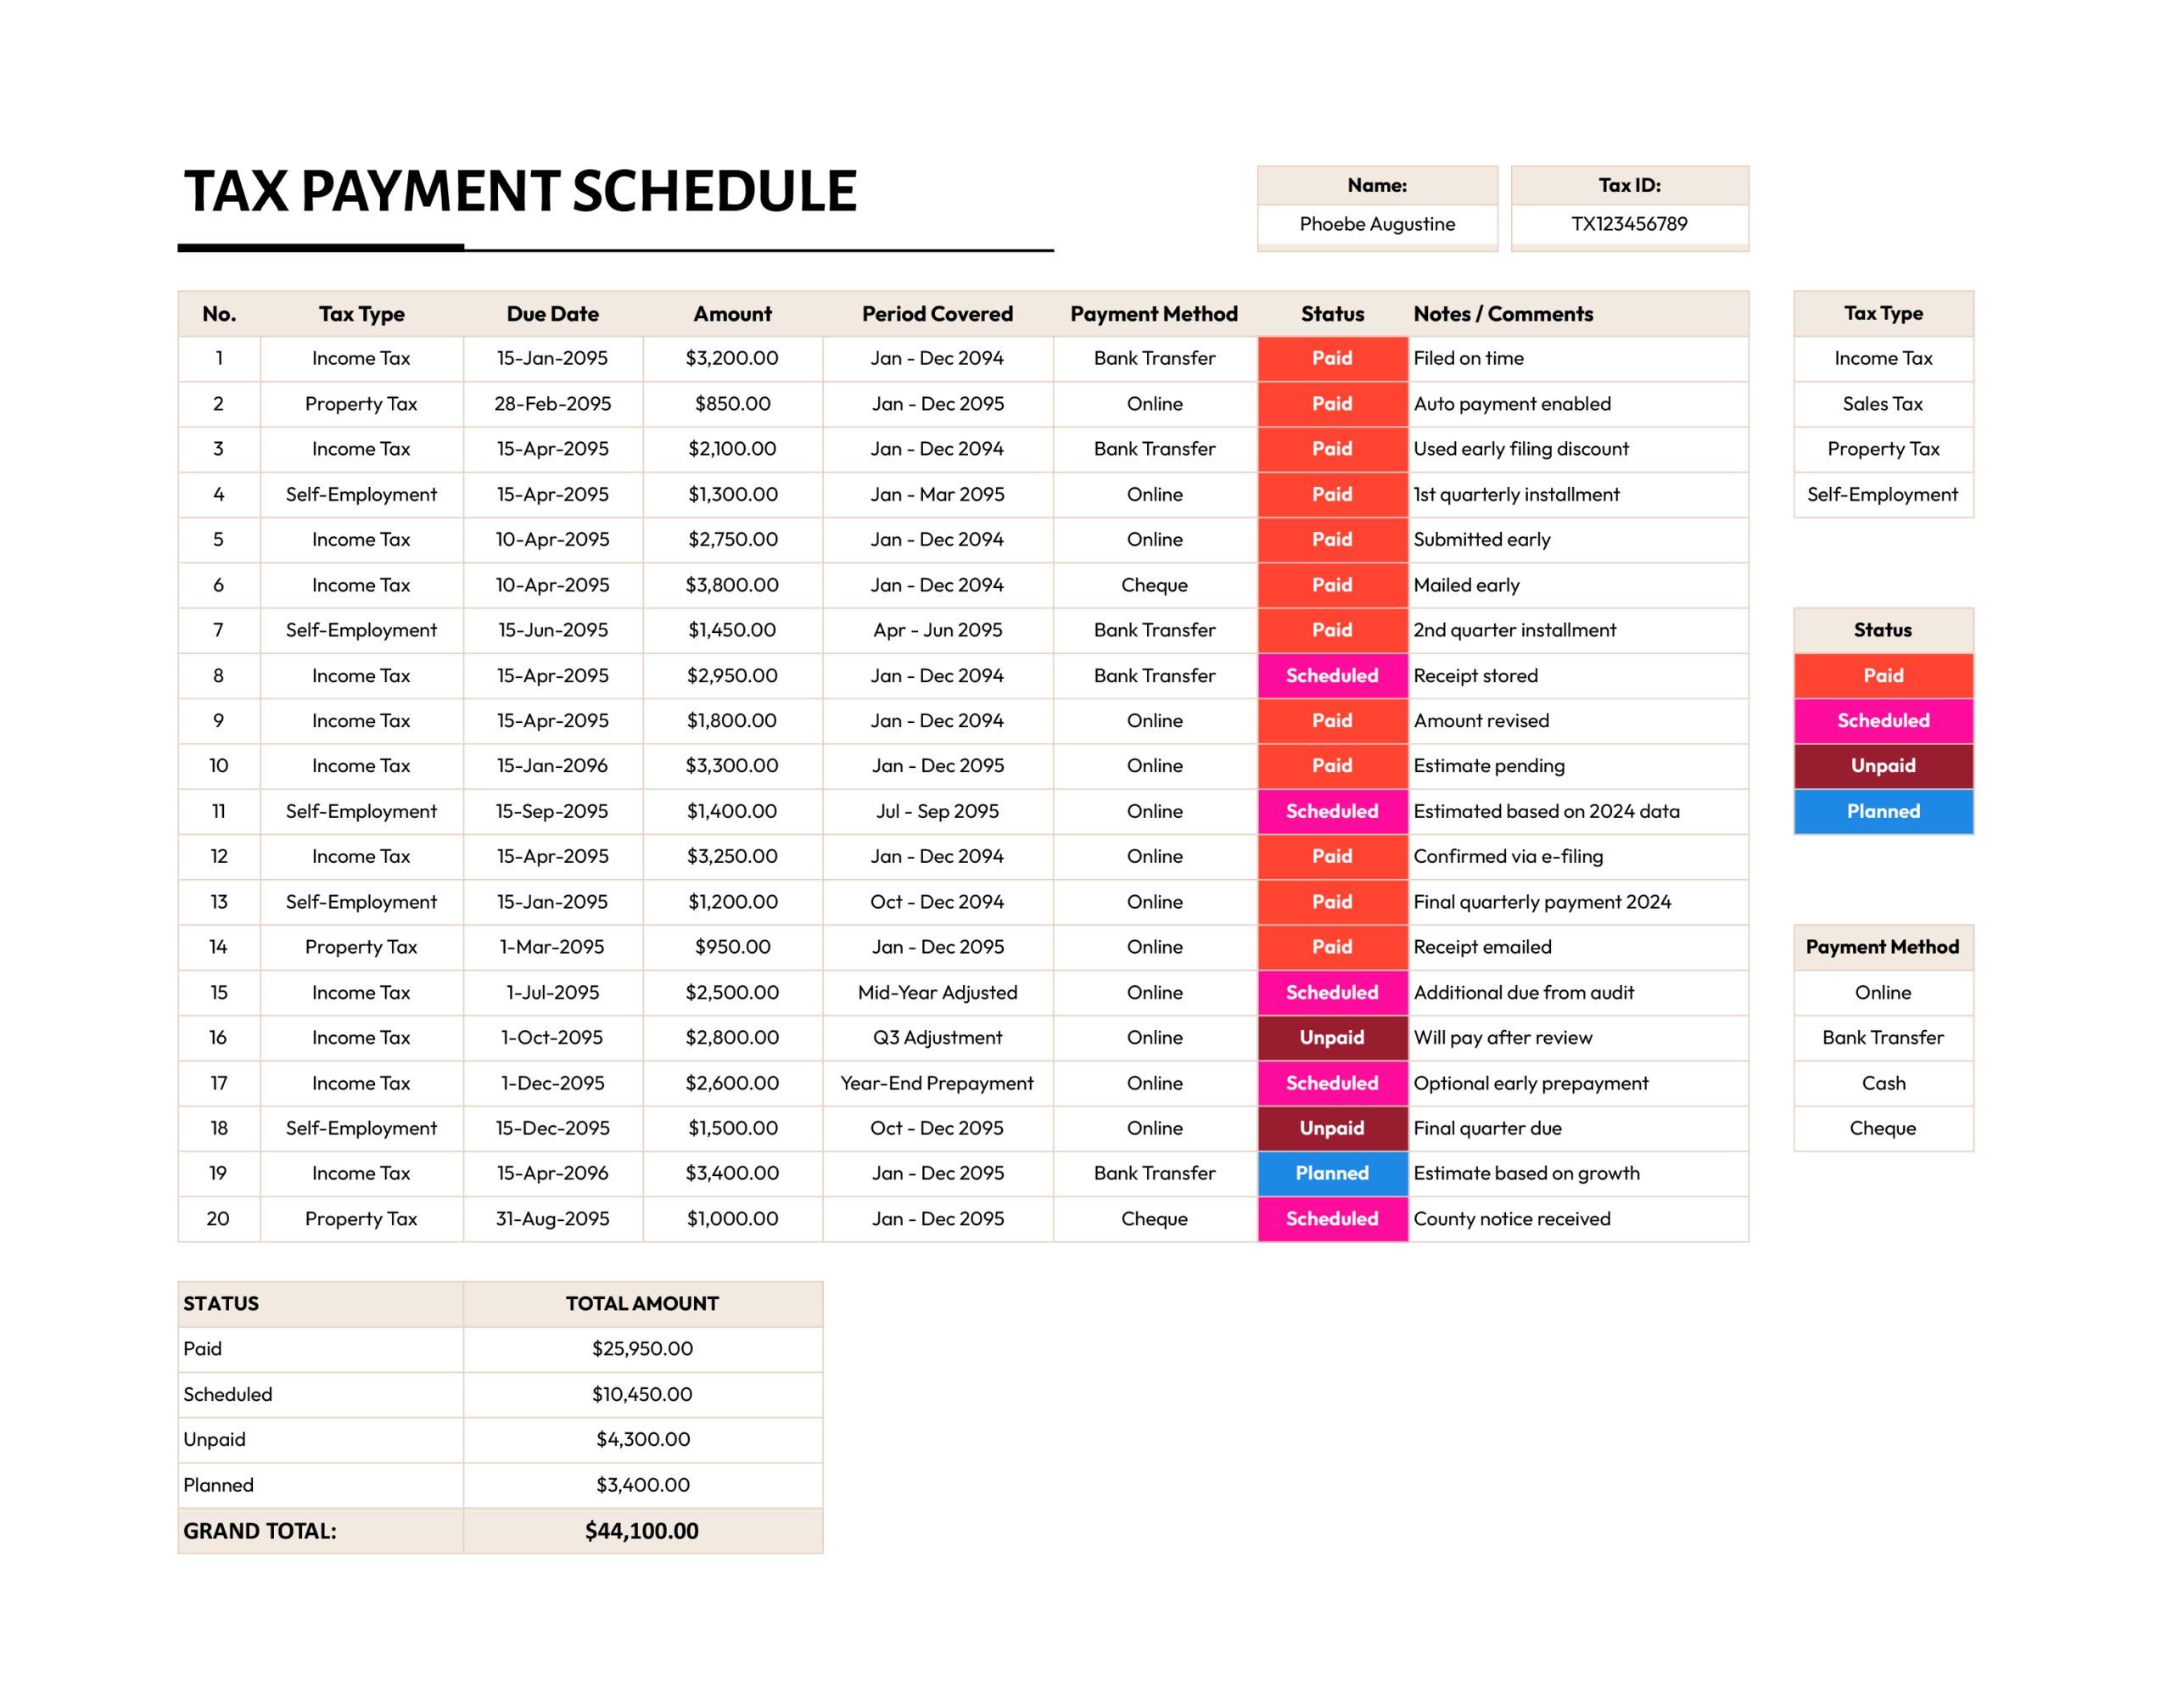


Tax payments can come from different agencies on different due dates, and the paperwork rarely stays in one place. A deadline might be noted on a letter, the payment confirmation sits in a portal, and the filing record ends up in a separate folder. This Tax Payment Schedule Template is built to keep those moving parts connected by turning each tax payment into a single line that records the due date, amount, period covered, payment method, status, and a short record of what happened.
This template fits both personal and business use. It works for self-employed taxpayers tracking estimated payments, small businesses logging sales and payroll-related tax payments, and property owners monitoring local tax due dates. It also suits bookkeeping workflows where payments need to be reviewed weekly or monthly, then referenced later during filing, audits, or notice responses.
How to Use This Tax Payment Schedule
This sheet works best when it is treated as a live register. Add upcoming payments as soon as a due date is known, then update the same line as the payment moves from planning to confirmation.
Add Identifying Details
At the top of the sheet, fill in “Name” and “Tax ID.” This keeps the schedule tied to the right person or entity when multiple schedules are stored, printed, or shared for review. For a business, “Tax ID” can be an EIN or the identifier used on filings and notices.
If taxes are tracked for multiple entities or locations, keep one schedule per entity and name the file by entity and tax year. That prevents mixed entries when due dates overlap.
Record Each Payment as One Trackable Entry
Each row is designed to represent one payment event. Enter “No.” as a simple reference number, then complete the remaining fields so the payment can be traced later without searching through messages or portals.
“Tax Type” is selected from a drop-down list so entries stay consistent. “Due Date” should match the official notice or portal date. “Amount” is the payment amount for that entry, even when it is part of a larger annual liability. “Period Covered” is where the record becomes easier to reconcile later, since it notes what the payment applies to, such as a tax year, a quarter, or an adjustment period.
“Payment Method” tracks how the payment was sent, and “Notes / Comments” holds the proof trail. This can include confirmation numbers, check numbers, mailing dates, reference IDs, portal screenshots saved, or short remarks explaining why an amount changed.
Use a consistent style in “Period Covered,” such as “Jan – Mar 20XX” for quarters or “Jan – Dec 20XX” for annual periods. Matching labels make sorting and year-end review faster.
Use Status to Manage Timing, Not Just Recordkeeping
The “Status” field uses a drop-down list with color cues, so the table stays readable during quick reviews.
“Planned” is for the items that are expected but not arranged yet. “Scheduled” is for payments that have been set up through a portal, bank transfer, or autopay but are not fully confirmed. “Paid” is for entries that have a receipt or confirmation. “Unpaid” fits items that are past due or temporarily on hold while a notice, adjustment, or review is pending.
Review the Status Totals for Upcoming Cash Needs
The totals area groups amounts by status and shows a grand total. This makes it easier to separate payments already completed from payments scheduled or still pending, especially during a weekly finance check-in or at month-end. For planning, focus on the “Scheduled” and “Planned” totals to estimate what may be leaving the account soon.
Customize Drop-Down Lists Without Breaking Consistency
The sheet includes reference lists for “Tax Type,” “Status,” and “Payment Method” on the right side. Edit those lists to match the exact tax categories and internal wording used for tracking. After adding new list items, extend the drop-down ranges so new choices show up inside the table.
When the table needs more rows than the initial entry area, copy an existing formatted row downward so drop-downs and status color cues carry over. If the totals area is used for rollups, expand the formula ranges so new rows are included in the summary.
FAQs
Create a separate entry for the extension payment and label “Period Covered” with the tax year it applies to, then note “Extension payment” in “Notes / Comments” with the confirmation reference. If an additional payment is made after filing due to a balance due, record it as a new line and reference the return type in notes, such as “Balance due after filing” or “Adjustment after notice,” along with the notice or filing confirmation.
Keep the original entry and update the “Amount” to the final figure, then use “Notes / Comments” to document why the change happened and where the updated number came from. If it is important to retain the original estimate for comparison, add a second entry that records the adjustment amount and label it in notes as an increase or decrease tied to the original line number.
Keep one schedule per property or location when due dates and tax bills vary. If one schedule must cover several properties, add the property name or location code at the start of “Notes / Comments” for every row so entries can still be filtered or scanned without confusion.