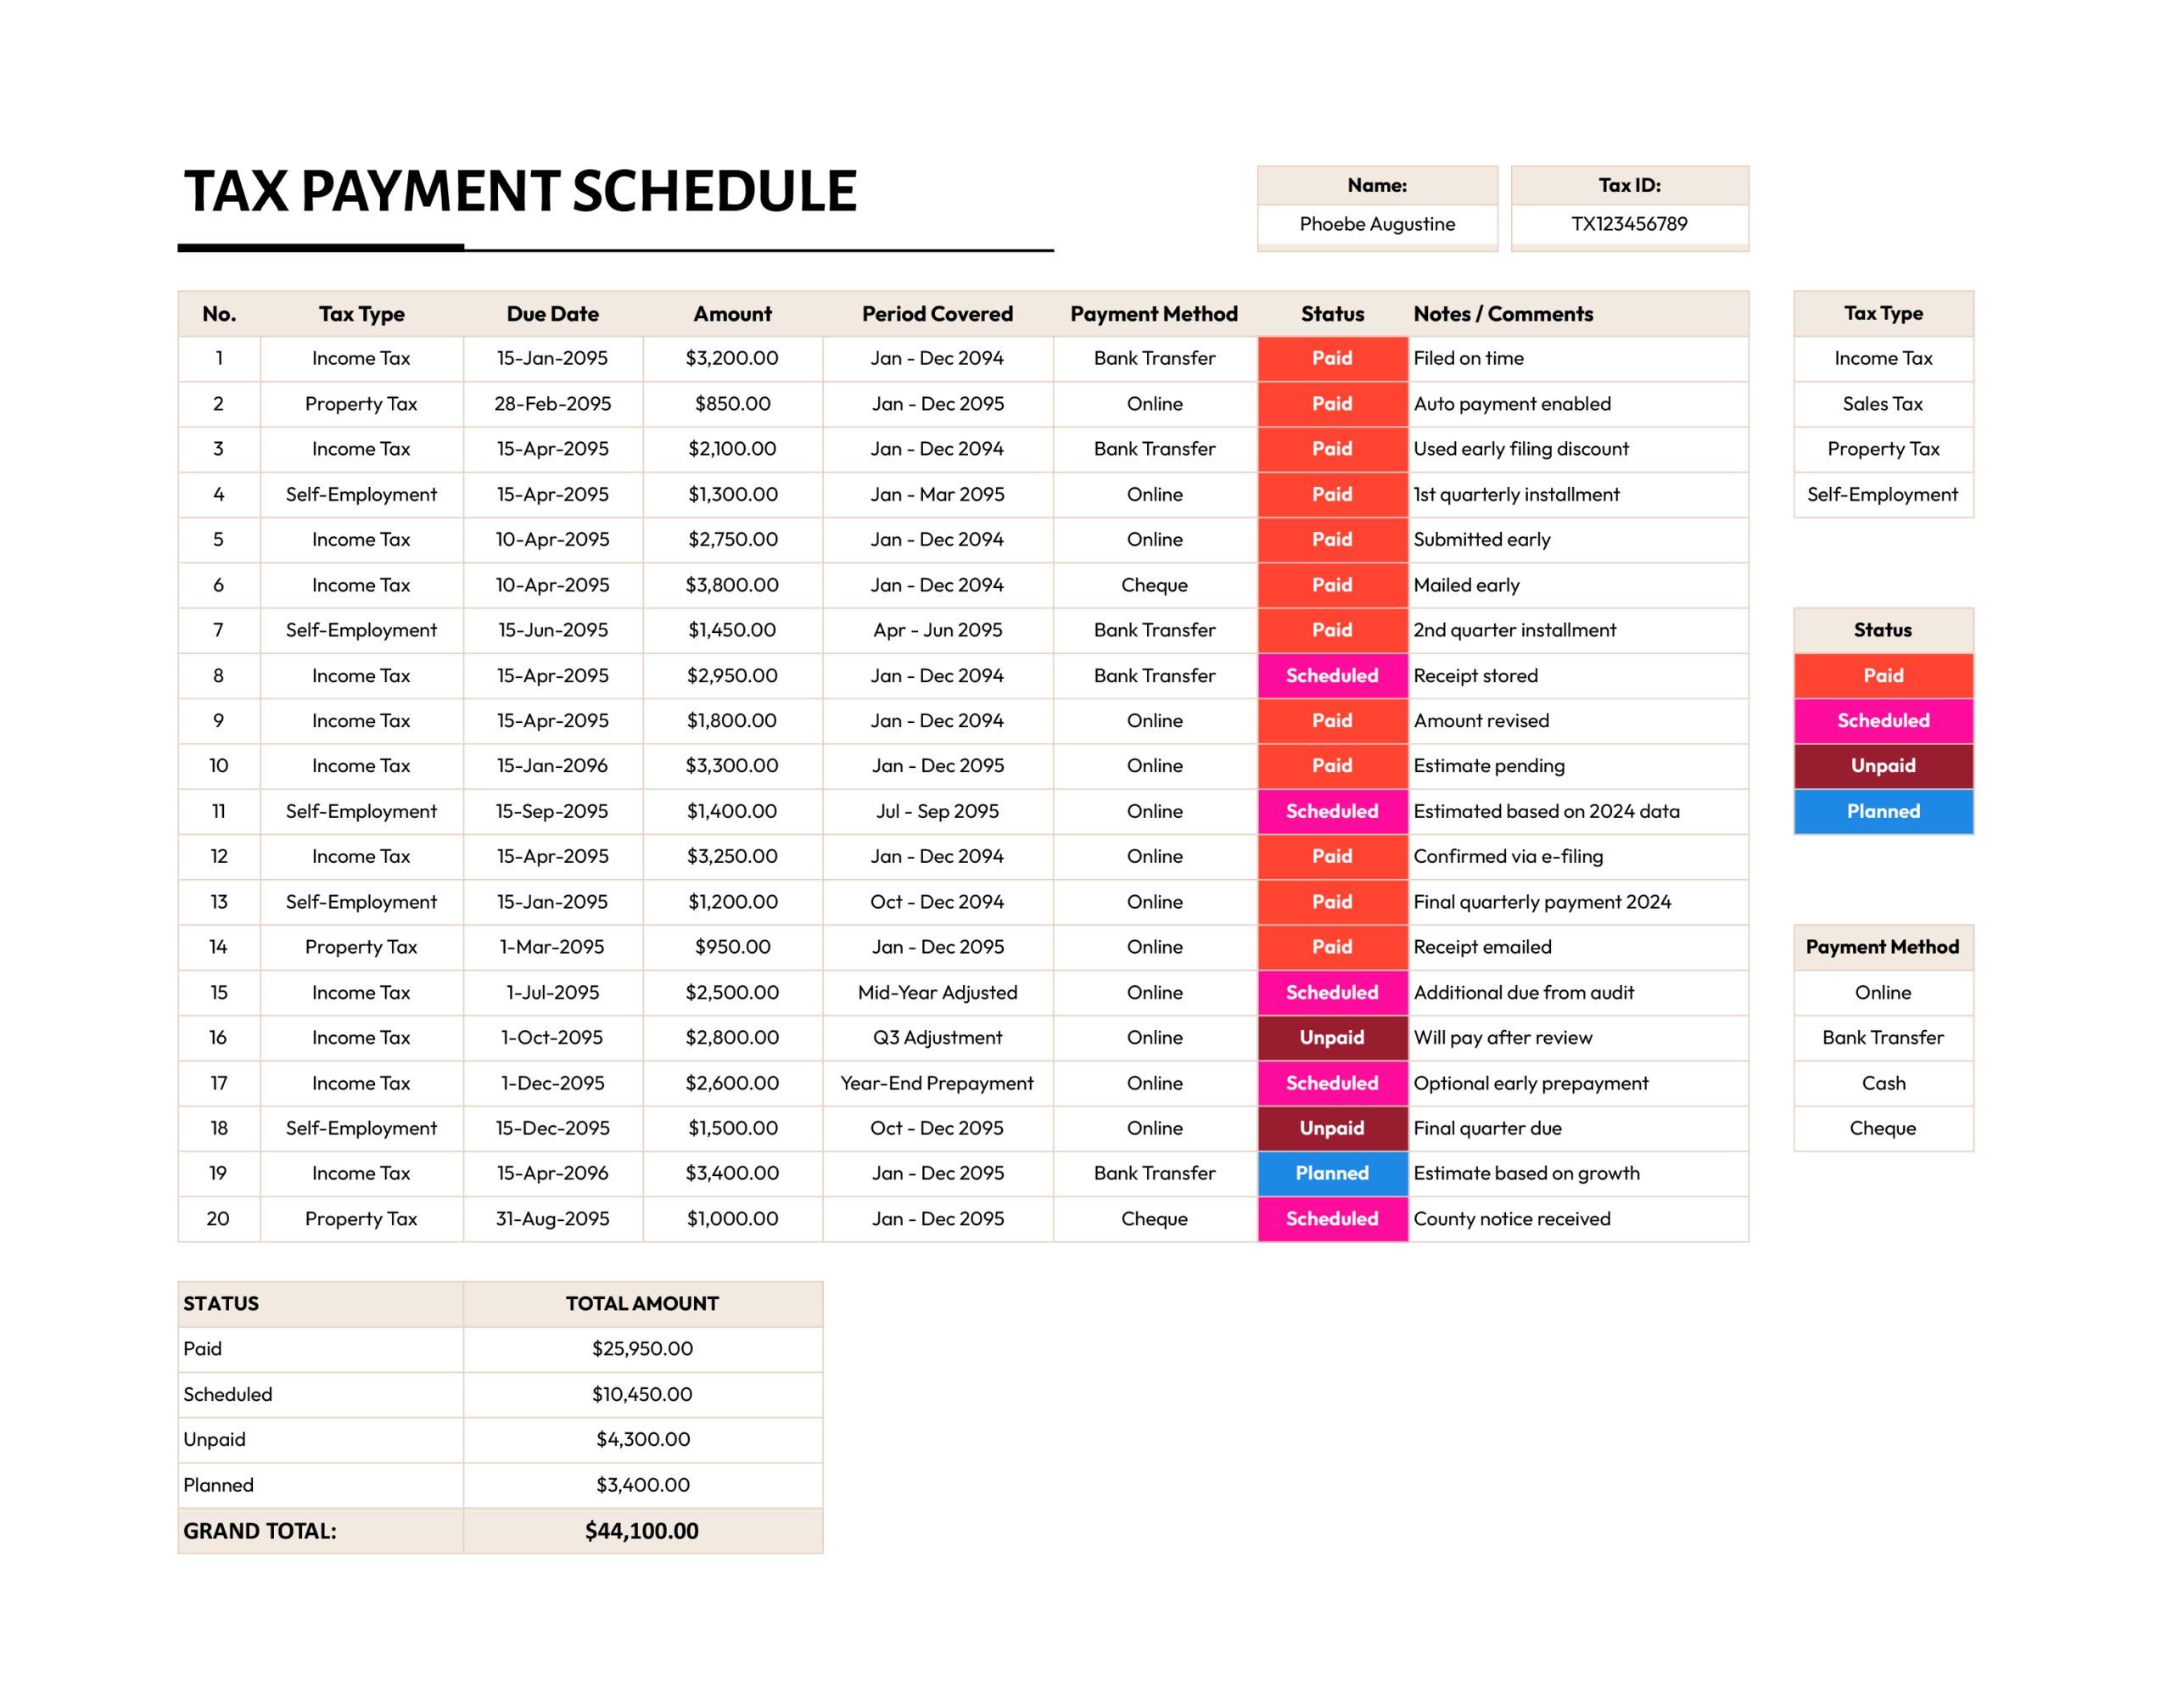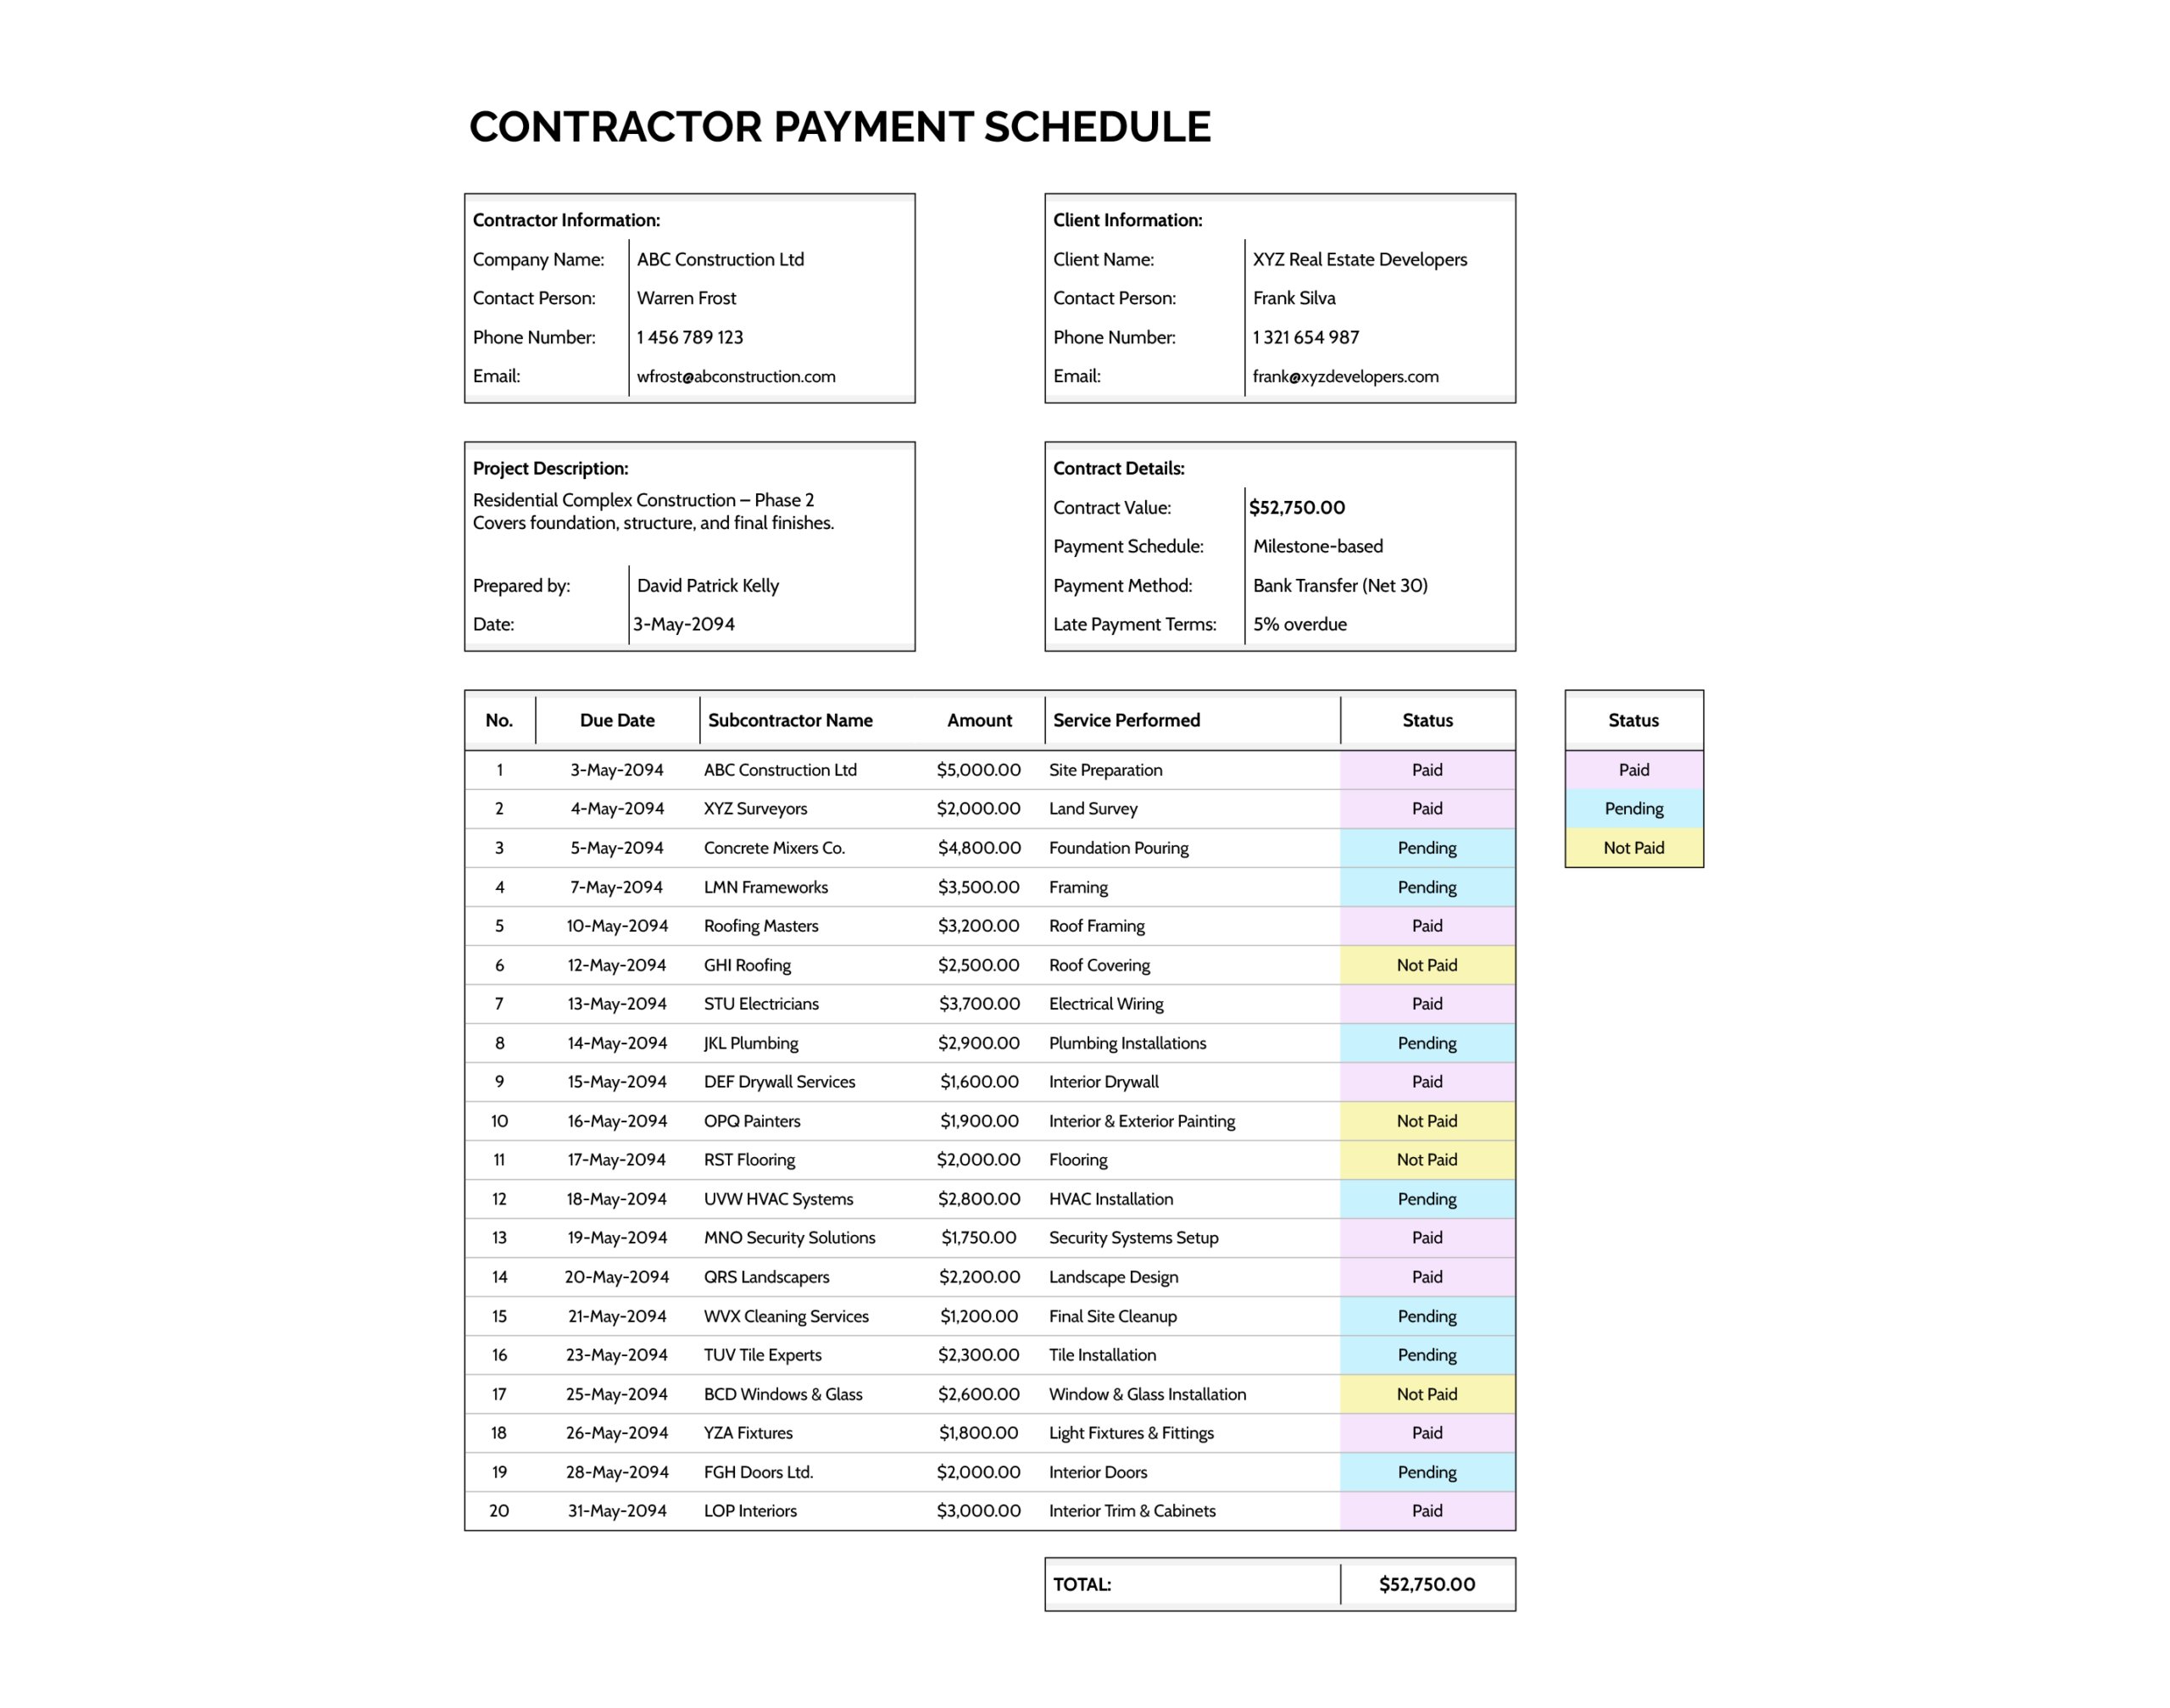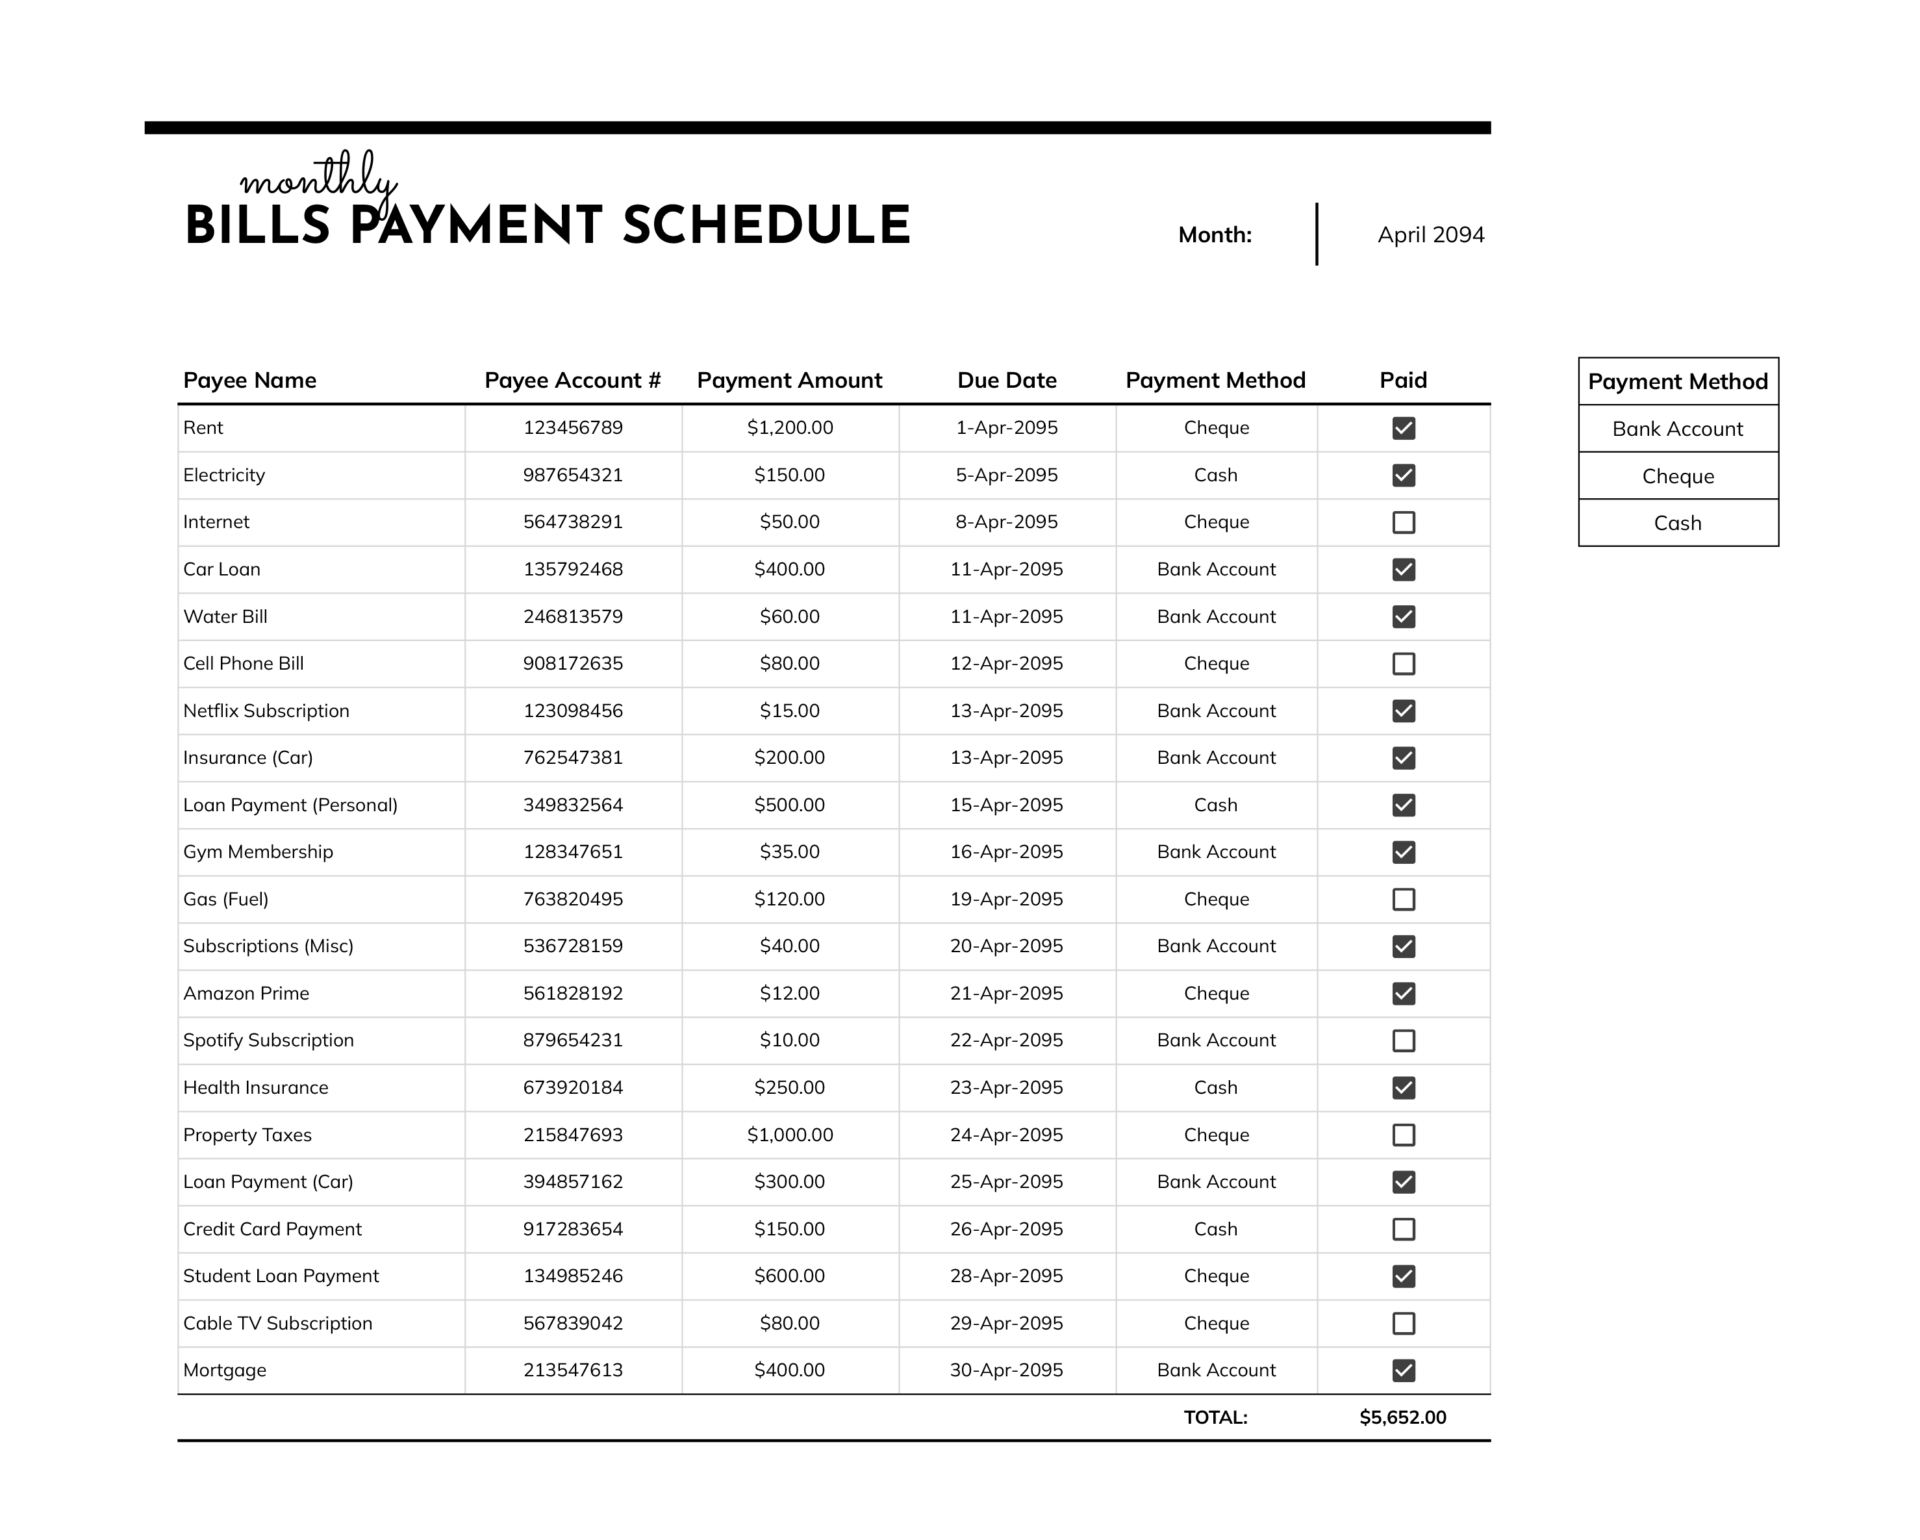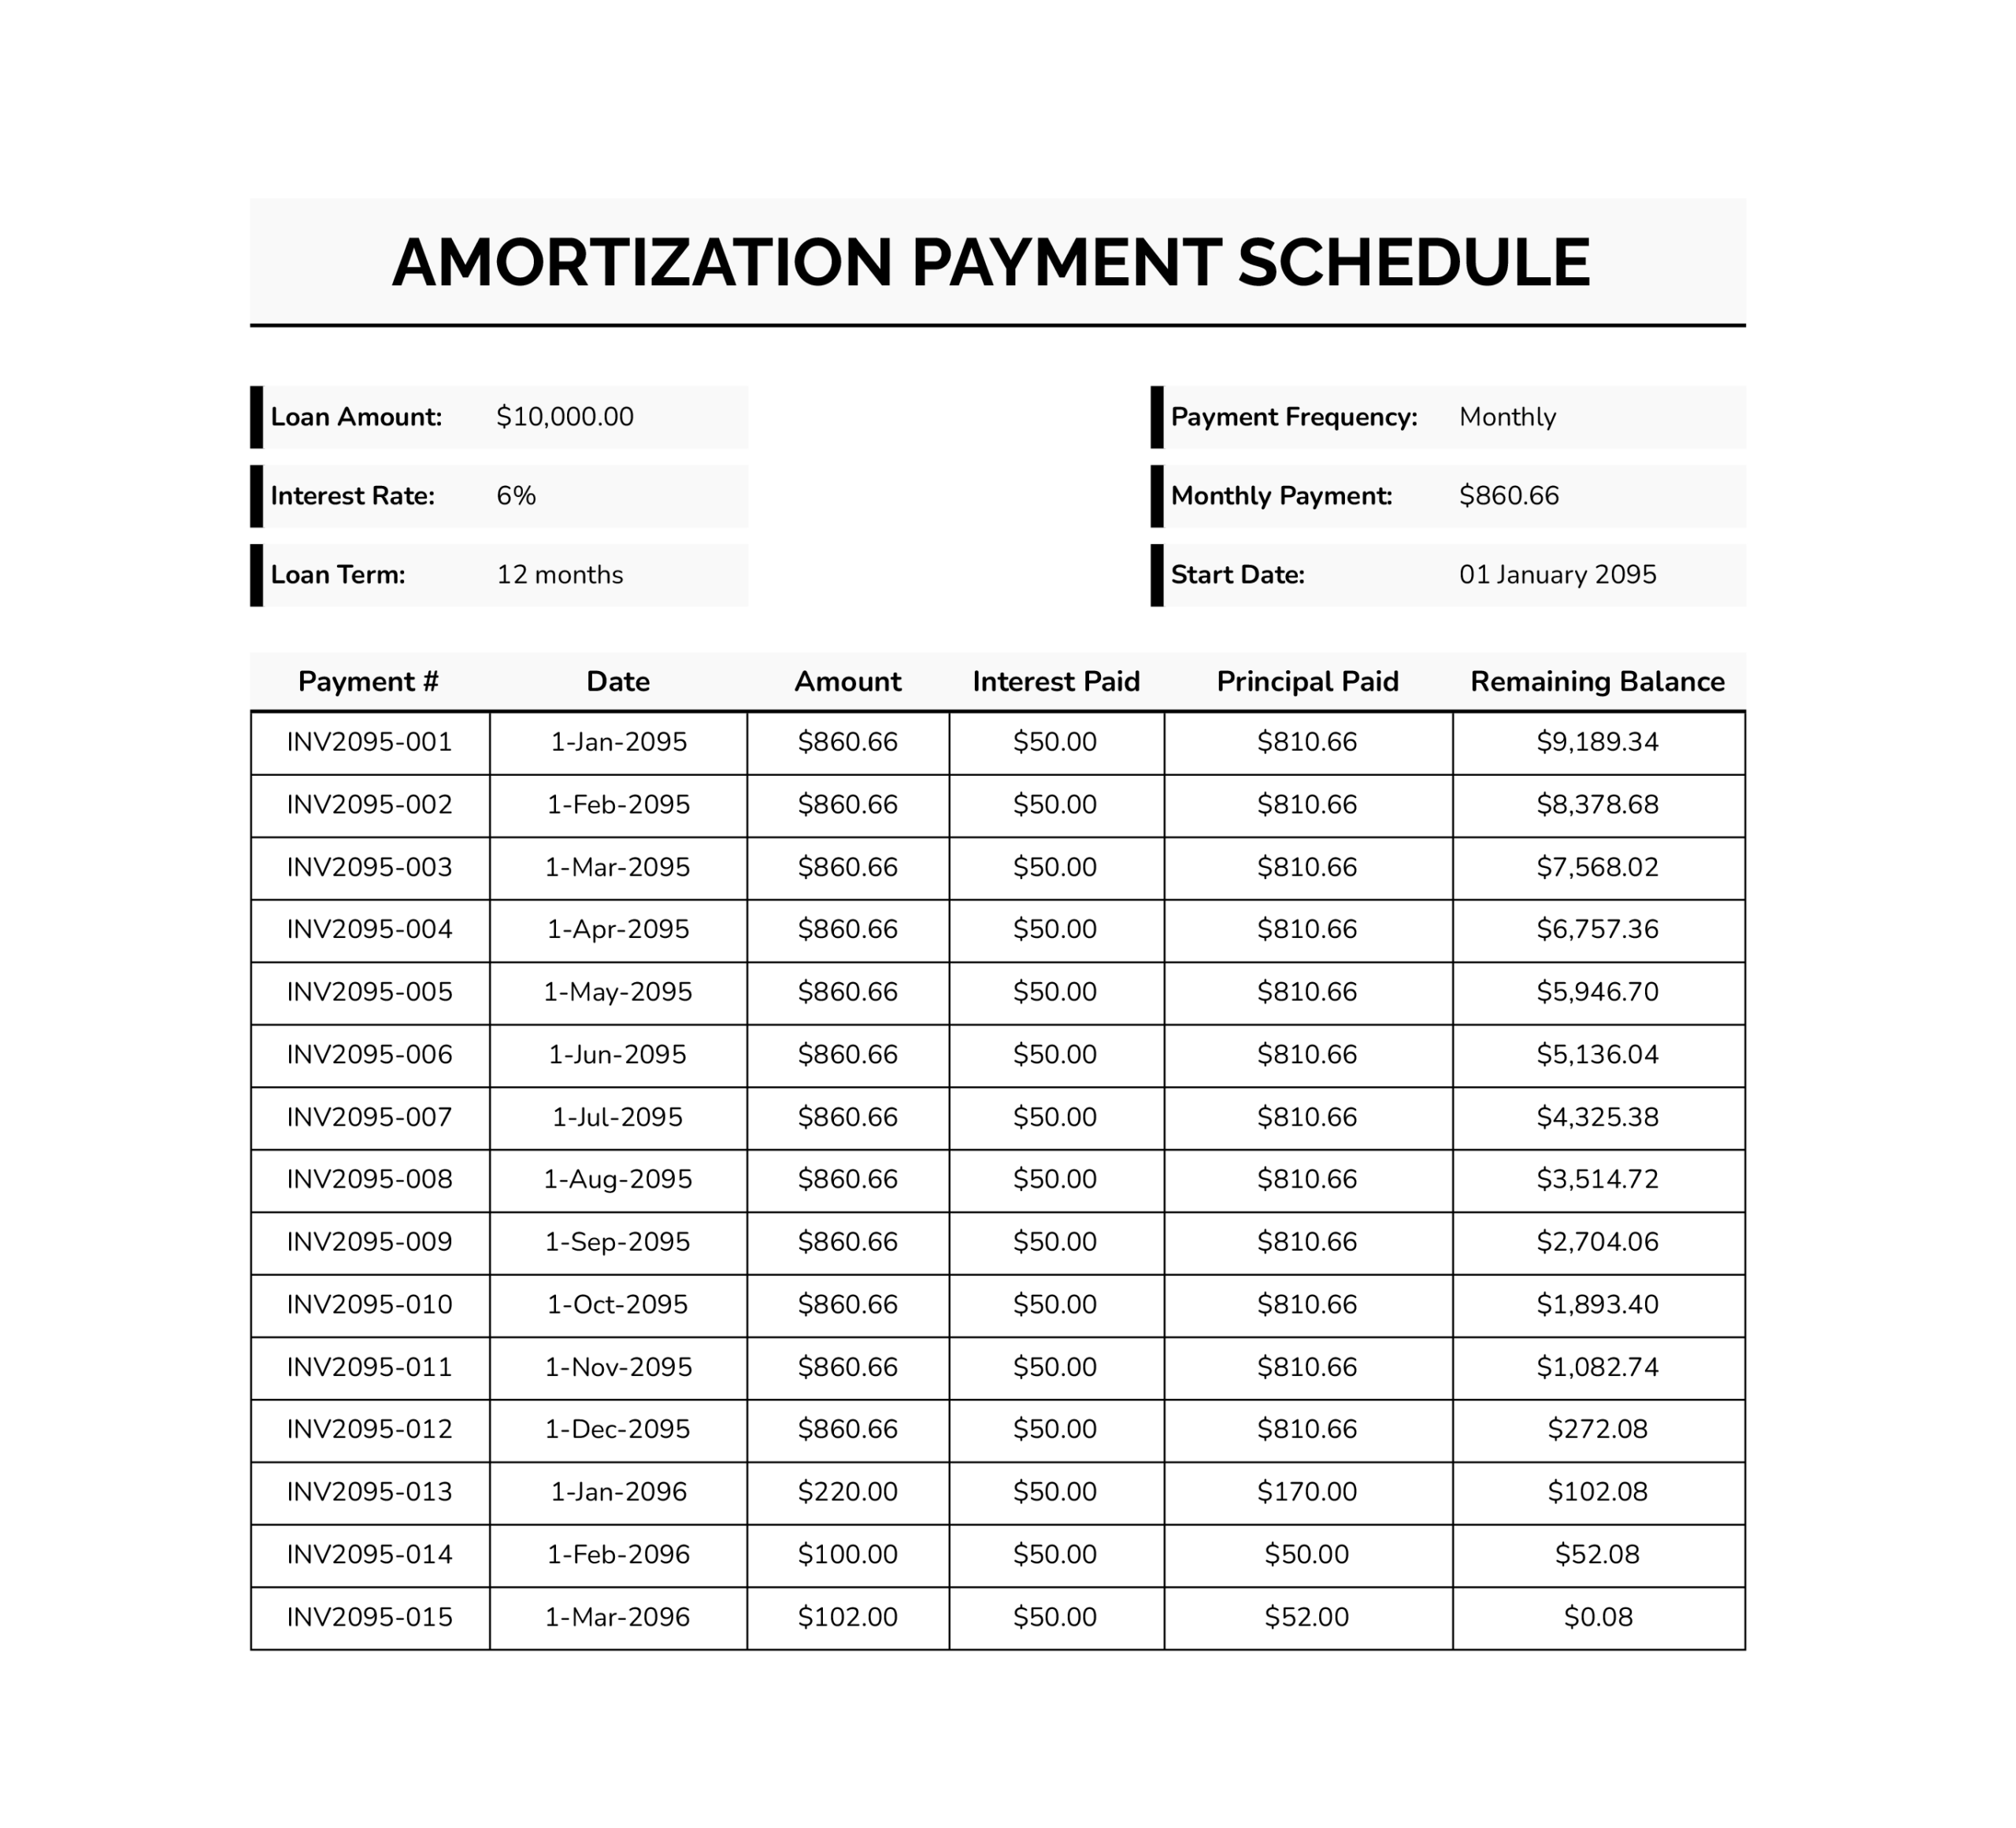


When payments are spread across different vendors, subscriptions, and recurring bills, it is easy to lose track of what is due this week versus what can wait. A weekly payment schedule turns your upcoming payments into a weekly plan you can review in minutes, so you are not digging through email threads, invoices, or reminders to figure out what needs to be paid next.
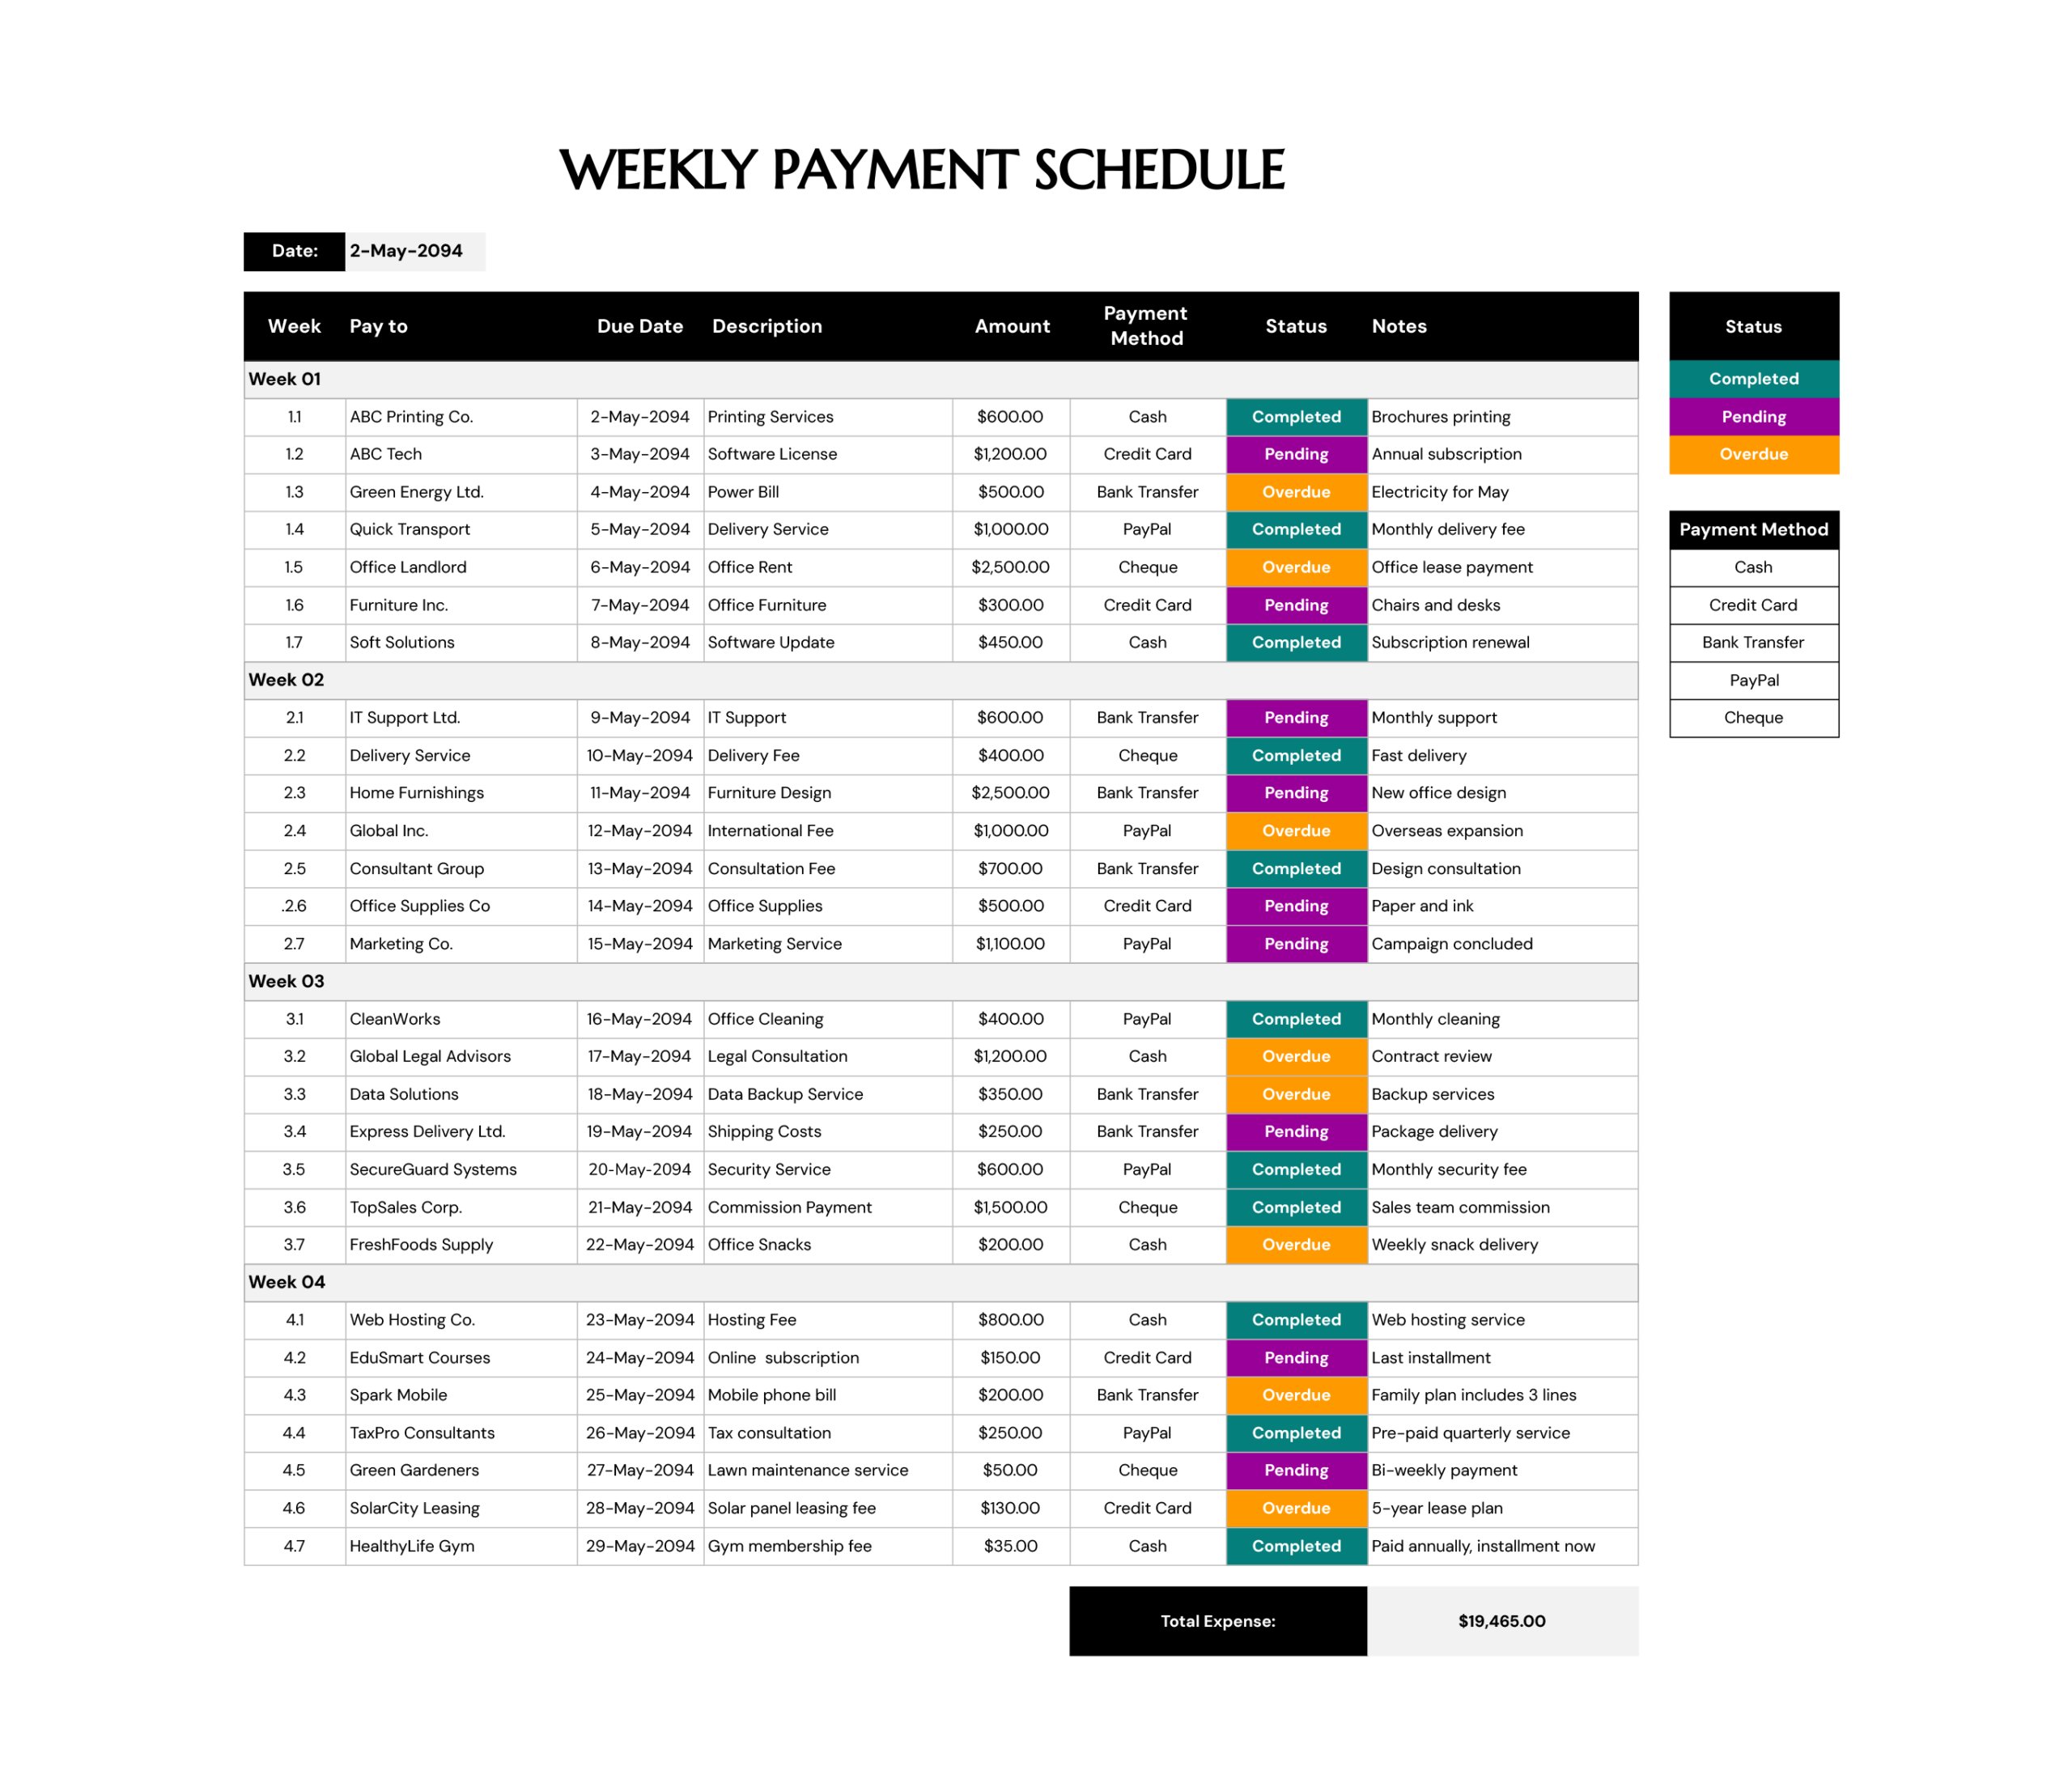
This weekly payment schedule template is designed to track one four-week cycle on a single sheet. You enter who you are paying, when each payment is due, what it is for, the amount, the payment method, and the current status. Update the rows throughout the week to keep a record of completed payments, items still pending, and anything that has moved past the due date.
How the Schedule Is Organized
The sheet is grouped into Week 01 through Week 04, with multiple payment lines under each week. This format fits weekly planning because payments can be listed under the week of their due date, which keeps review focused on the next set of deadlines without sorting a full-month list. The week numbering on the left also gives each entry a simple reference point during follow-up or reconciliation.
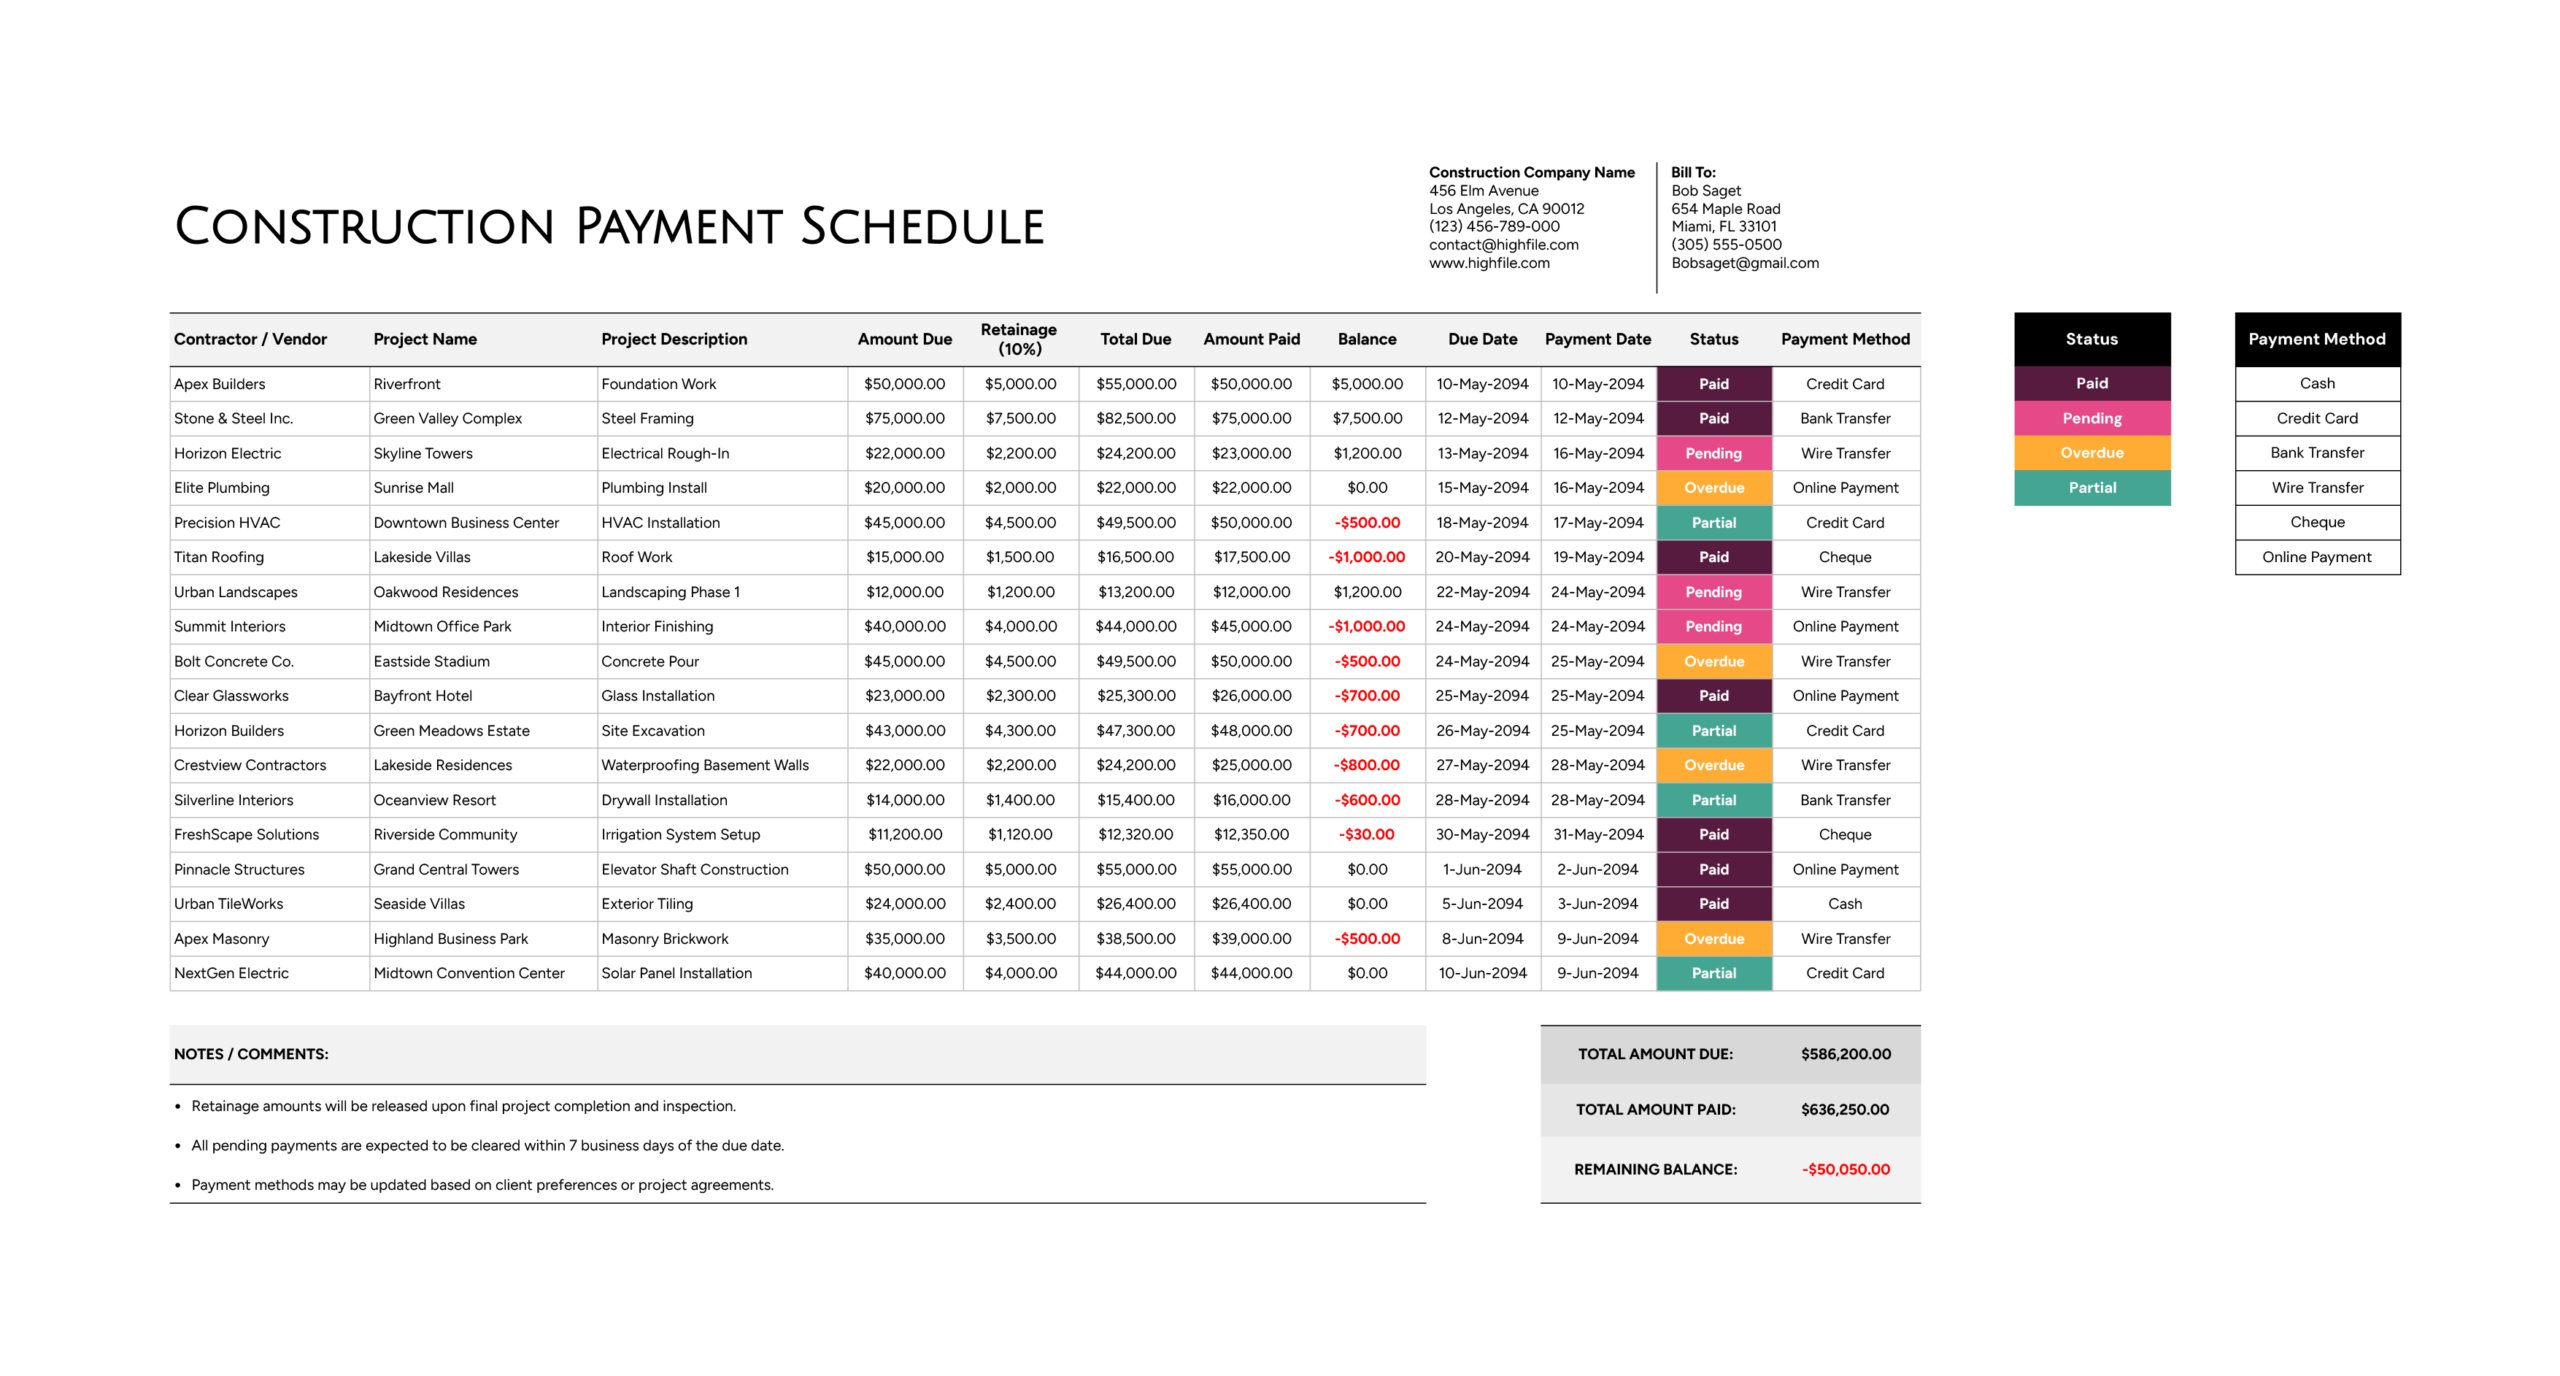
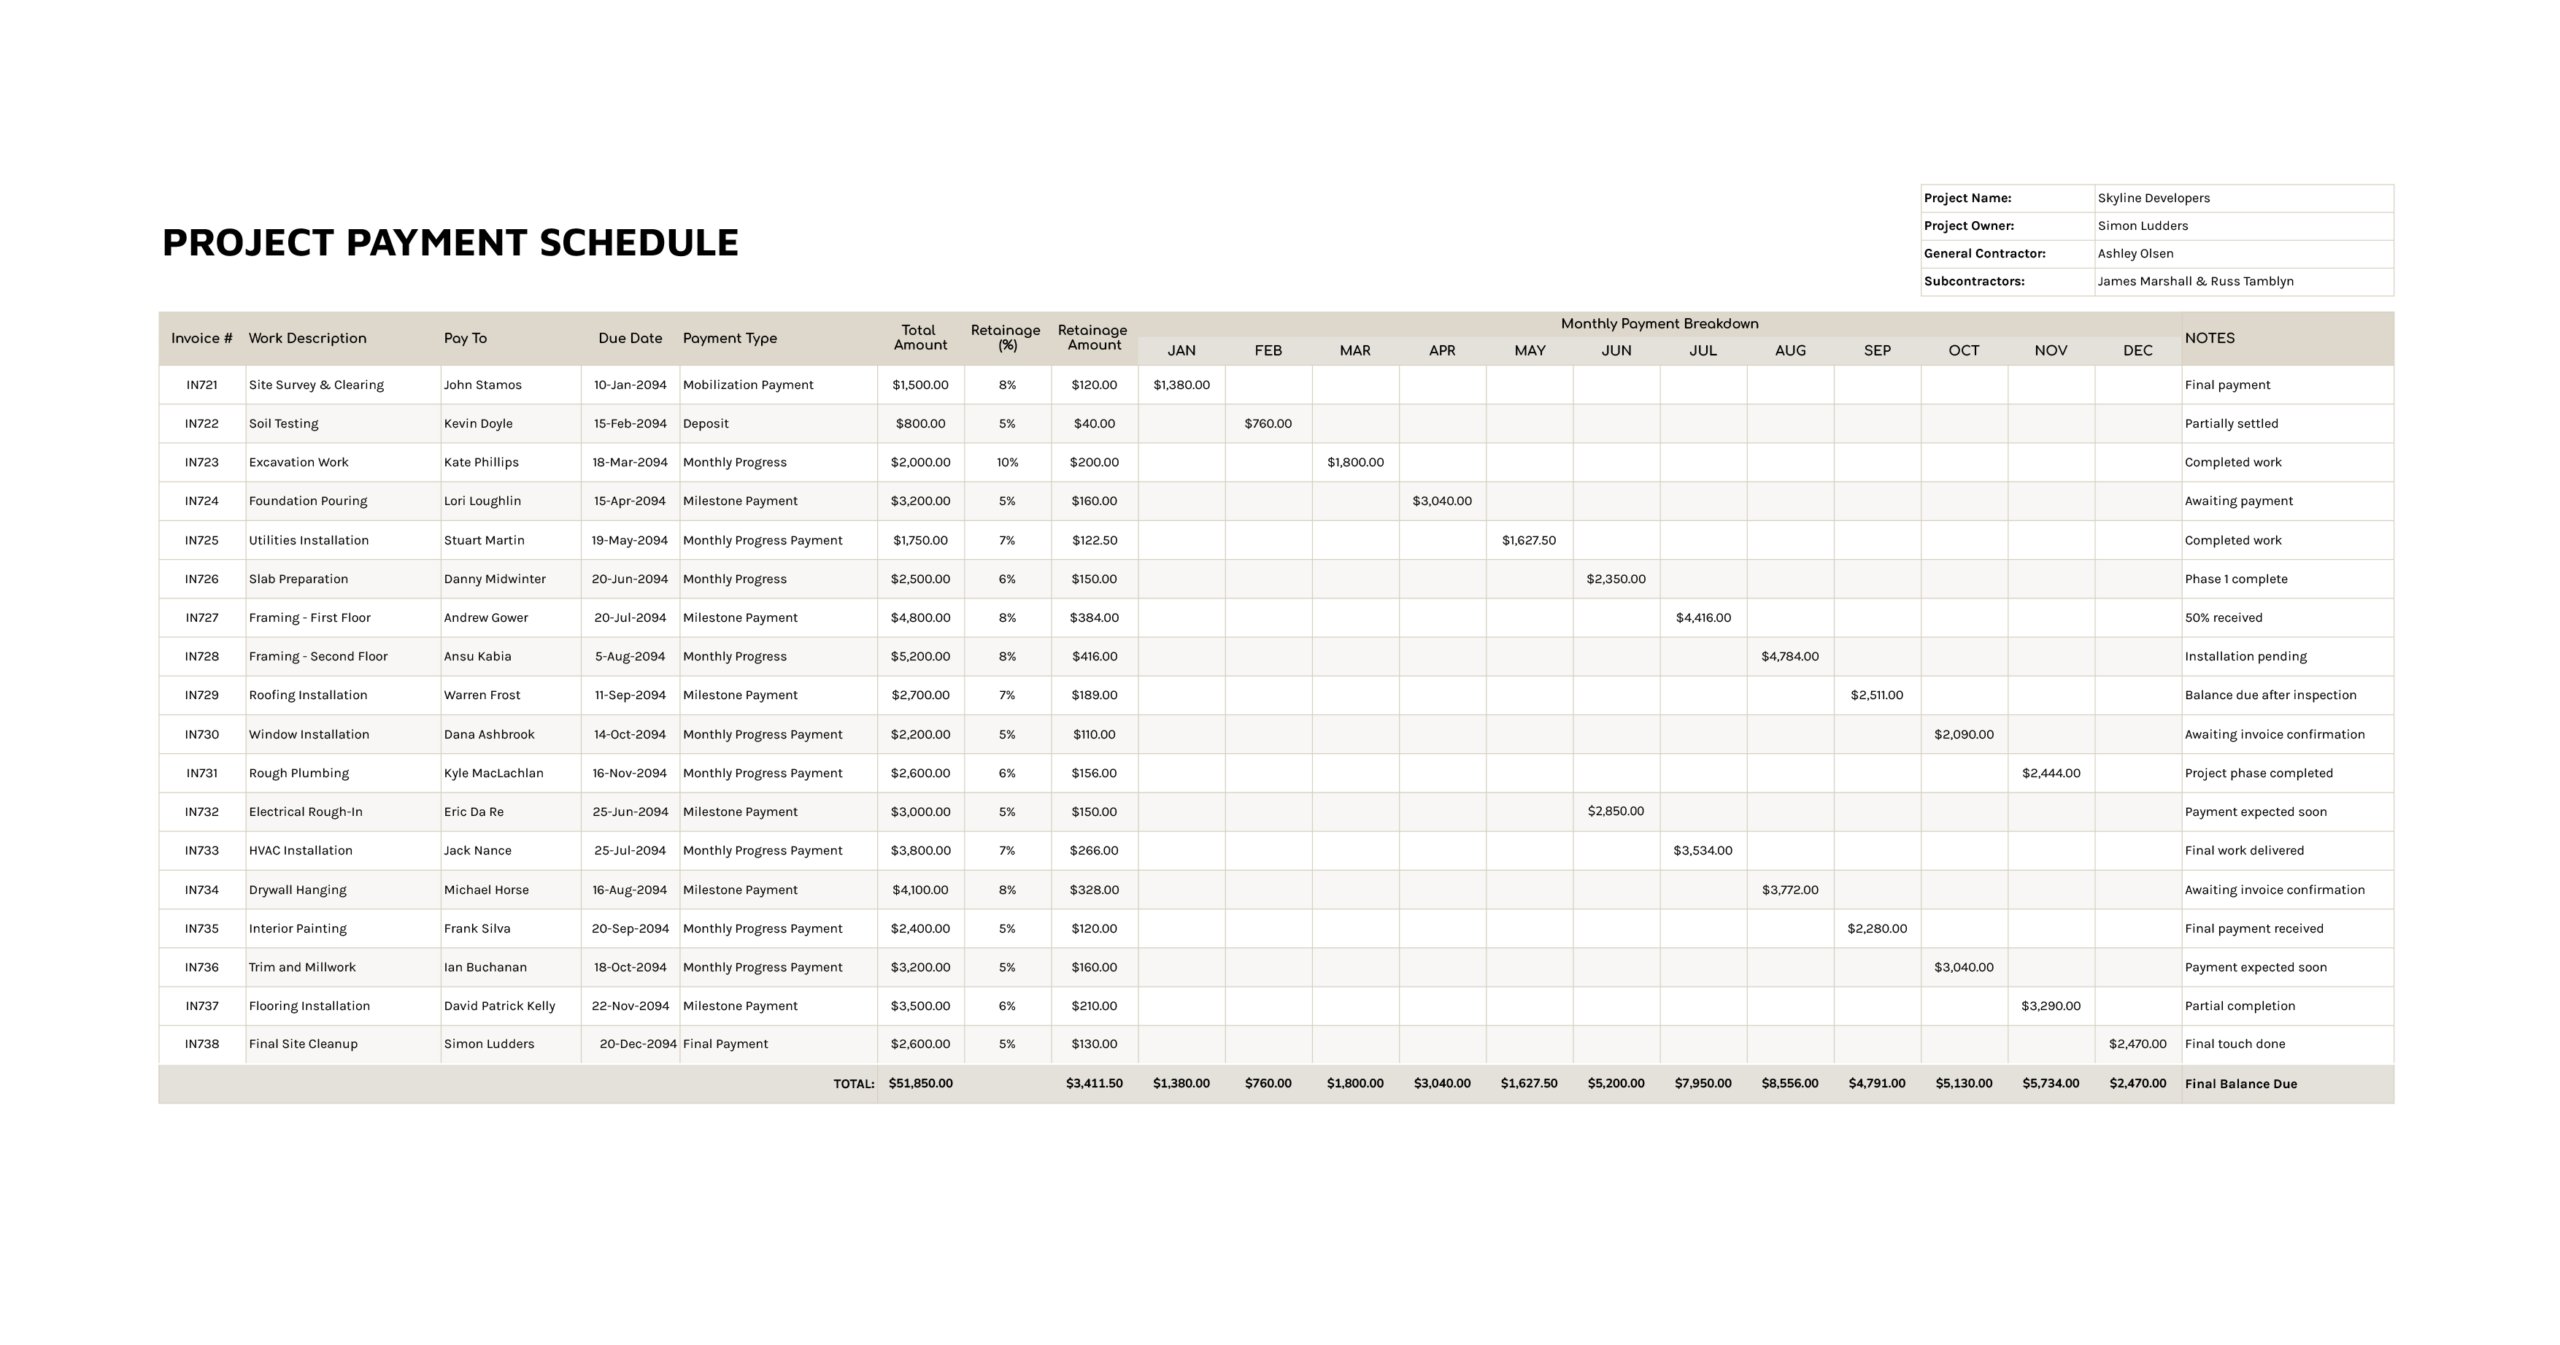
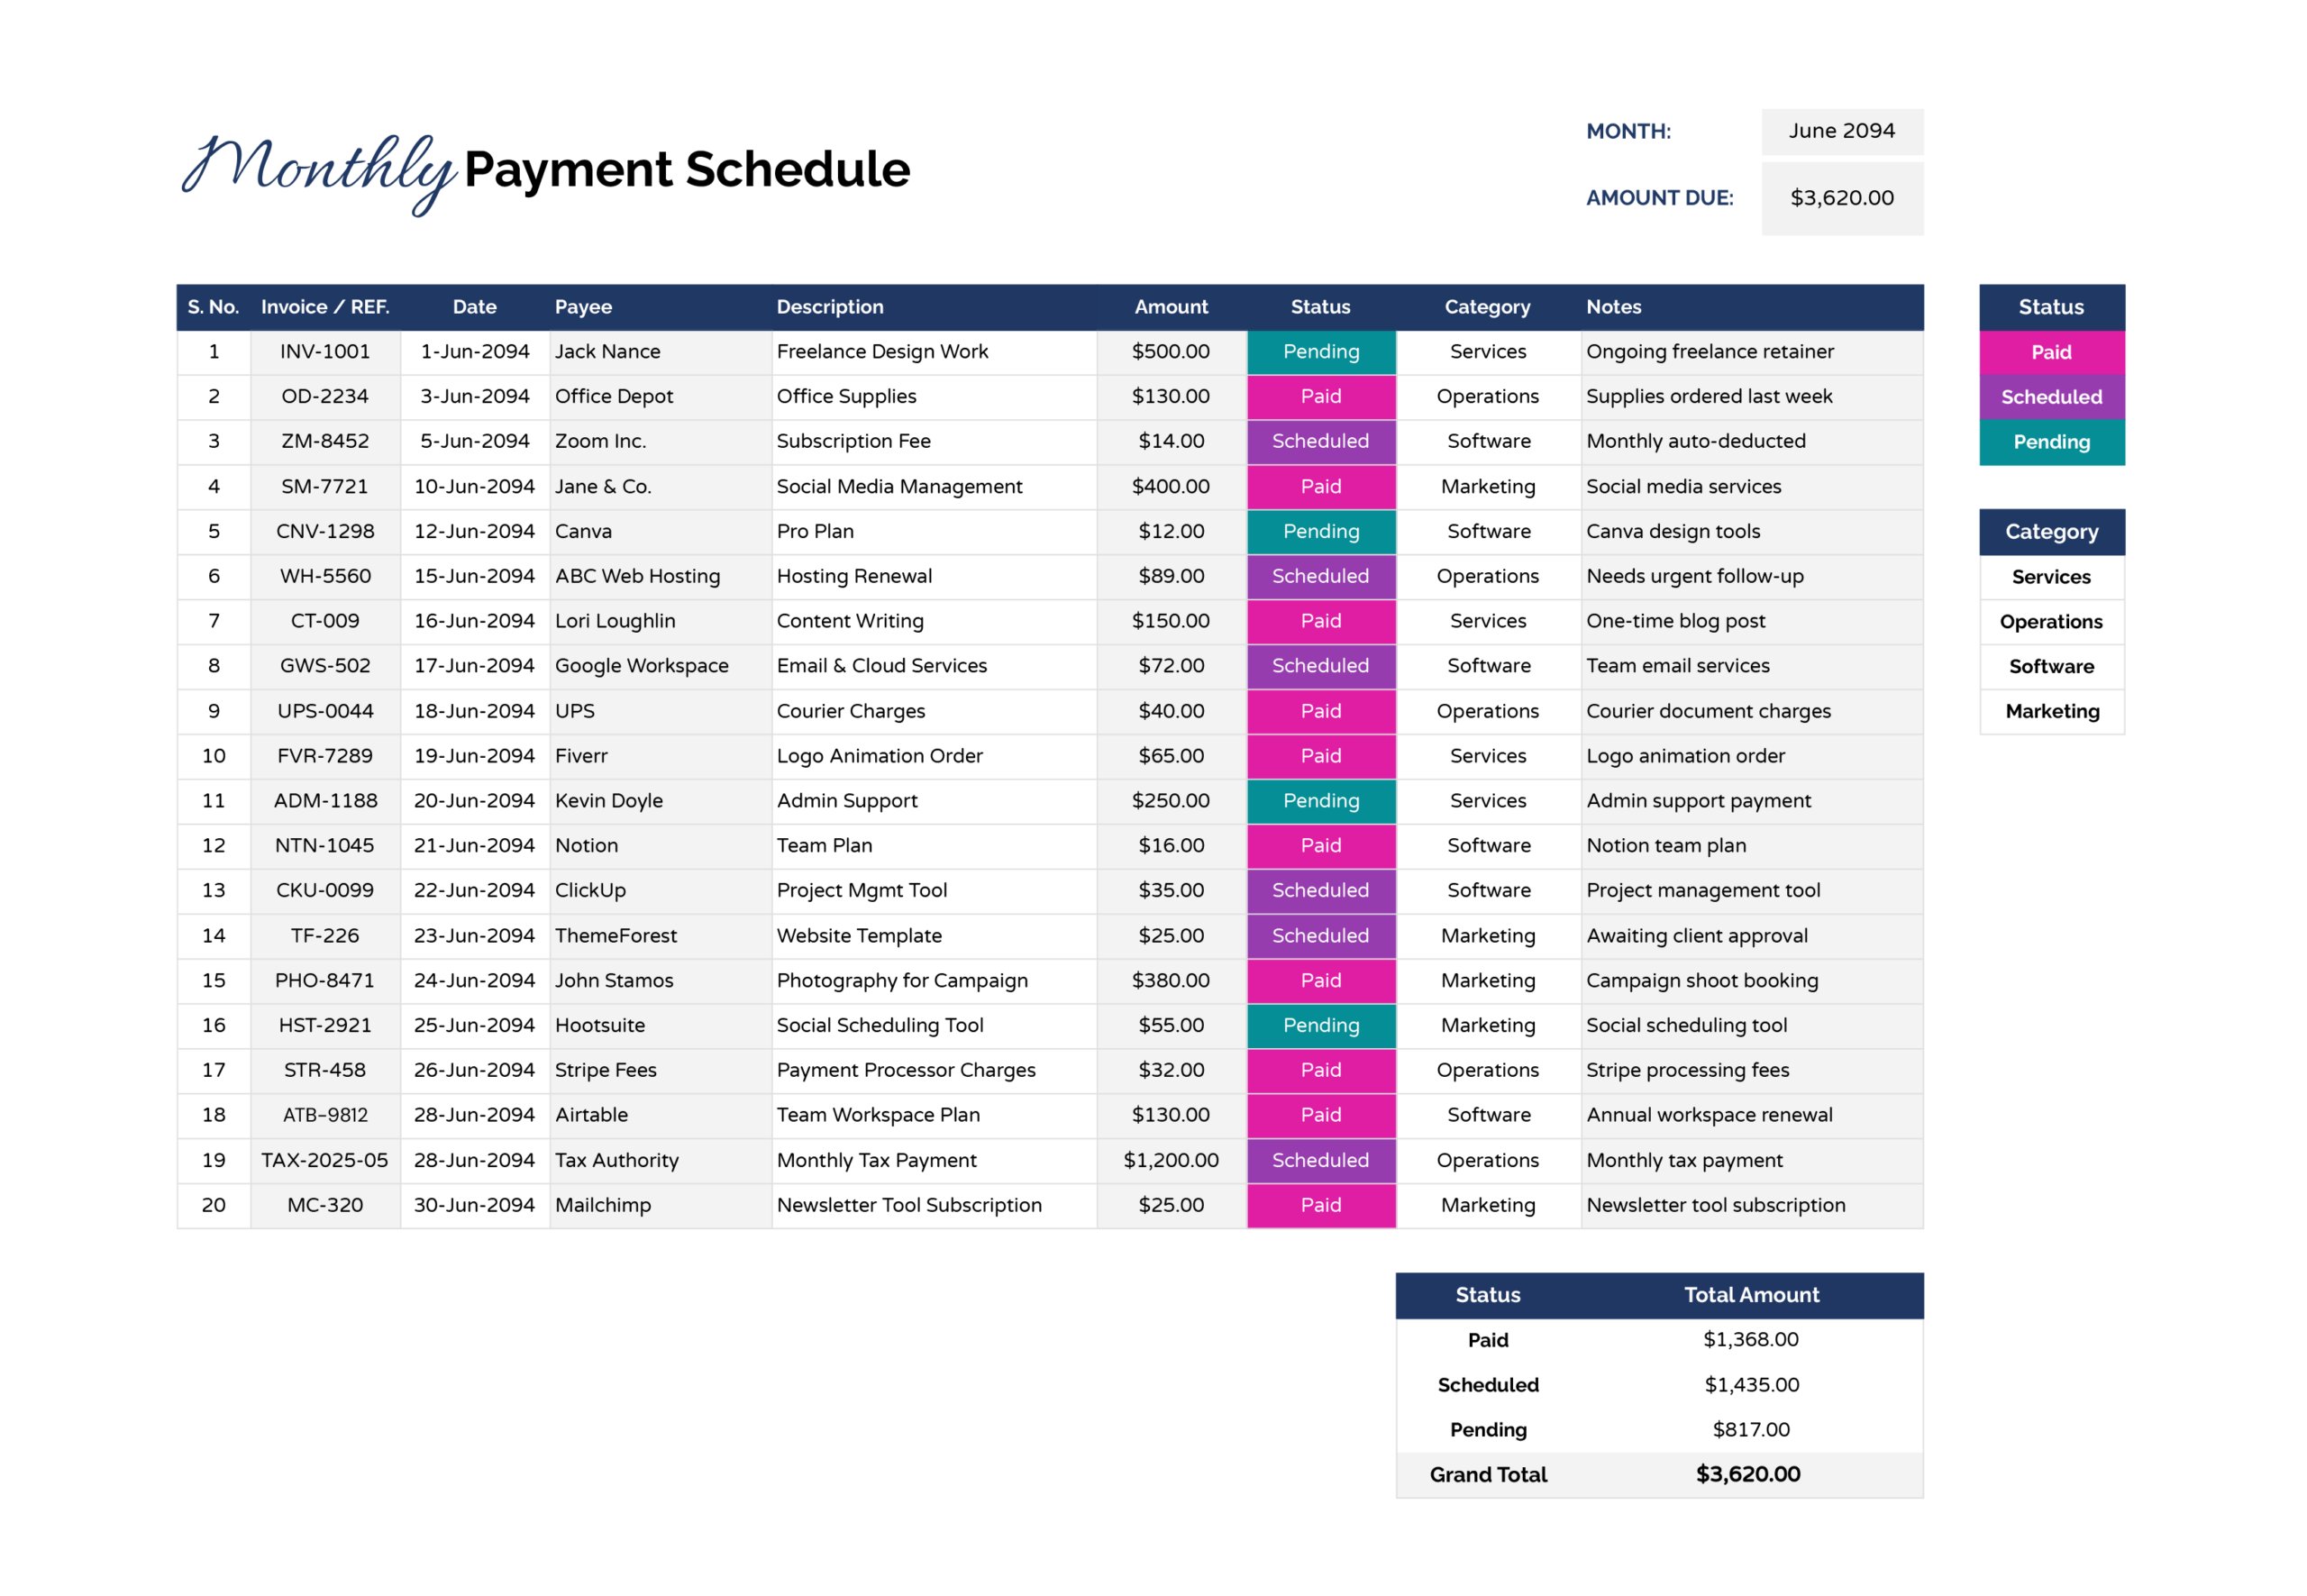
The same columns repeat across all weeks so entries stay consistent. Pay to identifies who receives the payment, Due Date records the deadline, and Description captures what the payment covers. Amount records the value, Payment Method records how it will be paid, Status records progress, and Notes holds short details such as invoice references, confirmation numbers, or internal reminders.
How to Use This Weekly Payment Schedule Template
Start by entering the date at the top so the sheet is tied to the period you are planning. Next, list upcoming payments under the week where each due date falls. This keeps the schedule anchored to deadlines even if you plan to pay earlier.
For each payment line, enter the payee name in a way that is easy to recognize later, then add a description that identifies the expense clearly. Enter the due date and amount, then select the payment method and status. Use notes for details that you may need during review, including an invoice number, a billing period, a reference code, or an approval reminder.
As payments are processed, update the status for each row so the sheet stays accurate during weekly check-ins. When a payment changes or is split across multiple transactions, record the change in the amount and note the reason in the notes field.
About This Payment Schedule Template
This weekly payment schedule template is available in Microsoft Excel and Google Sheets, which works for local use or shared access in a team sheet. The Status column uses conditional formatting, so entries change color based on the selected status and can be scanned quickly during weekly review. The Payment Method field uses data validation dropdowns, which keeps entries consistent and reduces typos when multiple people update the sheet. You can rename labels, adjust the colors, edit the dropdown options to match internal wording, and copy rows downward when you need more payment lines. If you extend the table, update the Total Expense sum range so new entries are included.
FAQs
This sheet is arranged as a four-week cycle, labeled Week 01 through Week 04. It works well for most monthly planning because you can list upcoming payments by the week they fall due, then review one section at a time. If you need to cover a month that does not fit neatly into four weeks, you can add more lines within a week, or duplicate the sheet to create an additional week section for that period.
Use the due date as the main rule. Place the payment in the week where the due date falls, even if you plan to pay early. That keeps the schedule aligned with deadlines, prevents items from being missed during review, and makes it easier to see what is coming up next without relying on memory.
Use the description field to identify what the payment is for in a way that will still make sense later, such as “internet service for December” instead of “internet.” Use the notes field for short details you may need during follow-up or reconciliation, such as an invoice number, a billing period, a confirmation reference, or a reminder like “awaiting approval.” Keeping notes brief keeps the sheet readable when you scan the week.
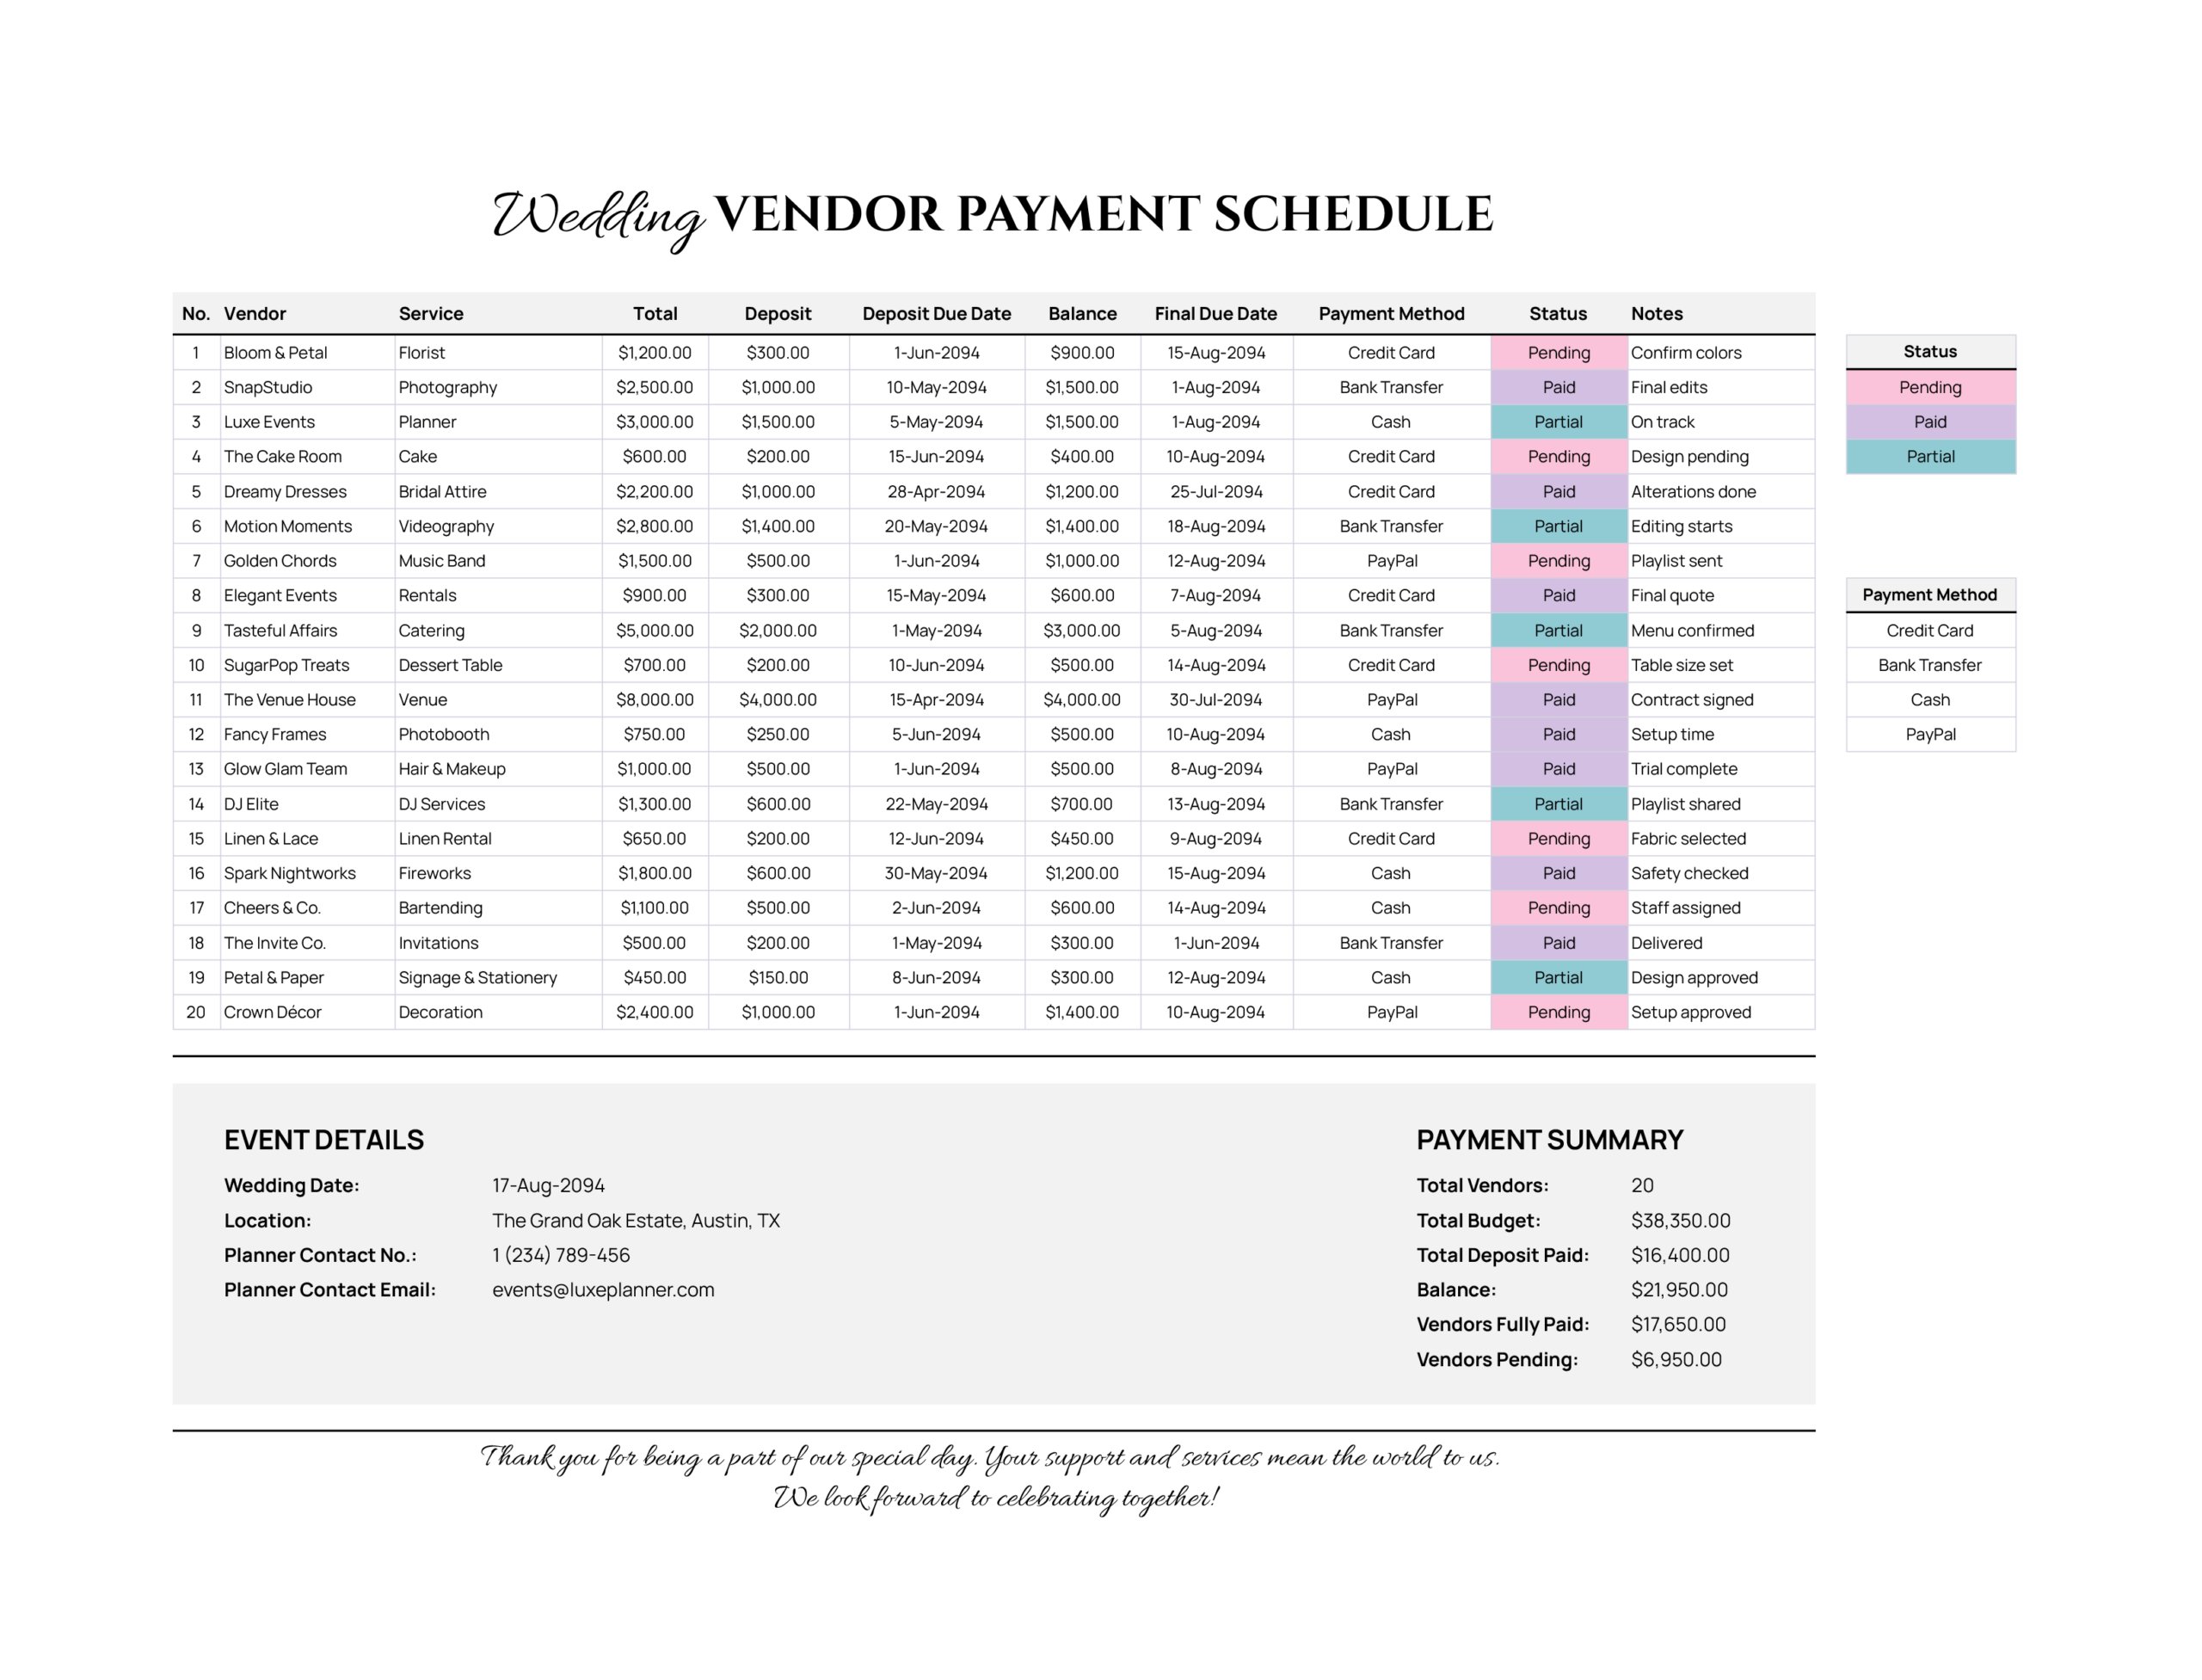
The status colors come from conditional formatting, which applies a different fill color based on the status selected in the row. This makes it easier to scan the schedule and separate completed items from pending and overdue items. You can change the colors or the rules in Excel, and you can also adjust the legend on the right so the meaning stays consistent with your workflow.
Yes. The Payment Method column uses a dropdown list through data validation, so you can edit the list items to match what you actually use, such as ACH, wire transfer, credit card, check, cash, or internal transfer. After updating the list, the dropdown will show the new options for future entries and keep your data consistent.
If you want the schedule to show both transactions clearly, use two separate lines, each with its own amount and due date, and add a note that they belong to the same bill. If you prefer a simpler view, keep one line for the full amount and use the notes field to record what was paid so far, keeping the status as pending until the full amount is settled.