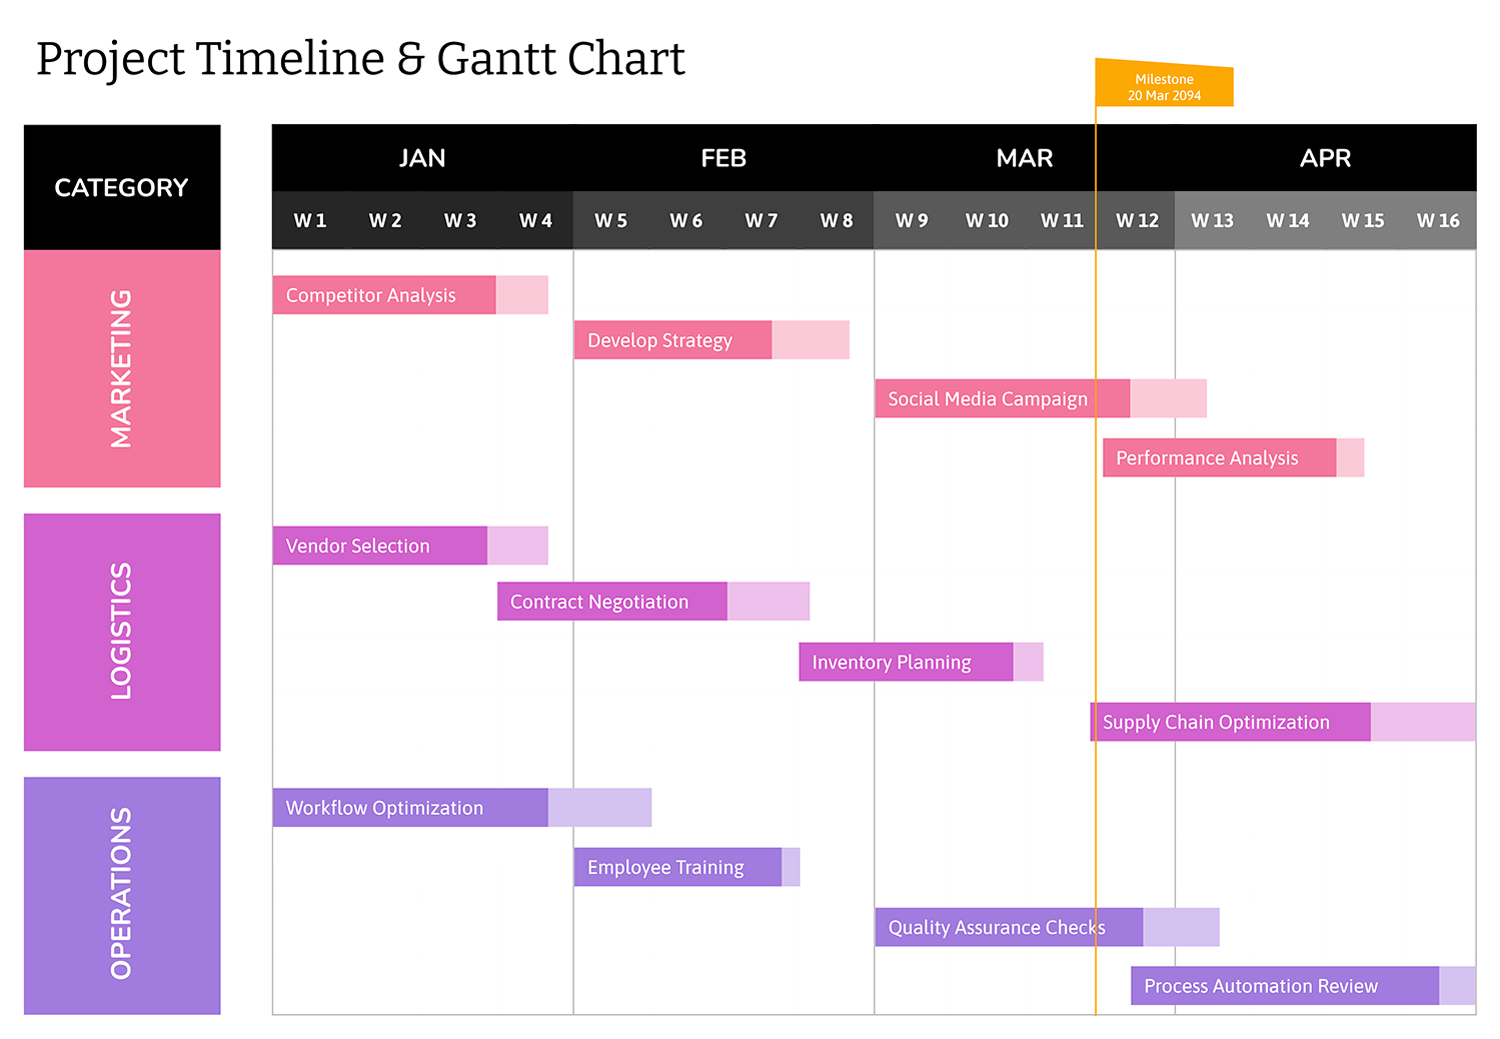
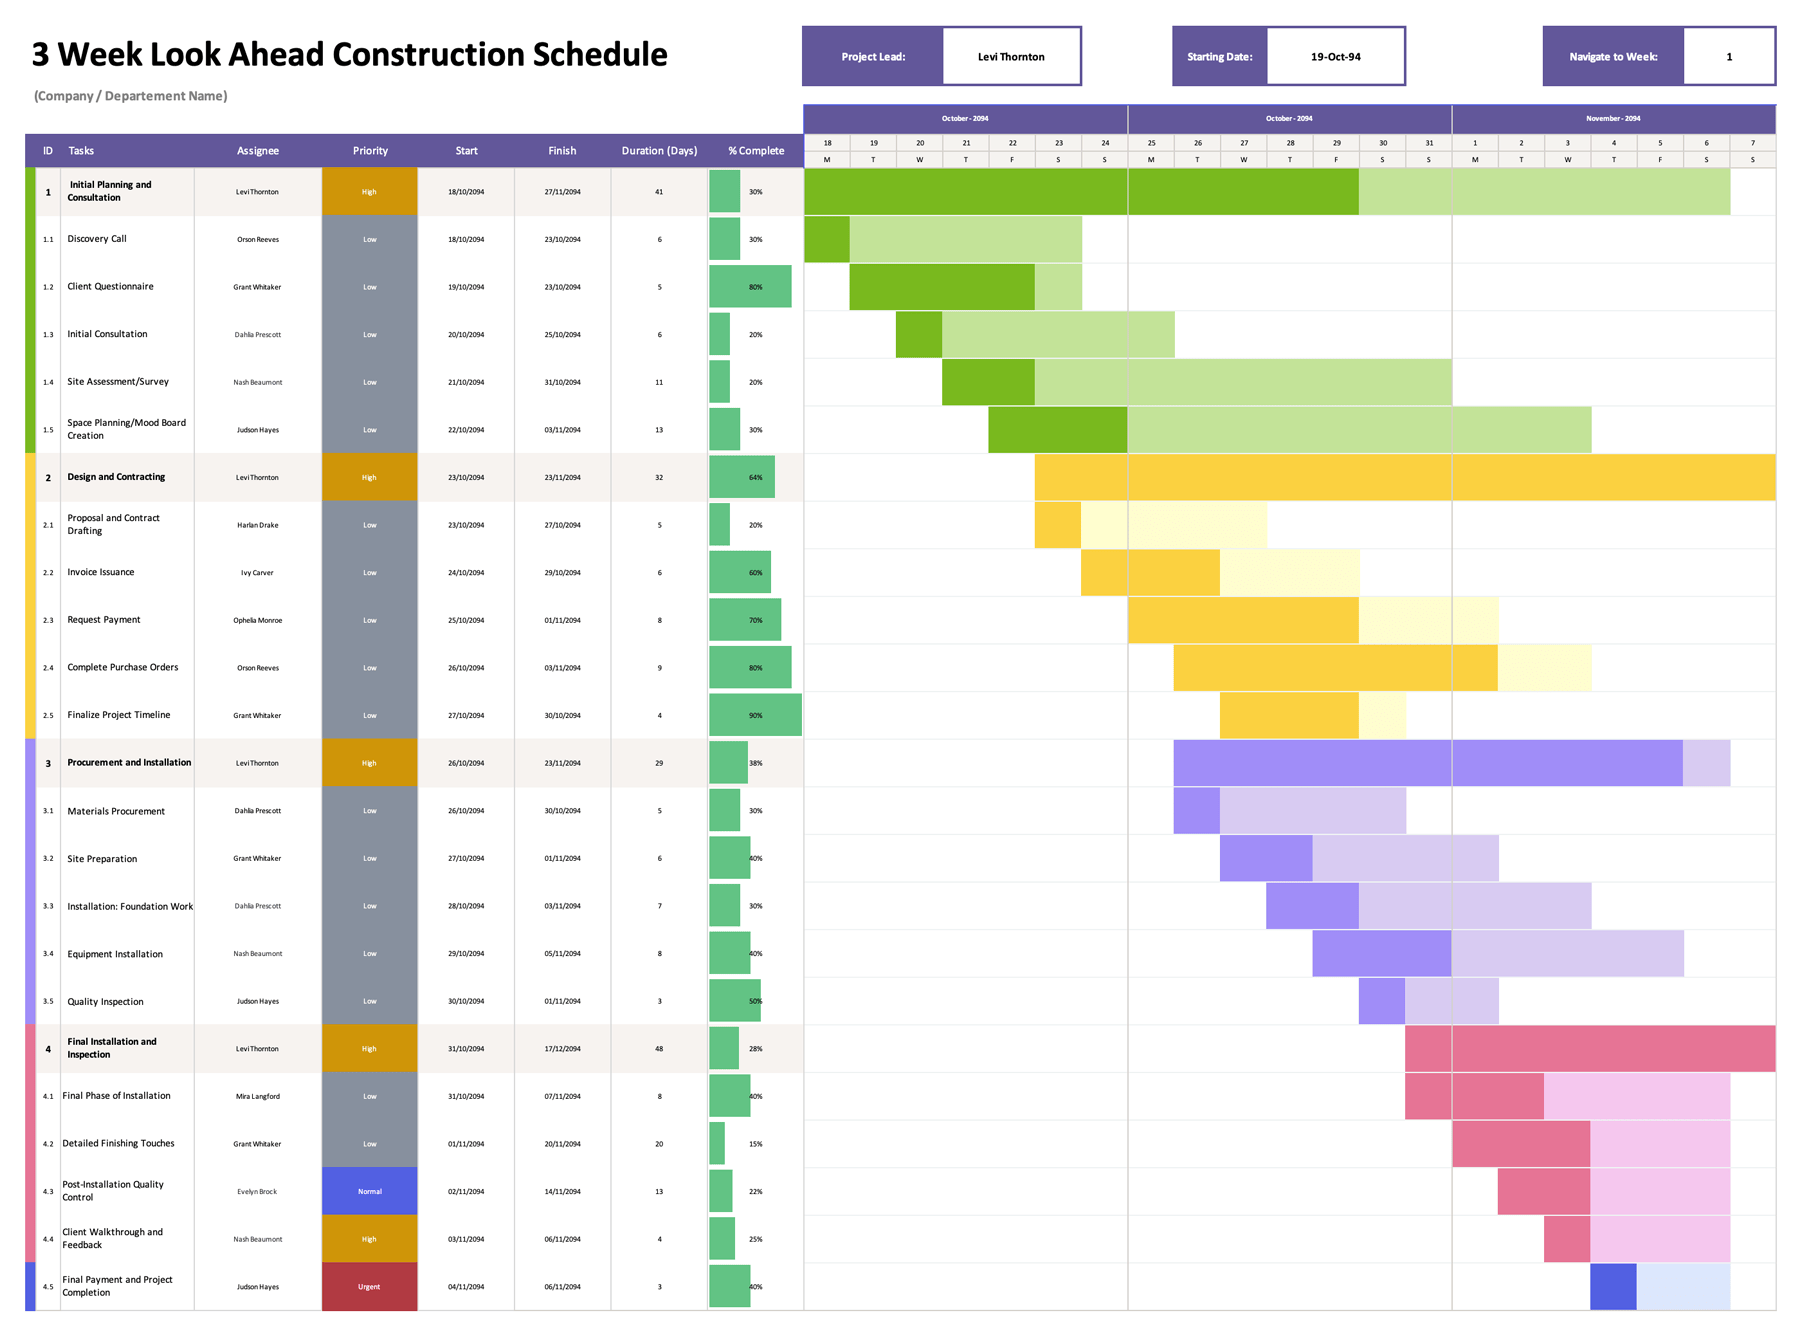
Planning a full day can get messy when tasks change hands, overlap, or depend on timing across different teams. This 24-hour gantt chart template is designed for hour-by-hour planning, so you can lay out tasks on a timeline that covers an entire day and quickly see what is happening at each hour, who owns it, and where you may need buffer time.
It works especially well for schedules where timing matters more than complex dependencies, such as shift work, event-day planning, launches, maintenance windows, field work, or time-boxed production. You set each task’s start and end time, and the timeline shows the coverage across the 24-hour cycle so you can review gaps, handoffs, and workload at a glance.
How to Use the 24-Hour Gantt Chart Template
Start by deciding the planning window you want to represent. The default hour row begins at 7 AM, which matches a common shift start, but you can shift the start hour if your day begins earlier or later. Once the hour row matches your operating day, you can begin entering tasks and checking how they land across the timeline.
Fill In The Project Details
At the top, add your project name, project manager, date, and start time. This matters most when the same template is reused for daily planning, rotating crews, or multiple sites.
Add Tasks With Start And End Times
Each row is built for one task. Add an ID and task name, then assign an owner and enter the start and end time.
In Excel and Google Sheets, the Hrs. column calculates the duration based on your start and end time, and the gantt band highlights the hours that fall within that window. This is useful when you need to adjust timing quickly and confirm that the timeline still reflects the latest plan.
Review Gaps, Overlaps, and Handoffs
After you enter tasks, use the timeline area to check three planning points.
Look for uncovered time where coverage is required. Look for overlaps where the same person or resource may be double-booked. Then check handoffs around shift changes or break windows so tasks do not stall between owners.
If delays are common, add buffer rows as their own entries. When buffers appear on the same hourly grid, it is easier to defend them during review and less likely they get removed at the last minute.
Handling Tasks That Cross Midnight
If a task starts before midnight and ends after midnight, the spreadsheet logic may not display it as one continuous bar because the end time appears earlier on the clock. Split it into two rows, one ending at 11 PM and one starting at 12 AM, so the timeline stays accurate and the duration does not calculate as a negative value.
PowerPoint and Google Slides Editing
The PowerPoint and Google Slides versions use a table-based layout where the gantt bars are shown through cell fills across the hour columns. You update task text in the left columns, then extend or shorten the highlighted cells to match the start and end hour. This format is useful when you want a schedule that is easy to present, print, or mark up during a planning meeting.
FAQs
In Excel and Google Sheets, change the first hour label in the timeline row from 7 AM to your preferred start time, then set the next cell to the following hour and drag to autofill the rest of the 24-hour row. Keep those header cells formatted as real time values so the gantt shading continues to match the start and end times you enter for each task.
In PowerPoint and Google Slides, update the hour labels across the header row to match your new start time, then adjust the filled timeline cells or bars manually so they align with the updated hours.
Yes. In Excel and Google Sheets, half-hour planning is done by converting the timeline header row into 30-minute increments and expanding the timeline area to match. In this template, the hour headers start at 7:00 AM on row 5 and continue across the day, so you would create a sequence like 7:00, 7:30, 8:00, 8:30 and keep going until you cover the full 24 hours.
The key change is the timeline columns. Add a new timeline column between each existing hour column, then type the half-hour times in those inserted header cells. Once the header row shows 30-minute steps, extend the timeline grid below it so every task row has the same number of timeline columns as the header.
After that, extend the conditional formatting range so the shaded gantt area includes the new columns. The current rule checks whether each header time falls between the task Start and End times, so it will continue to shade correctly after the range is expanded. If you want the bar to stop cleanly at the finish time, adjust the rule so the end check is “less than End” rather than “less than or equal to End,” which prevents an extra block from shading at the exact end time.
Usually it comes from one of these issues. The start or end cell is not formatted as a time value, the end time is earlier than the start time, or the time range is outside the visible hour row. For tasks that span midnight, split the task into two rows so the highlighting logic can represent it correctly.
This 24-hour Gantt chart template is available in Excel, Google Sheets, PowerPoint, and Google Slides. The spreadsheet versions use formulas and conditional formatting, while the slide versions are designed for manual editing and presentation.