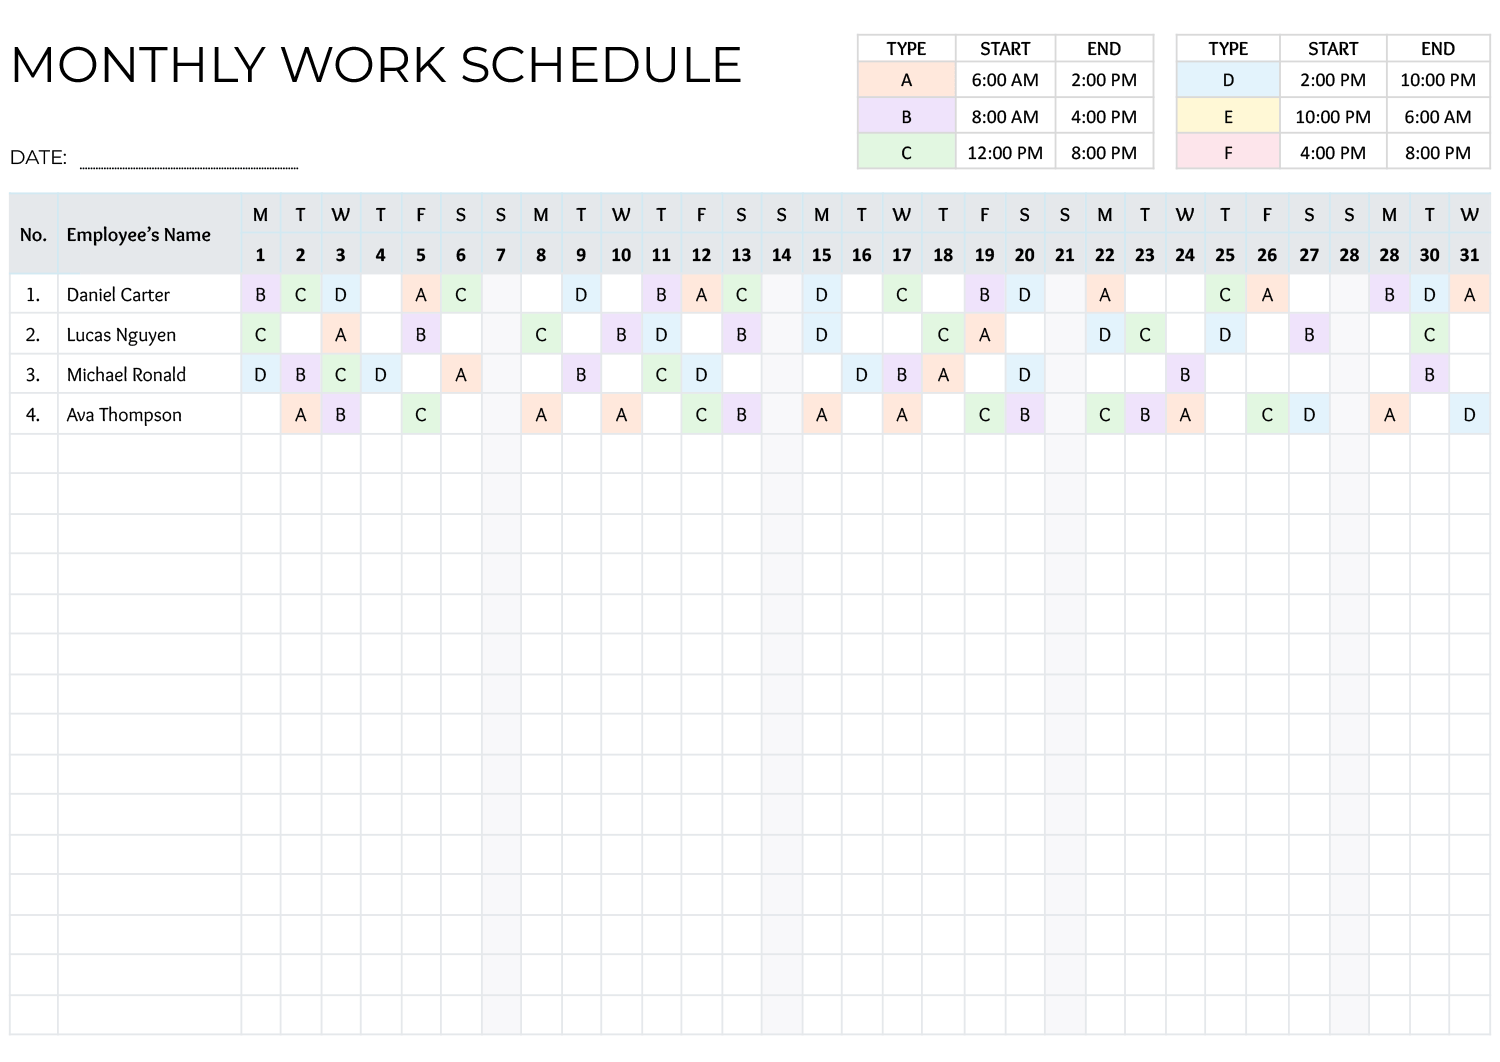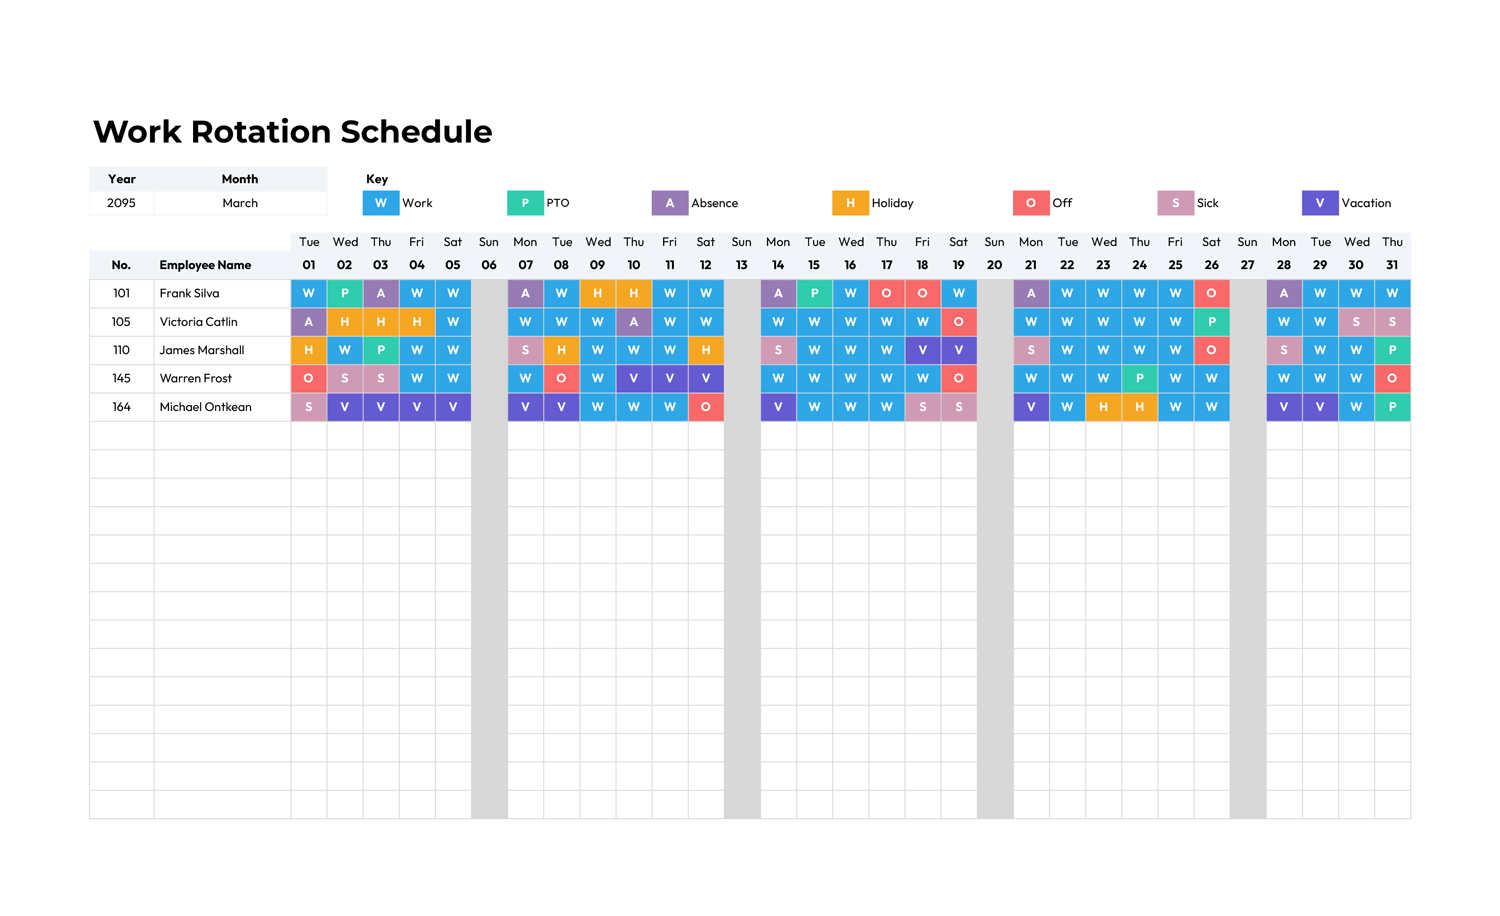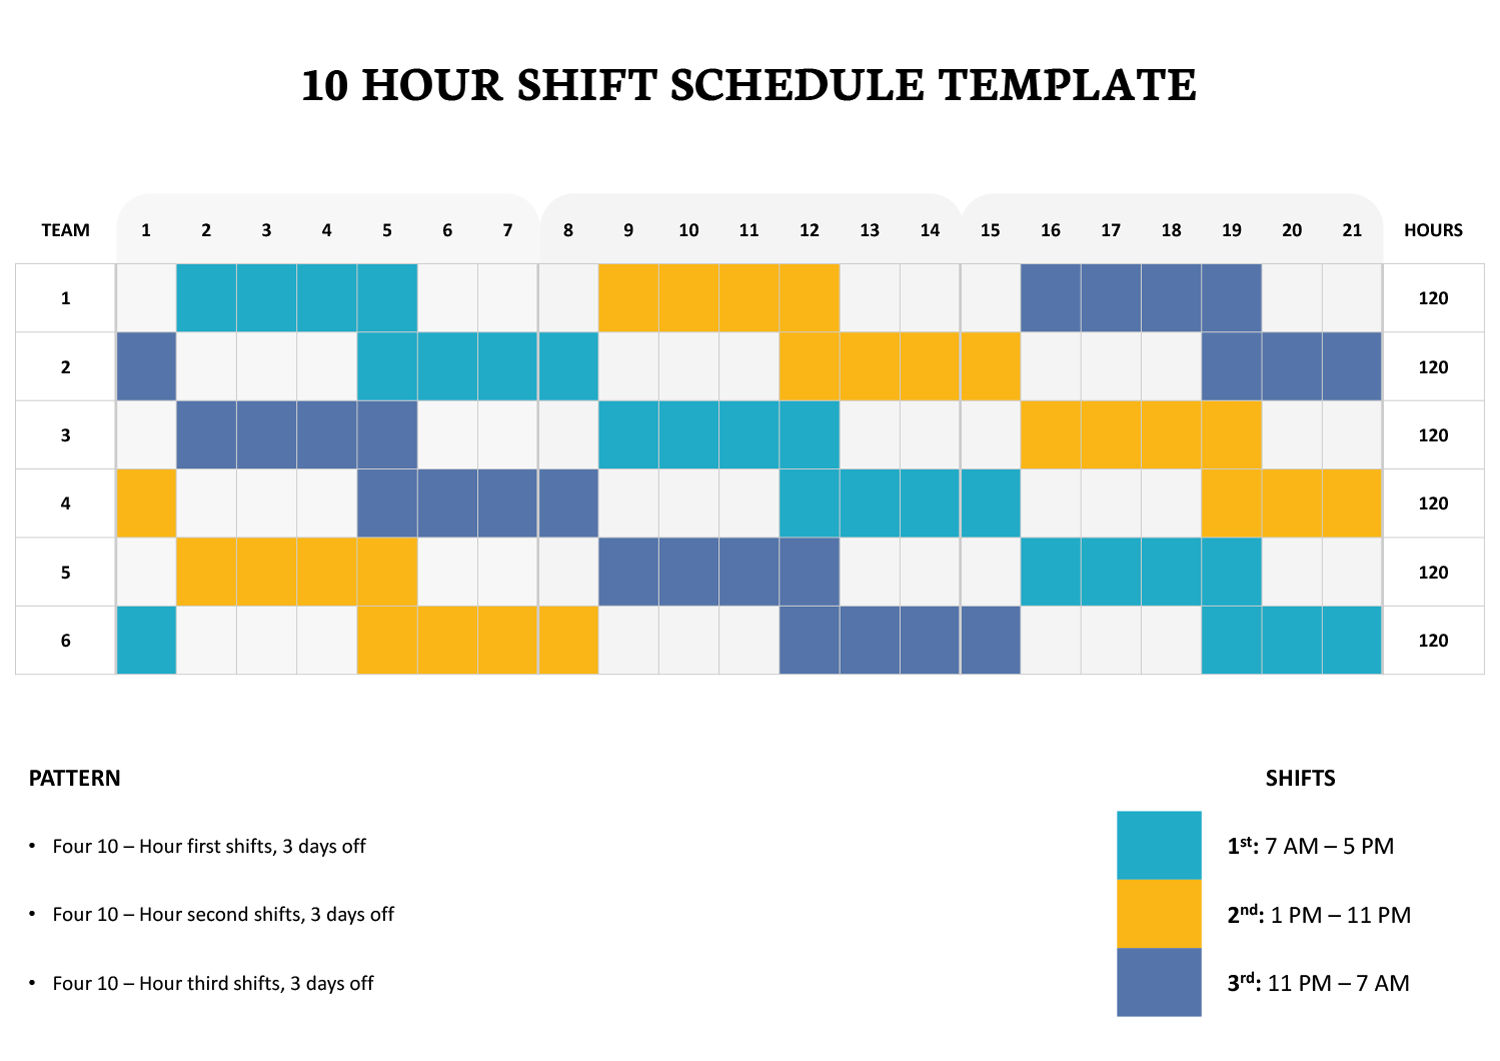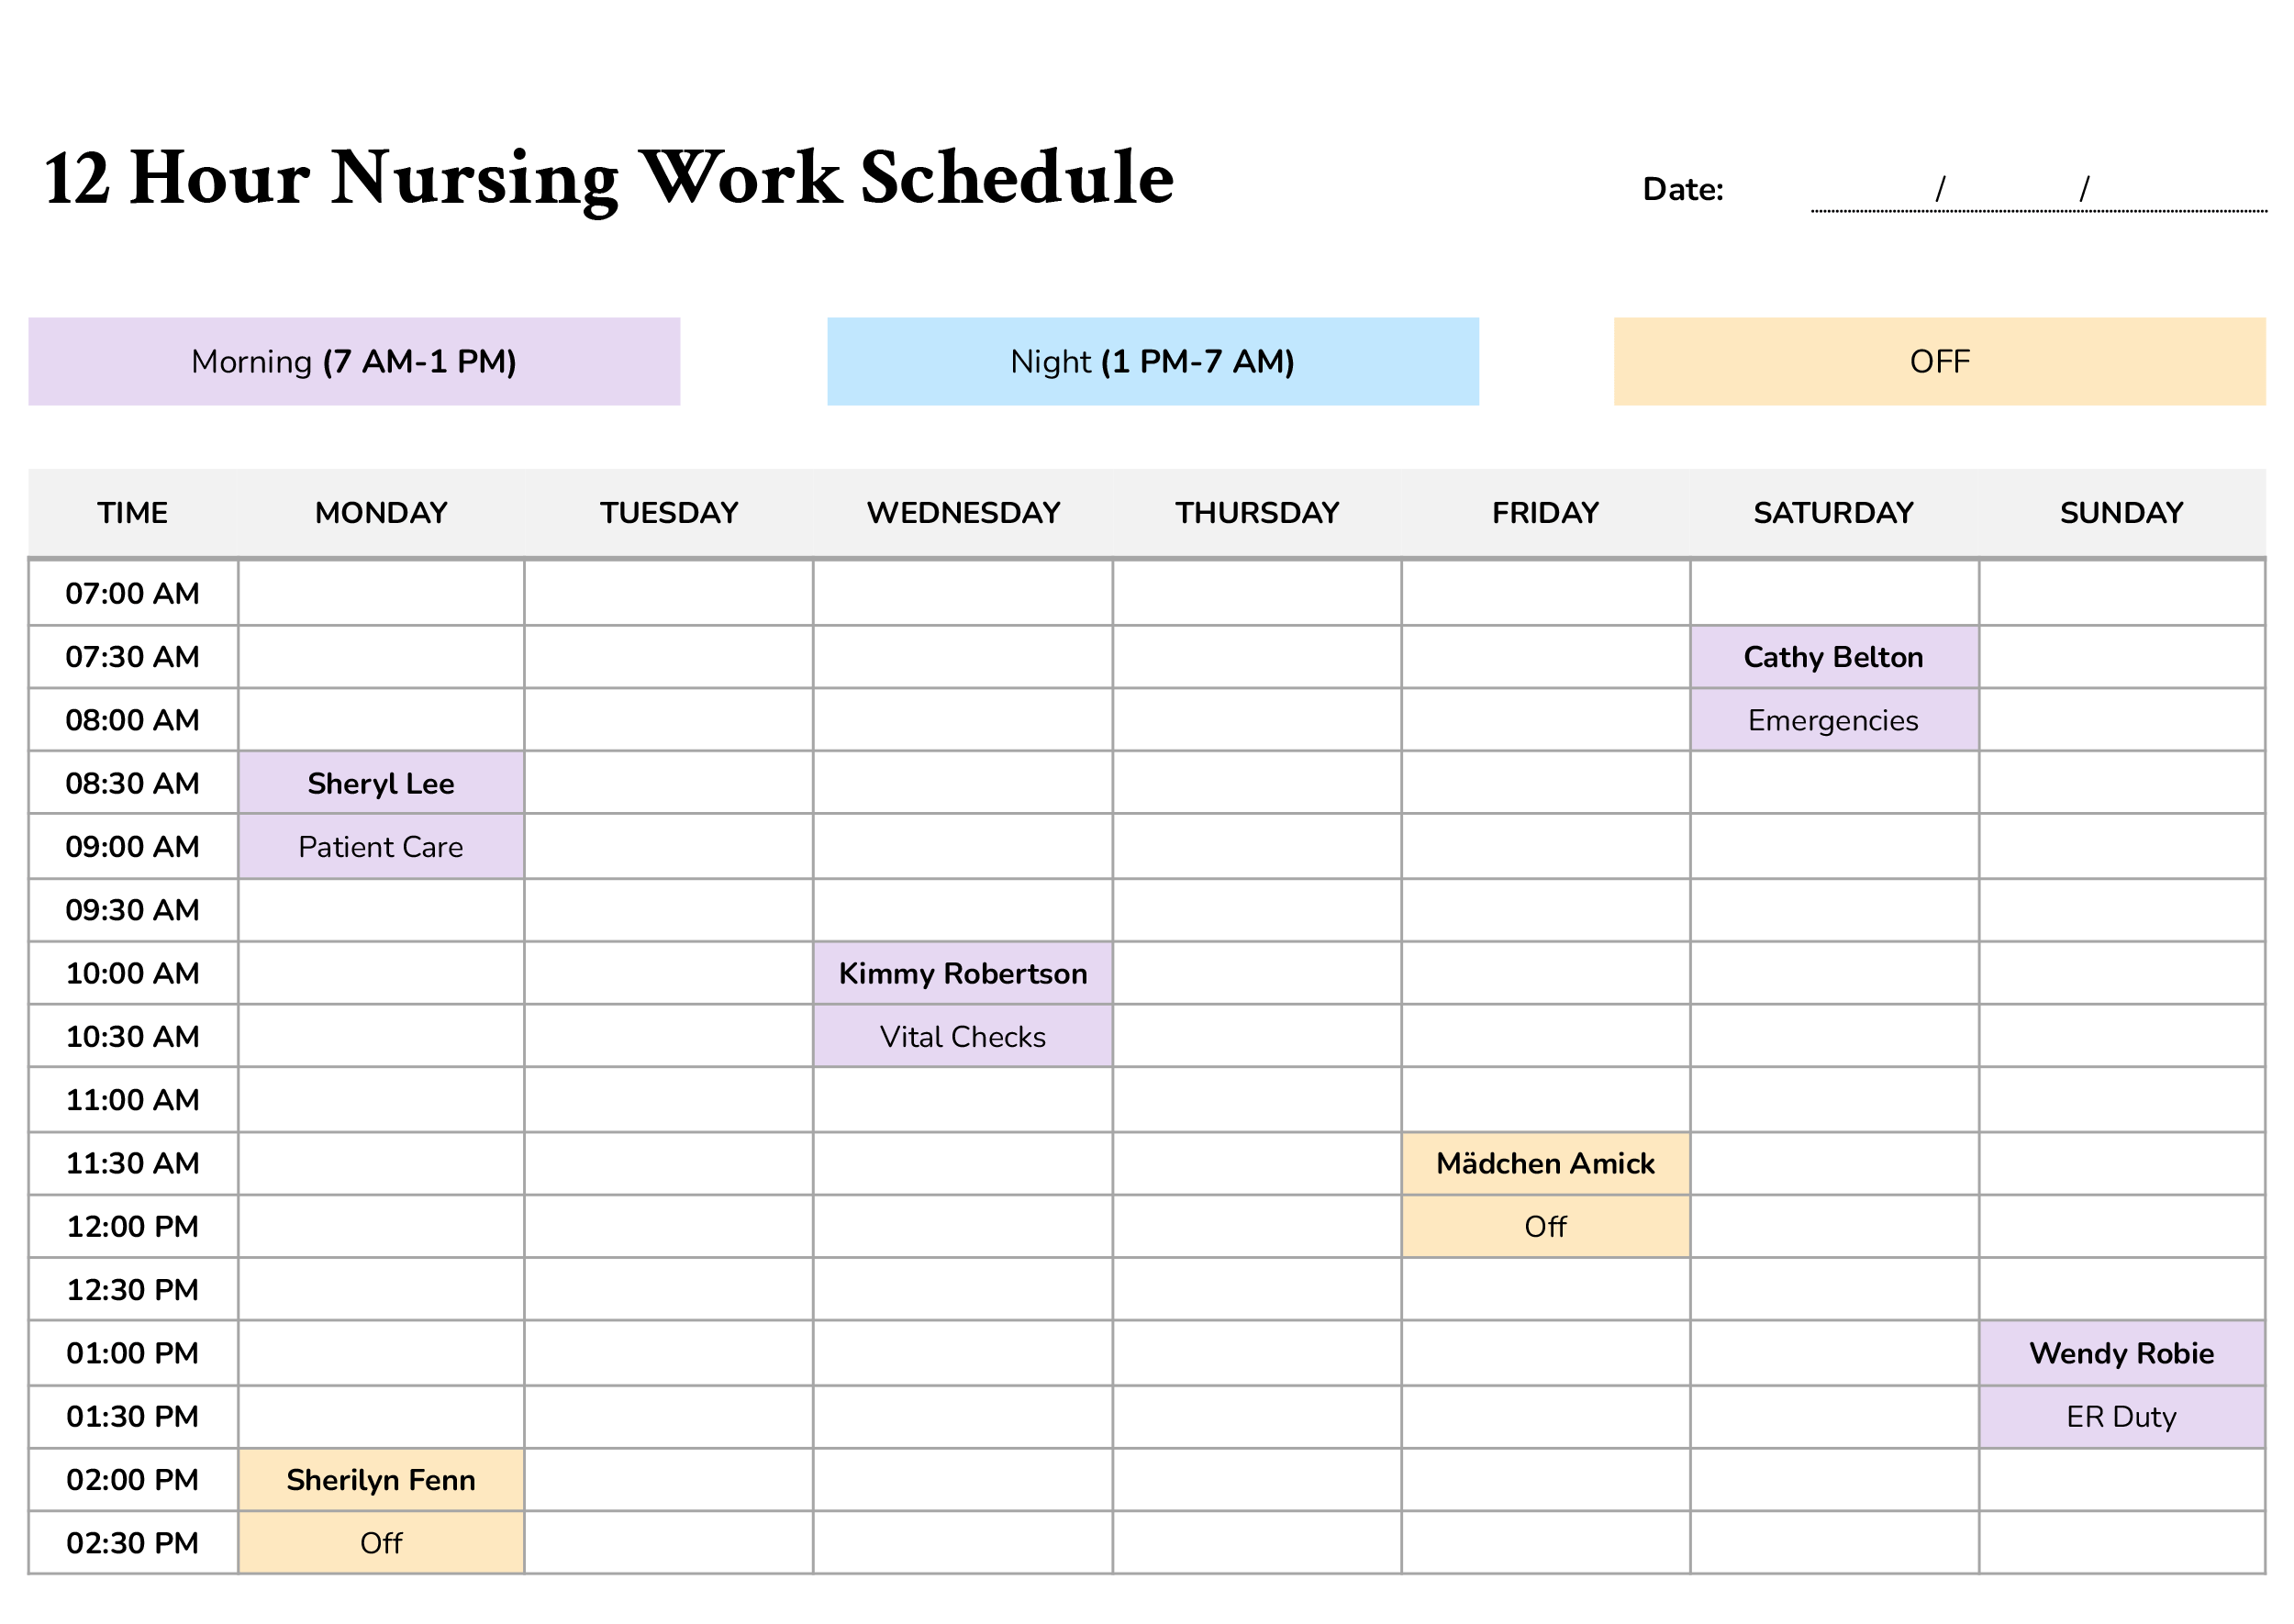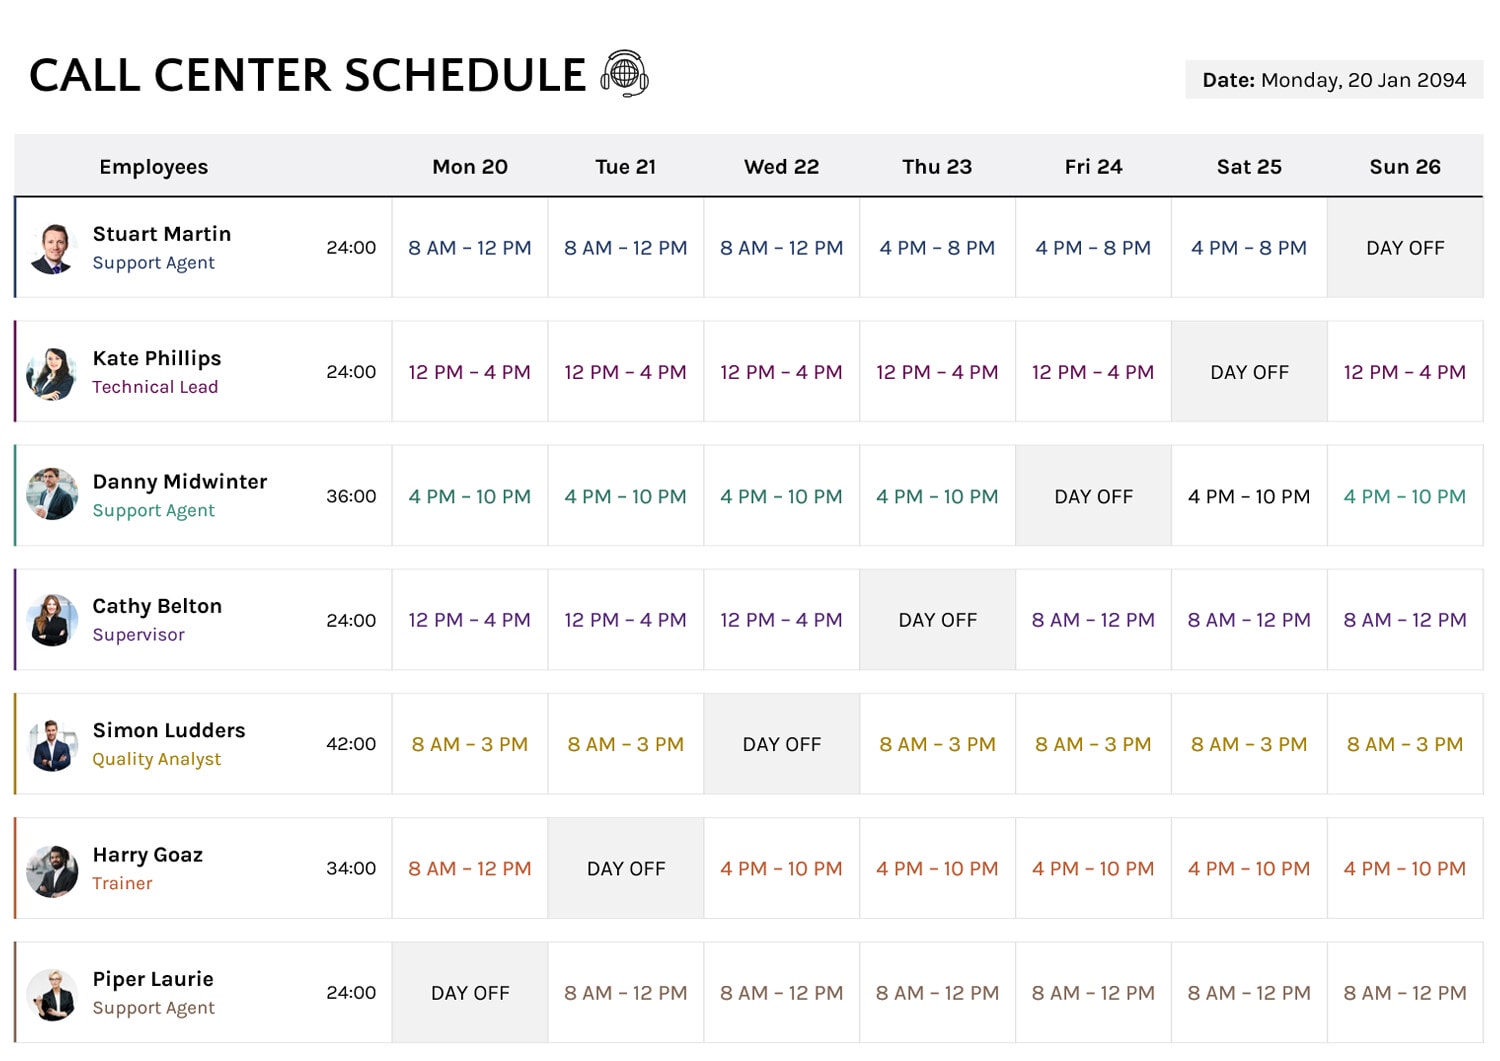


A monthly schedule is one of the easiest ways to see coverage gaps before they turn into last-minute calls and rushed changes. This monthly work schedule calendar template is designed for planning staff assignments across an entire month, with space to list multiple people per day and label each shift using simple codes.
This schedule template includes a month-style calendar grid for assigning staff to specific dates, plus multiple writing lines in each day box so you can list several employees when coverage overlaps. A shift legend is included at the bottom to define shift codes and time ranges, which keeps shift labels easy to understand on screen and in print. Here’s a detailed breakdown of the template to customize and use it effectively.
What You Can Use This Template For
This template is intended for teams that plan work in daily blocks and need a month view that can be printed, shared, or updated as staffing changes. Common use cases include retail stores, clinics, front-desk teams, restaurants, warehouses, security teams, and office departments that rotate coverage.
If you manage multiple roles in the same day, you can use the lines in each date box to list several employees and assign their shift codes next to their names. If you manage a smaller team, you can use the extra lines for notes like training, meetings, partial shifts, or on-call coverage.
Calendar Layout and Scheduling Space
The calendar is arranged as a traditional Sunday-to-Saturday grid. Each week begins with a date row, followed by multiple writing lines under each day so you can list more than one person for the same date. This is useful when you schedule overlapping shifts, split coverage, or multiple roles in the same day.
You also get header fields at the top for basic schedule context, so the printed copy is still understandable when someone looks at it later.
Entering Staff Assignments and Shift Codes
Each daily box is designed to hold entries in a simple format such as a name followed by a shift code. The template’s shift key uses three codes.
- M for Morning Shift with the time range shown as 9 AM to 5 PM
- N for Night Shift with the time range shown as 11 PM to 7 AM
- A for Afternoon Shift with the time range shown as 12 PM to 8 PM
If your workplace uses different shift names or times, you can change the codes, labels, and time ranges in the shift key so the schedule matches how your team actually works.
Setting Up Dates for Your Month
The date cells are pre-numbered in a simple sequence. That works well if you want a quick 1 to 30 or 1 to 31 monthly view. If you want the calendar to match a real month that starts midweek, you can adjust the first week so that the “1” lands on the correct weekday, then update the rest of the date row pattern to match your month.
For shorter months, you can clear unused dates at the end of the grid so the final week does not show extra days. This keeps the printed schedule cleaner and reduces confusion for staff.
Customizing the Template for Your Team
Once the date layout is set, you can tailor the template to your workflow.
- Department and manager fields can match a single department or a specific location
- Shift key can match your actual shift system, including custom codes such as OFF, PTO, Training, On-Call, or Split
- Daily entry lines can be used for roles, coverage notes, or priority staffing needs
If you manage multiple departments, you can duplicate the blank sheet and name each copy by department, location, or team. That way, every department keeps the same calendar layout while staffing stays separate.
Printing and Sharing
This template is designed to be readable both on screen and on paper. For print use, a common approach is to print the schedule in landscape orientation and scale it to fit on one page so the full month is visible without page breaks.
For team collaboration, you can share the file and set editing permissions based on how you want updates handled. Some managers keep one person as the editor and ask staff to comment, while others let team leads edit only their days or weeks.
FAQs
Start by placing the number “1” under the correct weekday in the first week row. Leave the earlier weekday boxes blank for that first week. Then continue the date sequence across the row. After that, continue numbering into the next week row so the dates follow your month correctly. Once the dates match your calendar, you can begin filling in staff assignments.
After you number the dates, clear the extra date boxes at the end of the month so your schedule stops on the correct day. It’s also a good idea to clear any unused staffing lines under those removed dates, especially if you print the calendar, so no one mistakes them for active days.
Yes. Edit the shift legend labels and time ranges so they reflect your real shifts. If your team uses different codes, update the code letters as well, then use those updated codes in the daily entries so the schedule stays easy to interpret.
Each day has multiple lines designed for several entries. If you need more, you can increase row height and use line breaks within a day cell, or add an additional line row for that week if your layout still prints cleanly. For teams with heavy staffing needs, another option is to use one sheet per department or role group so each calendar stays readable.
If you want one official version, keep the schedule editable only for managers and team leads, then share view-only access to the rest of the staff. If you need input from others, consider using comments for change requests, or share a copy for suggestions and move approved updates into the main schedule.
This work schedule template is available in Excel and Google Sheets as the primary spreadsheet versions, and it is also available in PowerPoint and Google Slides for teams that prefer a slide-based schedule for printing or posting.