
A project timeline is written for projects that need more than a rough deadline. When several tasks depend on each other, different people are responsible for different stages, and progress needs to be reviewed over time, you need a file that keeps the plan tied to the actual work. This project timeline template is designed for that purpose. It gives you a starting point for defining the project, assigning responsibility, setting task dates, and tracking progress as the work moves forward. You can use it at the beginning of an internal rollout, client job, system upgrade, training plan, operational change, or any other project where timing and ownership need to stay visible throughout the process.
The template is intended to be used before the project schedule begins. That matters because a timeline is easier to review when the reader can immediately see what the project is about, who is leading it, and what the work is meant to deliver. After that, the main timeline area gives you a working record of each task so the file can keep being updated during check ins, status reviews, and handoffs instead of being used only for initial planning. This is to make it suitable for both setup and ongoing project tracking.
Below is a section by section breakdown of how to fill out and use it during planning, reviews, and day to day project updates.
Project Details
Start by entering the project name, project manager, location, version number, start date, and end date at the top of the sheet. This part identifies the project before anyone reviews the task table. It also makes the file easier to manage if you save updated versions during different stages of the work.
The project dates at the top give the timeline its overall time frame, while the version field gives you a way to separate early drafts from later revisions. That becomes useful when deadlines move, tasks are added, or staffing changes need to be recorded in a later file version.
Scope and Deliverables
Use the project scope field to explain what the project is meant to accomplish. This should be written in direct language so anyone opening the file can understand the purpose of the work before reading the timeline below. Then use the deliverables field to record what should be completed by the end of the project.
These two fields should be written before the task rows are entered because they set the direction of the timeline. Once the scope and deliverables are defined, the work in the task table can be written against a known goal instead of turning into disconnected activities.
Stakeholder Information
The stakeholder section is used to record the people connected to the project and the part each person plays in it. This can include the project lead, department contacts, technical staff, reviewers, approvers, or client-side contacts. It gives you one place to check who is involved when the timeline is being reviewed or when a task needs follow-up.
This part of the sheet also contains one linked field. In the first stakeholder row, the name cell pulls directly from the Project Manager field at the top of the sheet. If the project manager name changes there, the linked stakeholder name changes with it. That keeps the lead record aligned without needing to type the same name twice.
Task Timeline
The timeline table is where the project is broken into individual pieces of work. Each row should be used for one task, milestone, or work phase that can be tracked on its own. Start by entering the department, then write the task description, assign the row to the person responsible, and add the planned dates, budget figure, and current status.
This section works best when each row describes something specific enough to review later. A broad row such as “Project Work” does not give much value during updates because it is hard to judge what has actually moved forward. A row such as “Create dashboard layout,” “API integration,” or “Prepare training guide” is easier to schedule, assign, and update as the project develops.
Dates and Duration Tracking
The start date and end date columns are used to set the scheduled time period for each task. In the populated timeline rows, the Days column uses a formula to calculate task length from those two date cells instead of requiring a manual entry. That means the duration updates from the date range already entered in the row.
This matters during planning and review because task length becomes visible next to the scheduled dates. A short item and a long item may both have end dates, but the duration column gives extra context when the timeline is being reviewed in detail. If you extend the timeline with more rows, copy the existing Days formula into the new rows so duration tracking continues in the added part of the table.
Budget Tracking
Use the budget column to record the cost tied to each task or phase. This can represent an estimated amount, an approved amount, or a working figure used during planning. Keeping budget beside the timeline is useful because time and cost can be reviewed together during meetings instead of being split between separate files.
This also makes the template more useful for projects that need management review. A task that is delayed, expanded, or reassigned can be checked against its budget in the same row where timing and ownership are already recorded.
Status Updates and Color Coding
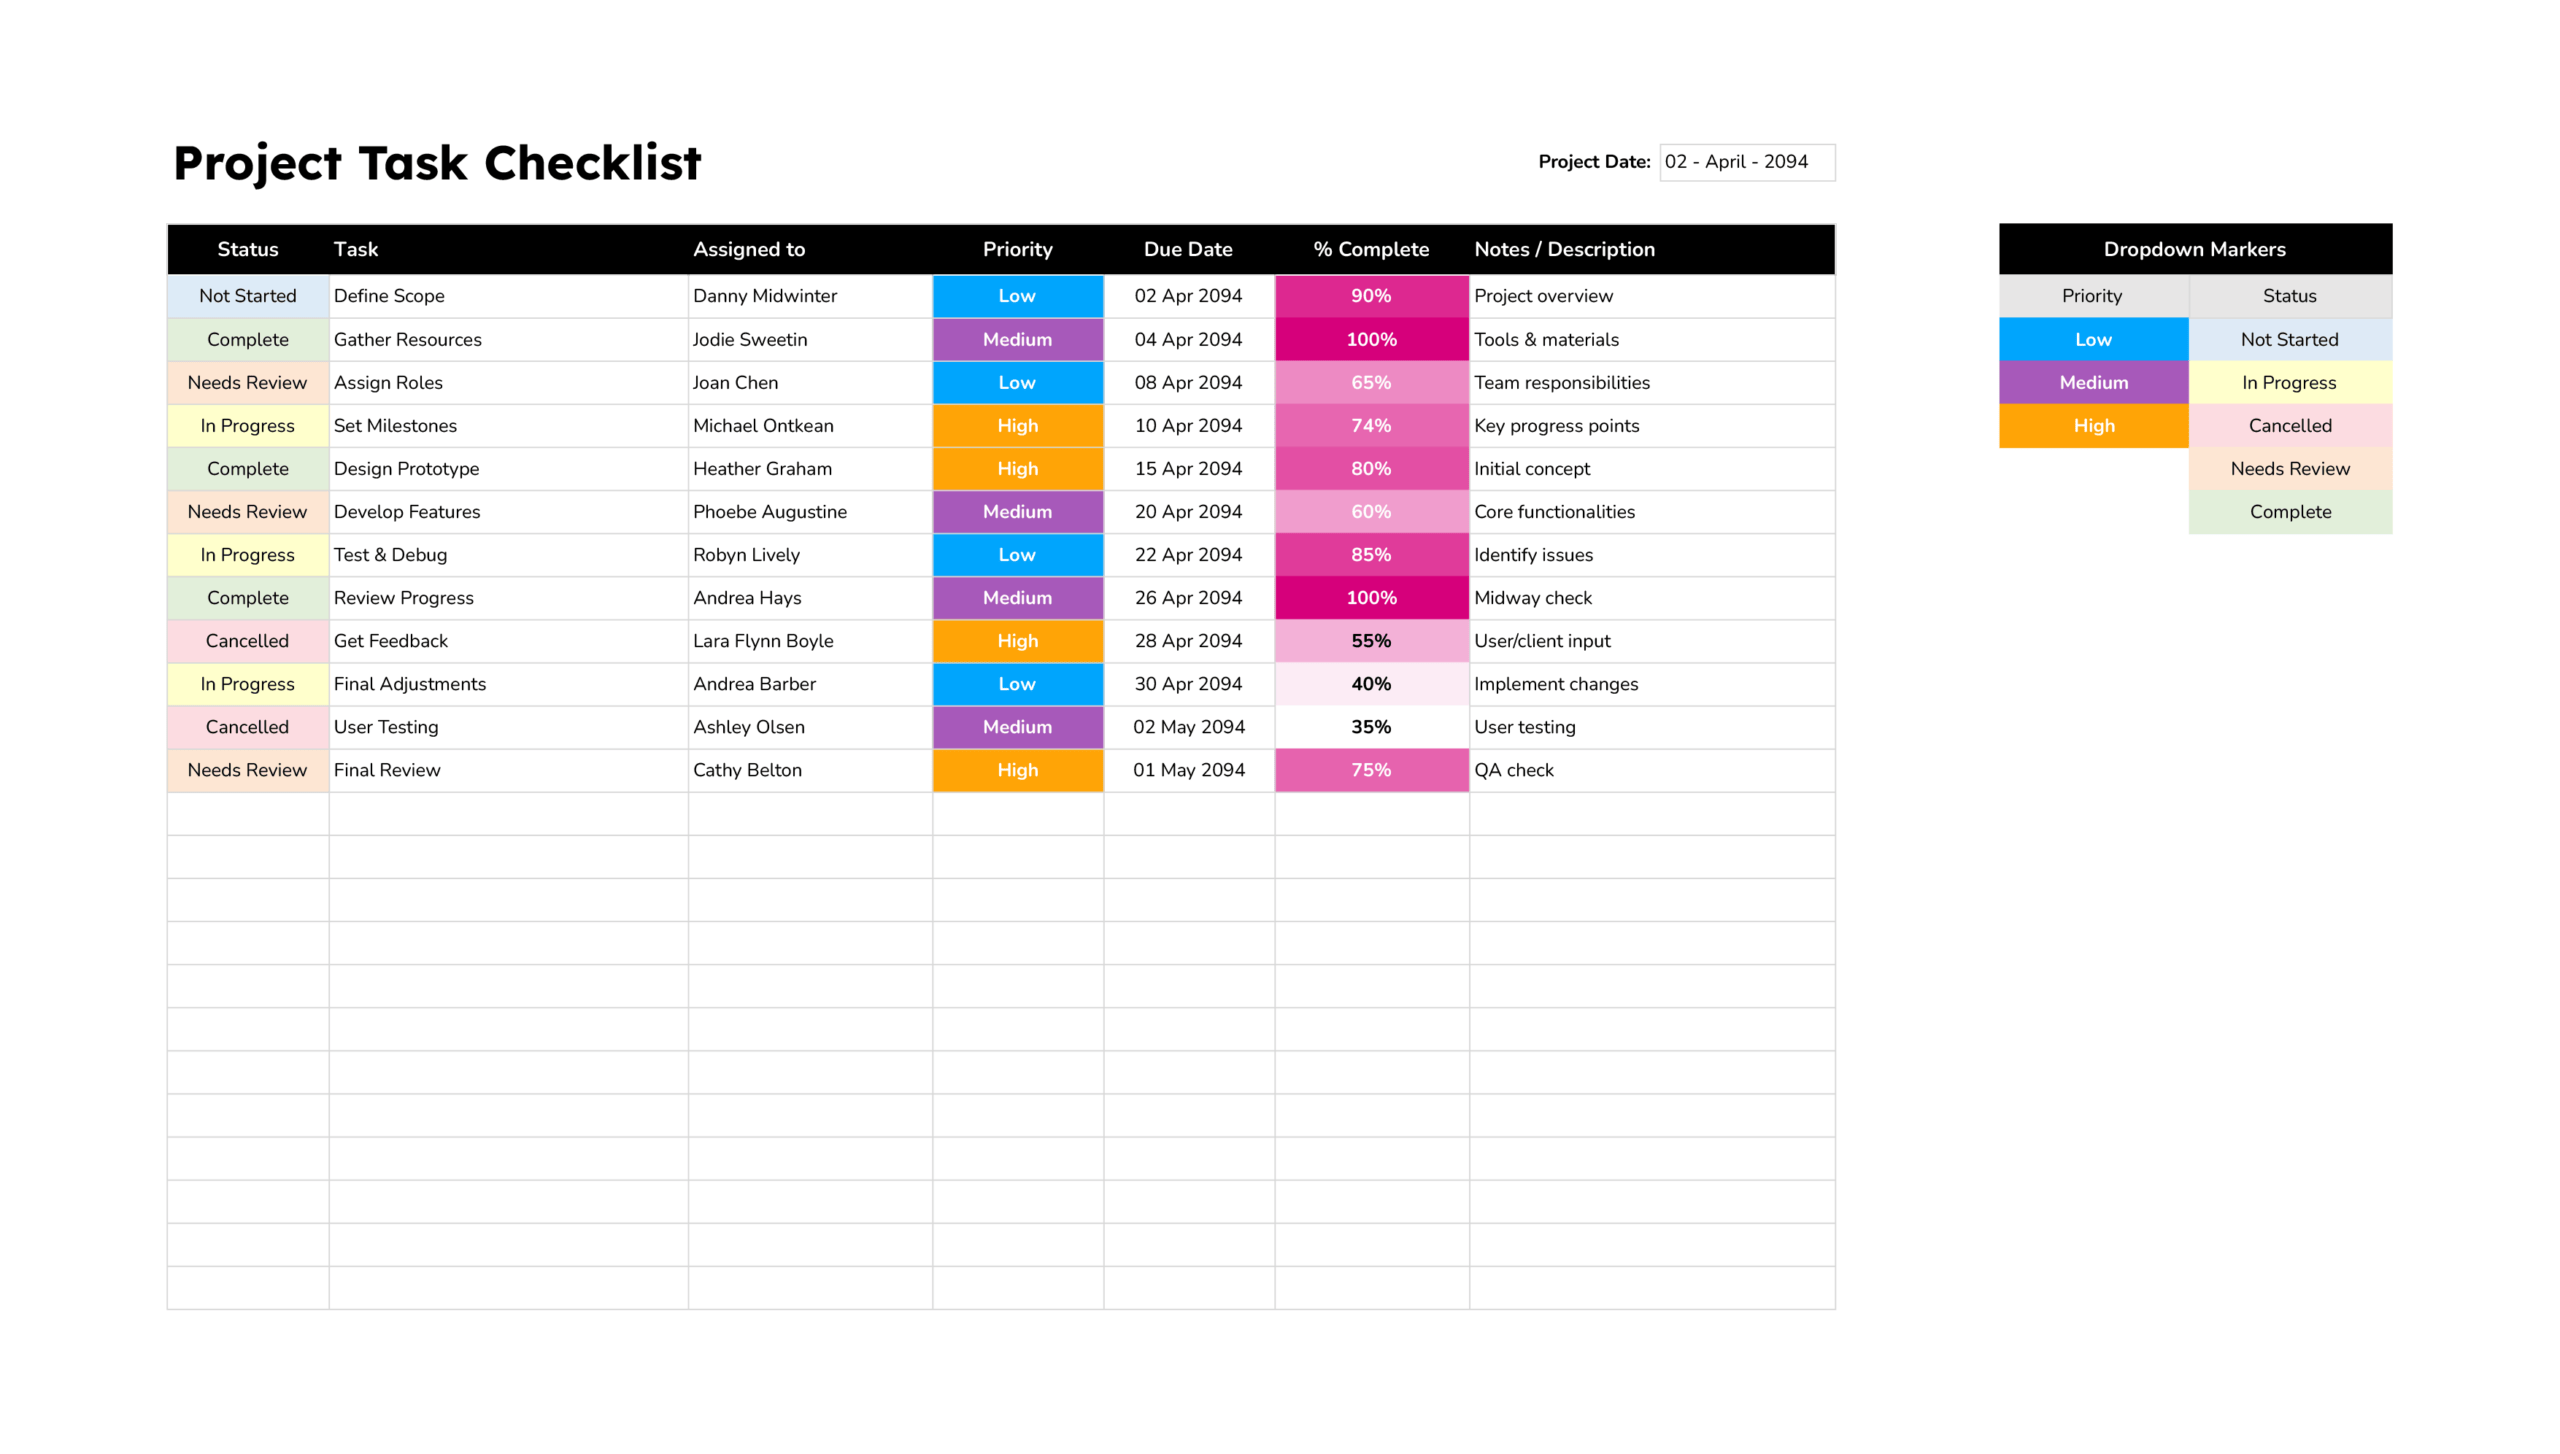
The status column is one of the main working parts of the template. It is intended to be updated throughout the project as each task moves forward. In the sample, the status cells respond with conditional formatting based on the text entered. Completed turns green, In Progress turns yellow, and Not Started turns pink. That visual response makes the timeline easier to review during check-ins because progress can be scanned quickly without reading every row in full.
There is also a separate Status sheet in the workbook that stores the standard progress labels used in the template. That background list is useful if you want to keep status wording consistent as the file is expanded or adjusted.
Feedback and Project Notes
The feedback area at the bottom should be used for notes that affect the project as a whole rather than one specific task row. This is a good place for approval comments, delay reasons, decisions made in meetings, scope changes, or handoff notes for the next reviewer.
That keeps major updates attached to the timeline itself. Instead of relying on separate messages or meeting notes, you can keep the latest project commentary in the same file the team is already using to track work.
Extending the Project Timeline
If you need more room, add new rows below the existing task table and continue entering tasks in the same column order used in the sample. When you do that, copy the formula in the Days column and keep the same status formatting pattern so the spreadsheet logic continues in the new rows. This is especially important if the project grows after the original schedule has already been written.
You can also revise department names, update task wording, change budget figures, add more stakeholders, or adapt the timeline for a different kind of project. The template is flexible enough to be used for technical, operational, administrative, client-facing, or internal planning work as long as the project can be broken into trackable tasks.