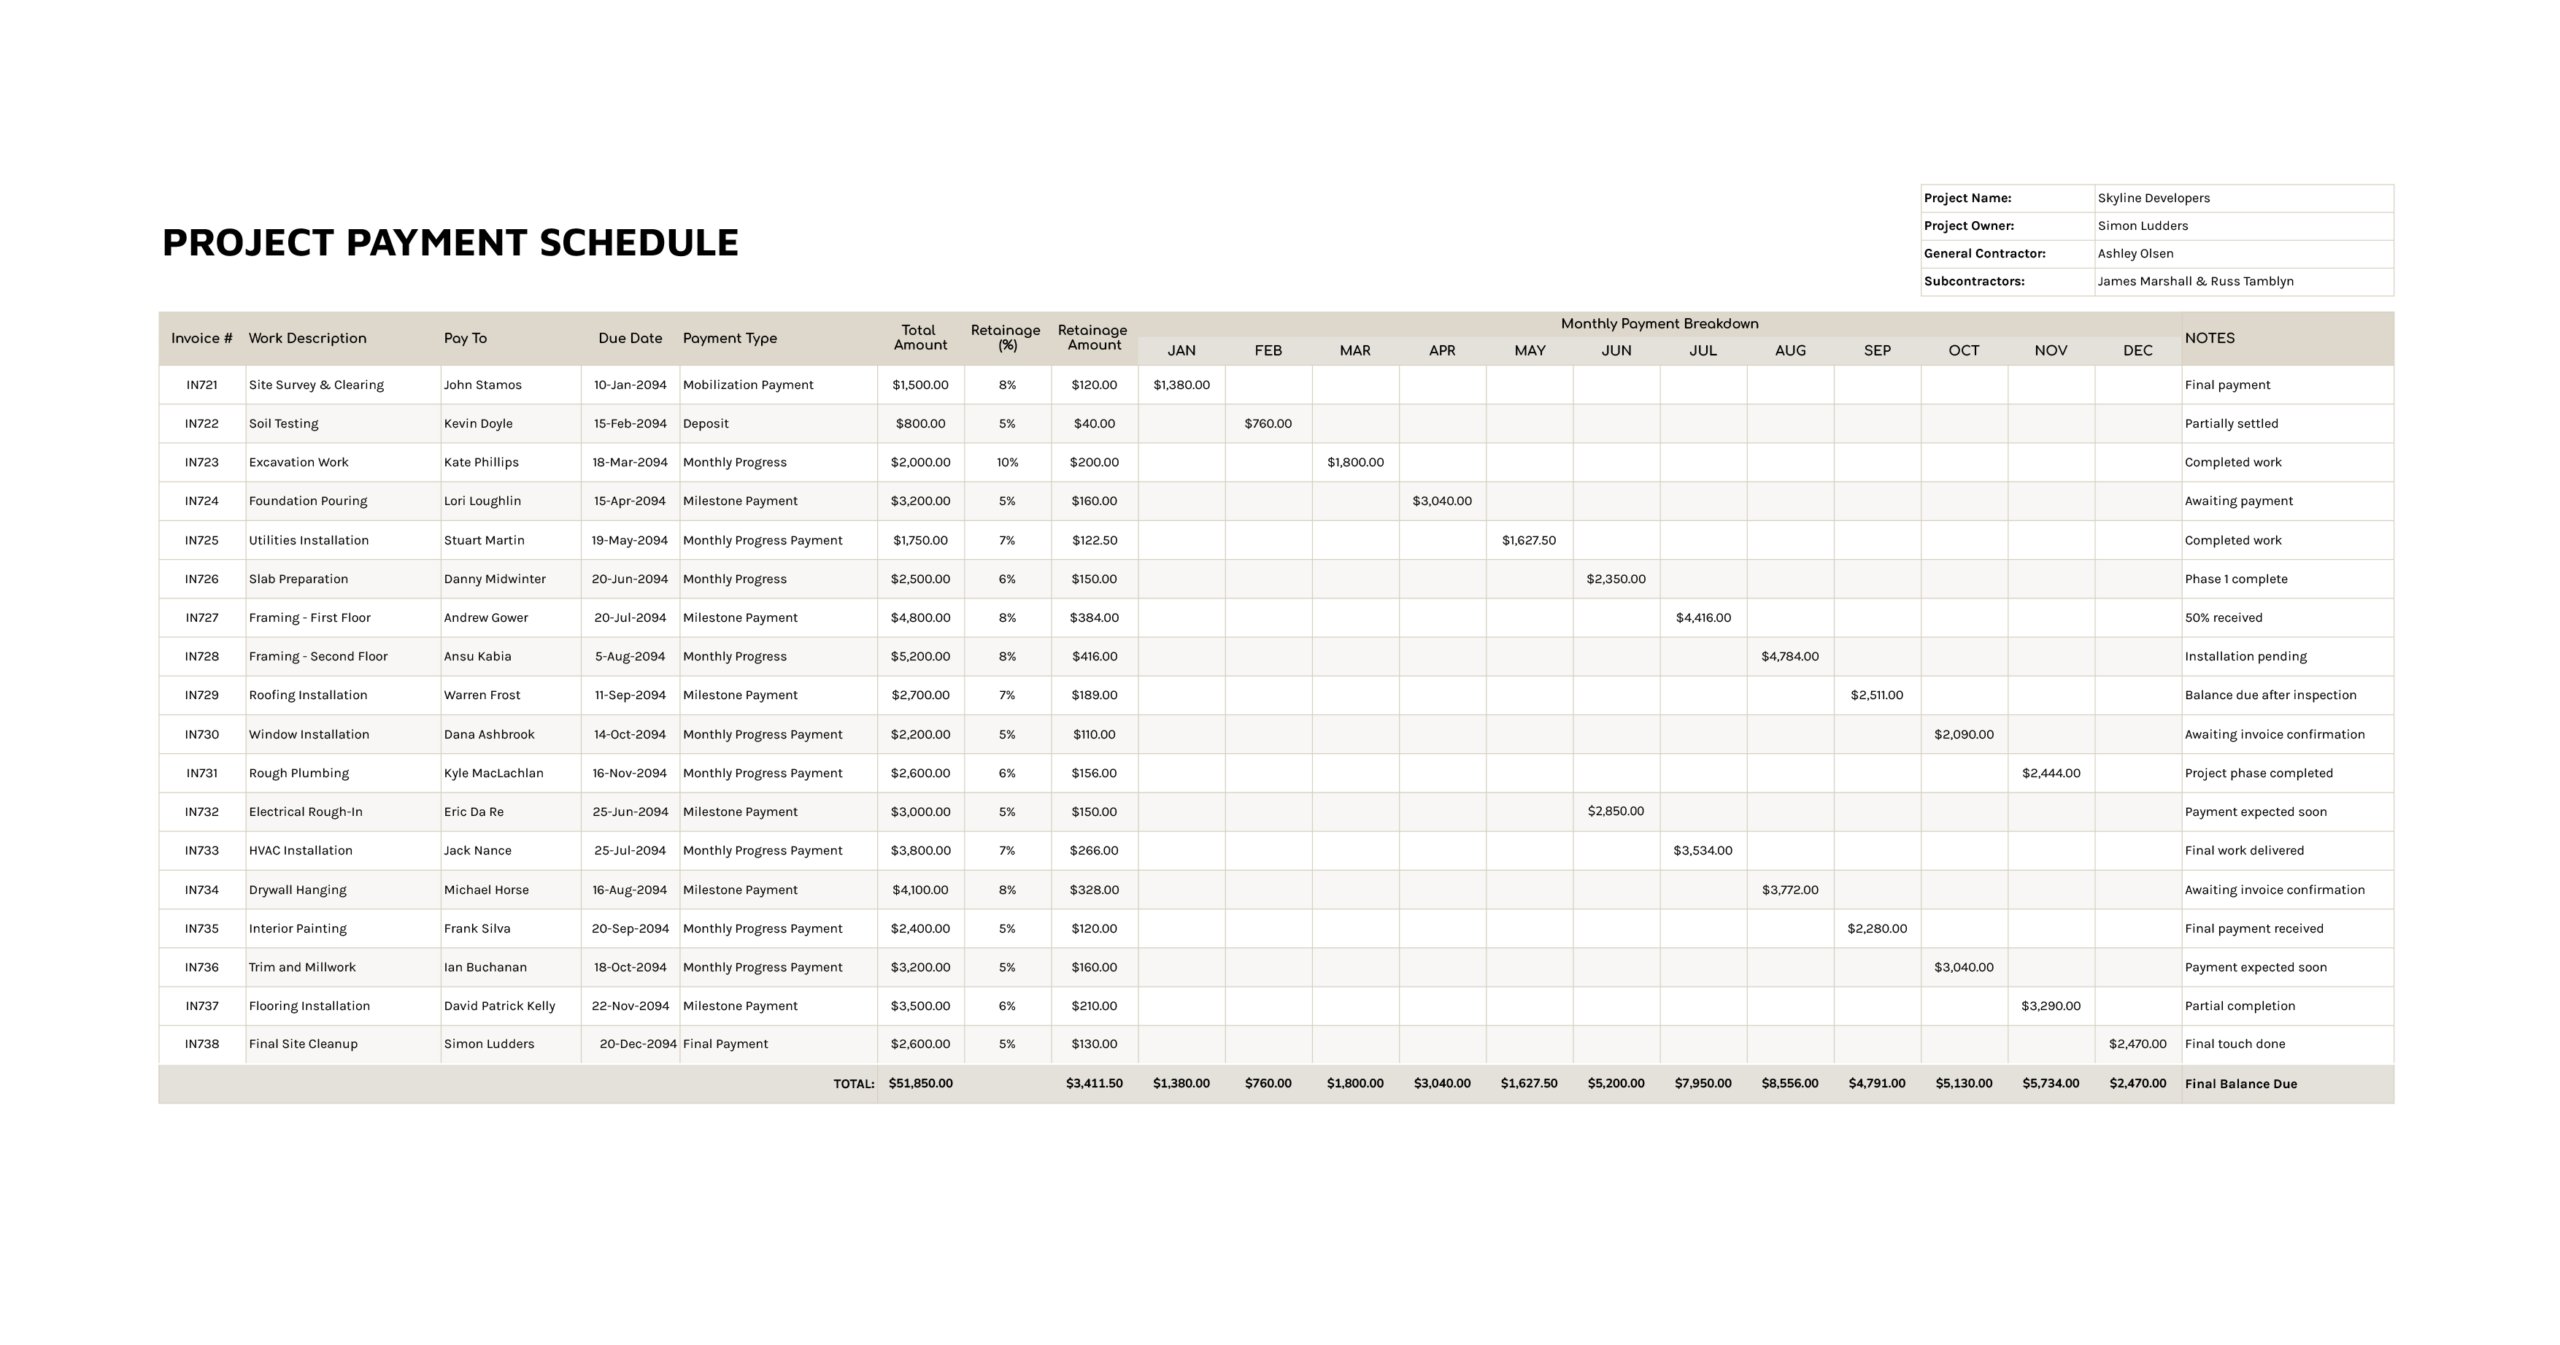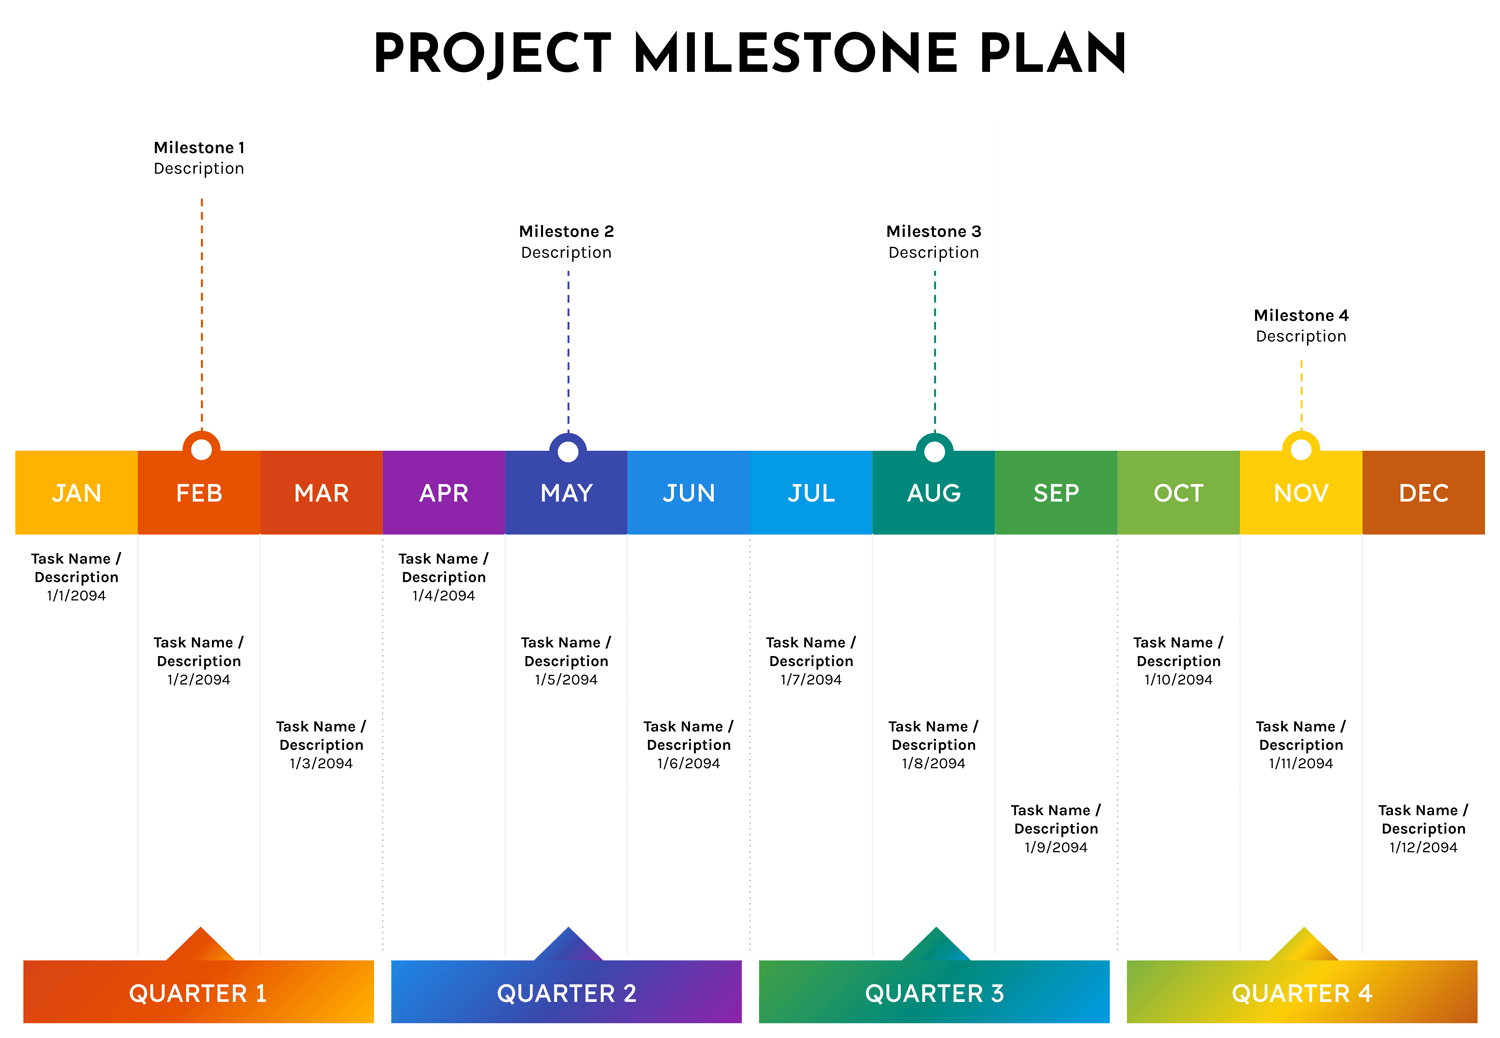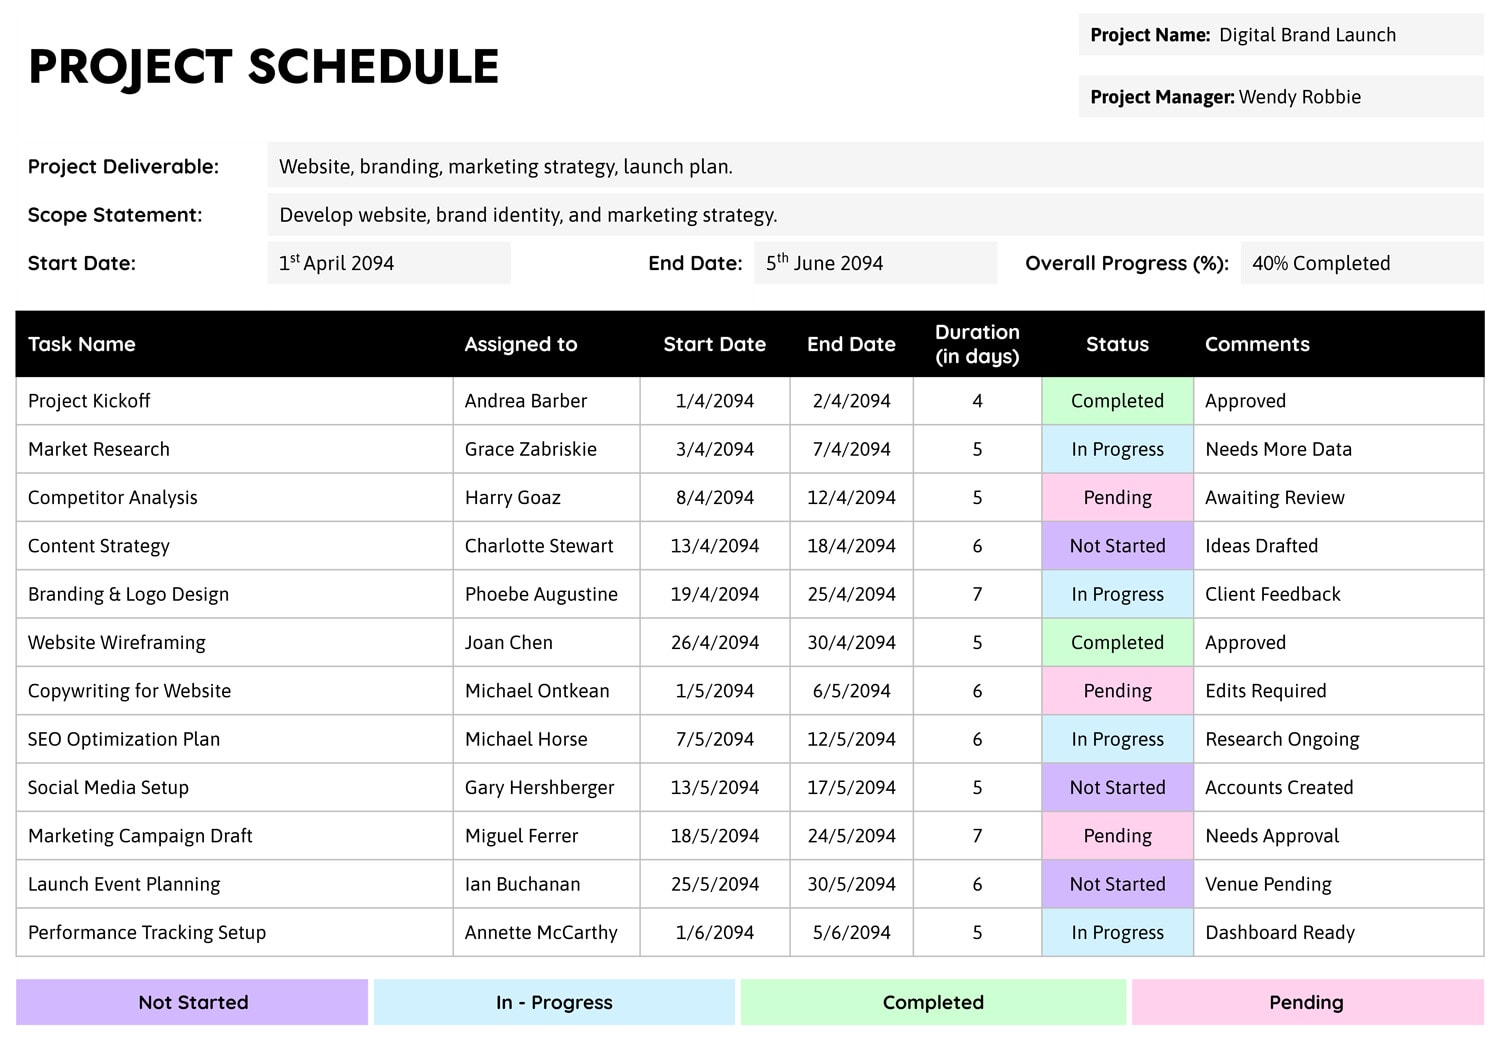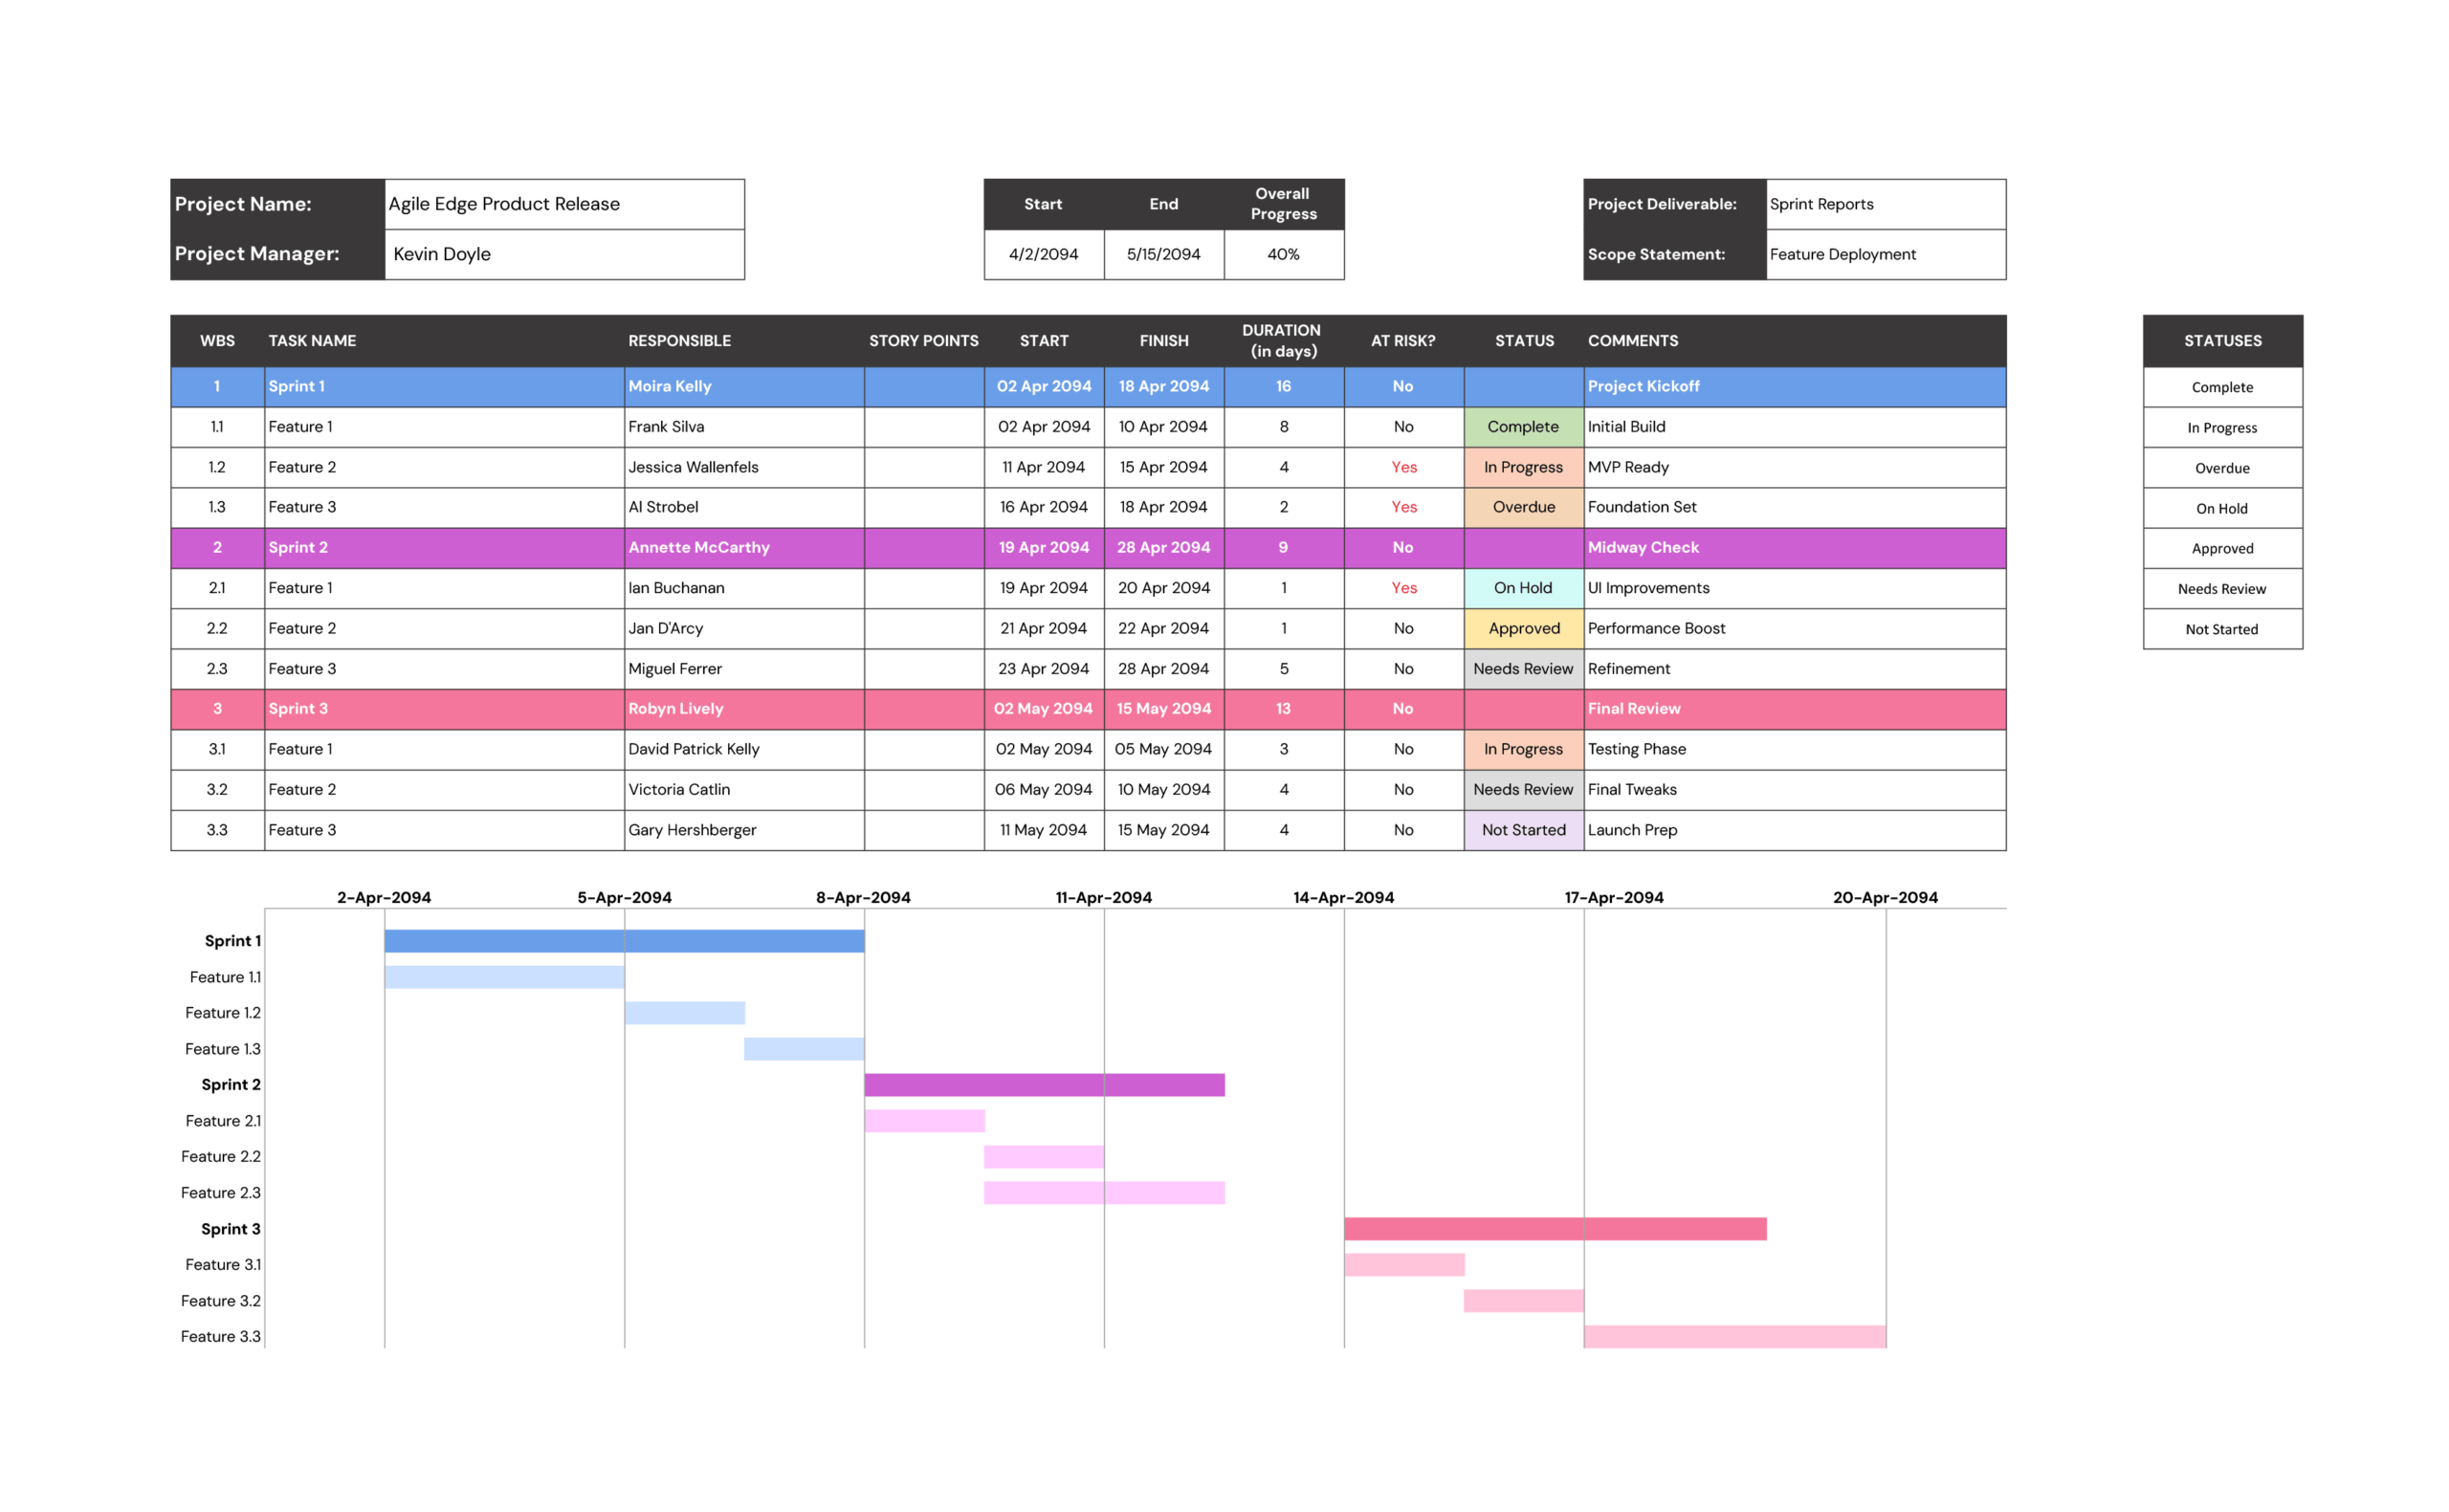
The simple project task tracker template is designed for small and medium projects that need a clear list of tasks, dates, effort, and status in one place. It works well when a full project management system feels too heavy, but you still want more than an informal checklist.
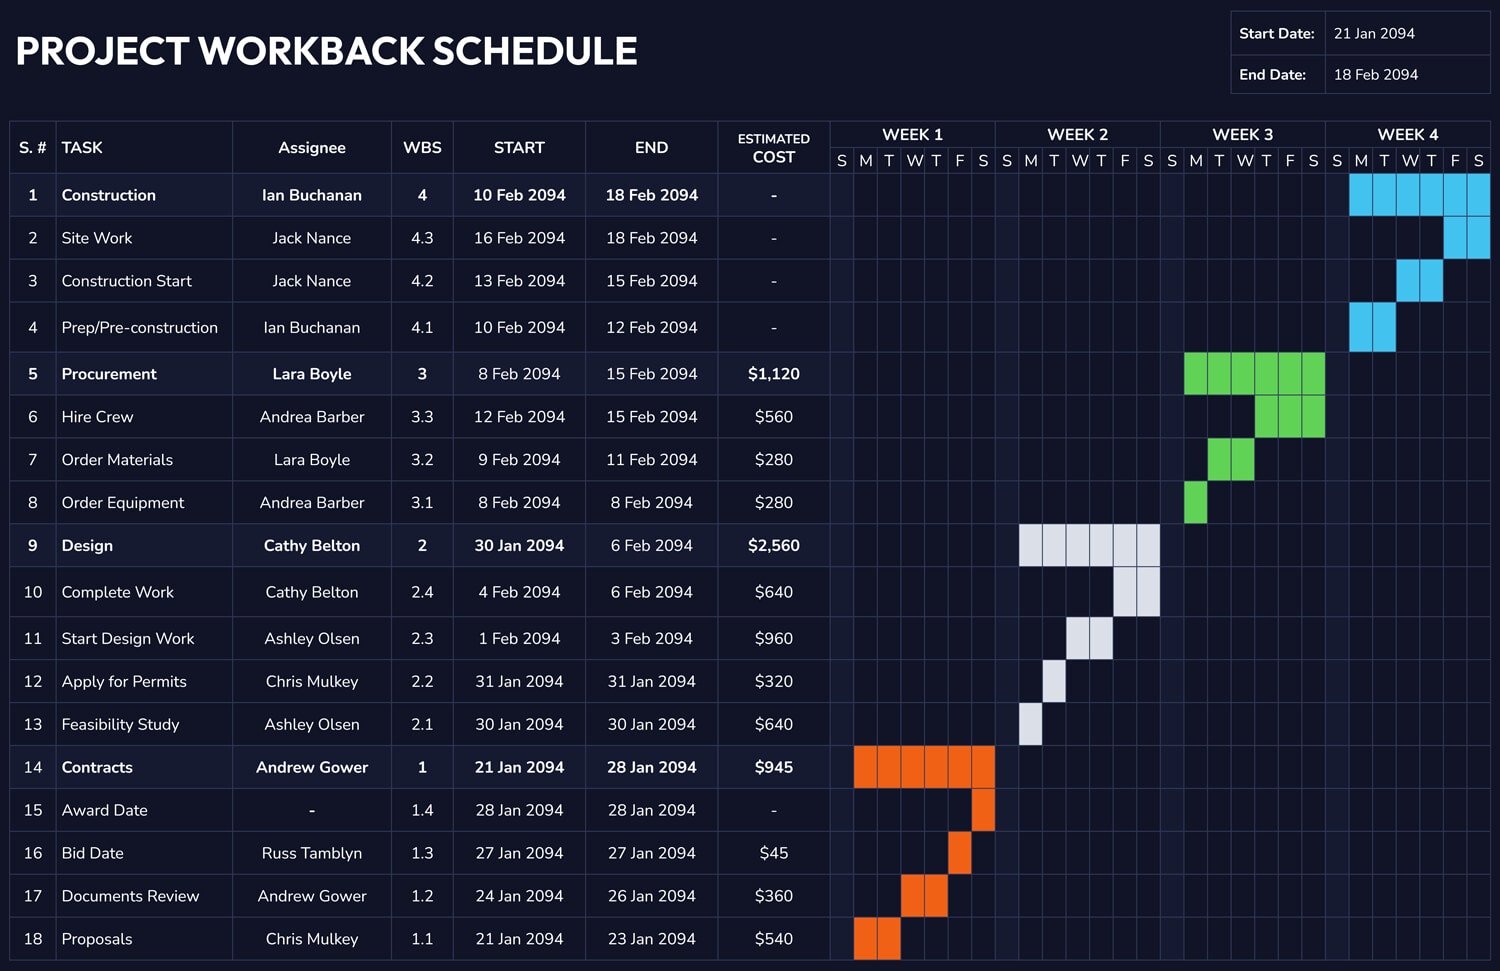
The main sheet combines task names, priority, start and due dates, a calculated duration in hours, estimated hours, a progress percentage, a Done column, and notes. A small panel above the table records the project start date, so the tracker is always tied to a specific timeline. A second sheet provides a blank version without sample data for fresh projects.
How To Use This Project Task Tracker Template
The tracker is organised as a single table. Each row is one task and each column captures a specific detail such as priority, dates, or progress. As you fill in the table, the Duration column updates based on the dates you enter, which gives a quick sense of how much time each task spans.
Set Up Project Details
Begin by entering the project start date in the panel at the top right. This date does not drive every calculation but provides context when you later review the schedule or share the file. If you want to track more than one project in the same workbook, you can duplicate the sheet and update the title and start date for each copy.
Enter Tasks and Priority
In the Tasks column, list the work items you want to monitor. Tasks can be as small as “Draft outline” or as broad as “Phase 1 testing,” depending on how detailed you want the tracker to be.
Use the Priority column to tag each task. The sample version uses visual markers for High, Medium, and Low, so urgent work stands out immediately. You can keep these indicators or switch to words such as High, Medium, and Low if that suits your team better.
Group related tasks together in the list, for example research items first, then planning, then delivery. This sequence makes the tracker easier to scan and mirrors the natural flow of the project.
Track Dates, Duration, and Hours
The Start Date and Due Date columns record when work on a task begins and when it is expected to finish. Once both dates are entered, the Duration (in Hours) column calculates the difference between them so you see how long each task spans on the calendar.
Est Hours is where you record the estimated effort for that task. This value can match the calculated duration or differ from it if the task only requires part of each day. Reviewing Duration alongside Est Hours gives a quick sense of which tasks are intense and which are lighter.
Record Progress, Completion, and Notes
Use the % Complete column to record progress. You can enter values such as 0.25 for a quarter done, 0.5 for halfway, or 1 when the task is finished. The Done column provides a simple status marker with checkmarks, crosses, or empty boxes so someone glancing at the sheet can see what is completed, cancelled, or still in progress.
The Notes column is available for short comments such as “Awaiting client feedback,” “Blocked by dependency,” or “Rescheduled.” These entries explain why a task is late, why a due date has moved, or what needs attention before progress can continue.
When a task is finished, update both % Complete and the Done column. Using both signals makes it easier to distinguish truly completed work from items that are nearly done but still require a final check.
Use the Tracker in Meetings and Daily Work
During planning, use the tracker to list all tasks, assign realistic dates, and estimate hours for each item. During execution, update the progress and notes before stand-ups or review meetings so the sheet doubles as an agenda and a record of decisions.
For recurring projects, such as monthly campaigns or repeated events, copy the blank version of the sheet from the second tab. This approach keeps the layout familiar while giving each new project its own clean task list and dates.
FAQs
Think about how you plan to review progress. If you check the tracker daily, you can keep tasks smaller, such as “Draft outline,” “Review draft,” and “Finalize slides.” This gives a more accurate picture in the % Complete column. If you only review progress once a week or less, broader tasks such as “Phase 1 content” or “Client onboarding setup” may be easier to manage. The key is to choose a level of detail where each row feels meaningful to discuss in a meeting.
Duration shows how long a task lasts on the calendar between the start and due dates. Est Hours is the effort you expect to spend on that task. For example, a task might span five days in the Duration column but only require eight Est Hours of actual work spread across that week. Looking at both side by side can highlight tasks that take a long time on the calendar but do not need much focused effort, as well as short but intensive tasks that may need more attention when you plan the week.
Yes. One option is to add a Project column at the left and assign a short name or code to each task, then use filters when you want to focus on a single project during a review. Another option is to duplicate the entire tab for each project and keep one tracker per project. The first method works well when you manage many small projects at once, while separate tabs are easier to read when each project has a long task list.